Topics: 1. Types of textures we use in Tekken 7 2. Material structure in blender 3. How do you create a custom material for Tekken
Types of textures we use in Tekken 7
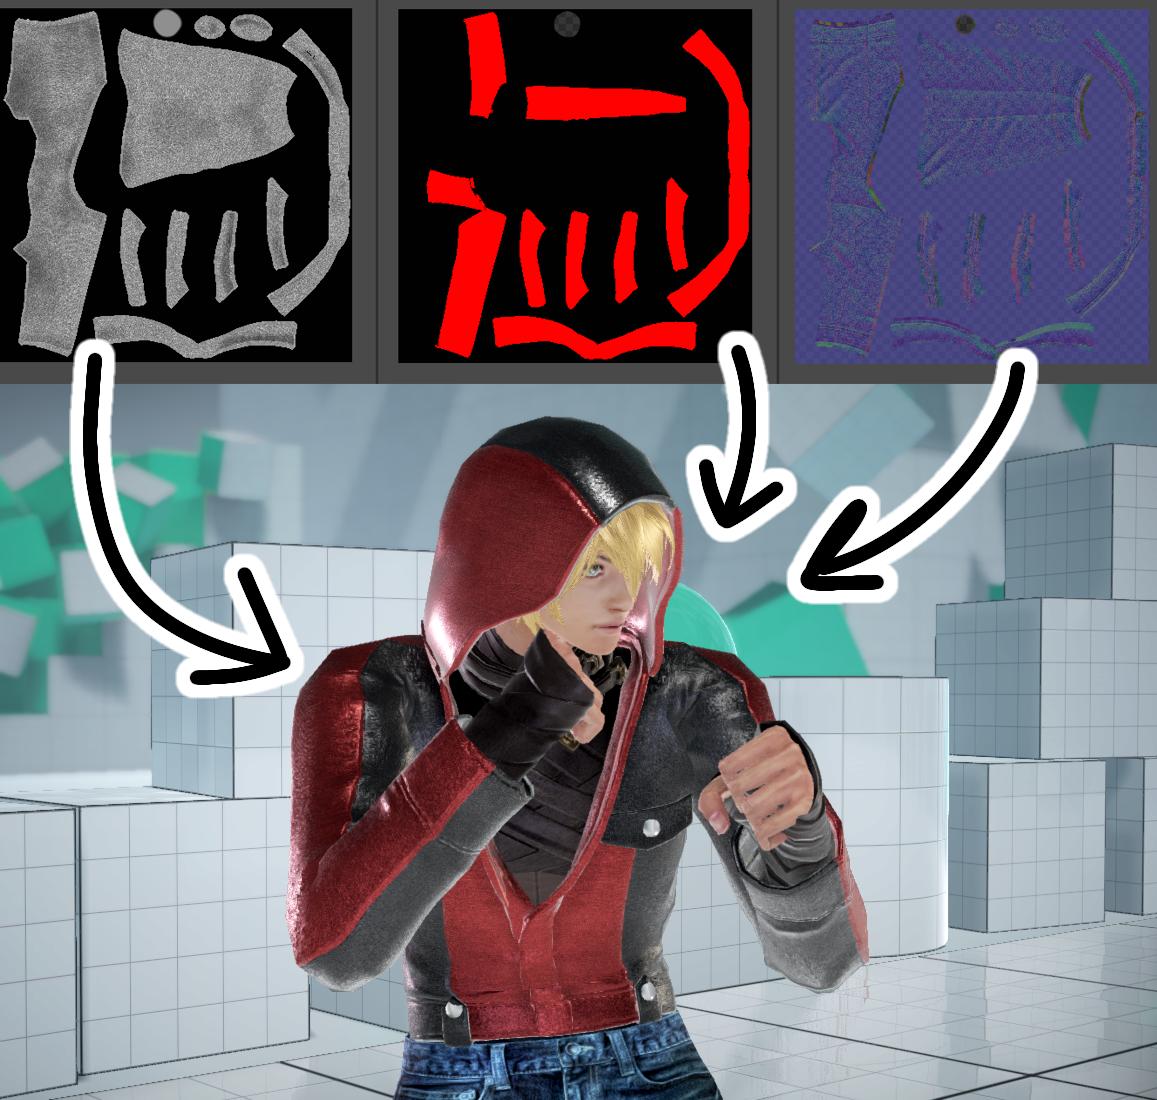
We mainly use 3 types of textures, diffuse map, mask map, and a normal map I’ll give more details later on.
Important note: -Texture Size: Textures for chars in t7 should be using the standard sizes 128 256 512 1024 etc. -UV Map: Make sure you have one UV map, having multiple UV maps in one mesh will mess up your textures. -Possible reasons Blender baking failed to bake: 1-low-resolution baked images may not bake well(it may appear stretched), 3K is recommended. 2-Metallic was not set to 0, your bake results may be fully black. 3-You unchecked "Use Nodes" in the shader editor tab, you will get a message saying "missing texture" or something similar. 4-Face orientation is flipped. 5-Clipping between low poly and high poly models. 6-Having some modifiers on the mesh. 7-Bump node's Distance is set too high, edges/seams will appear in the bake. 8- If you drew a custom bump map and find bumps of stuff you erased, its because you plugged the texture to the diffused socket.
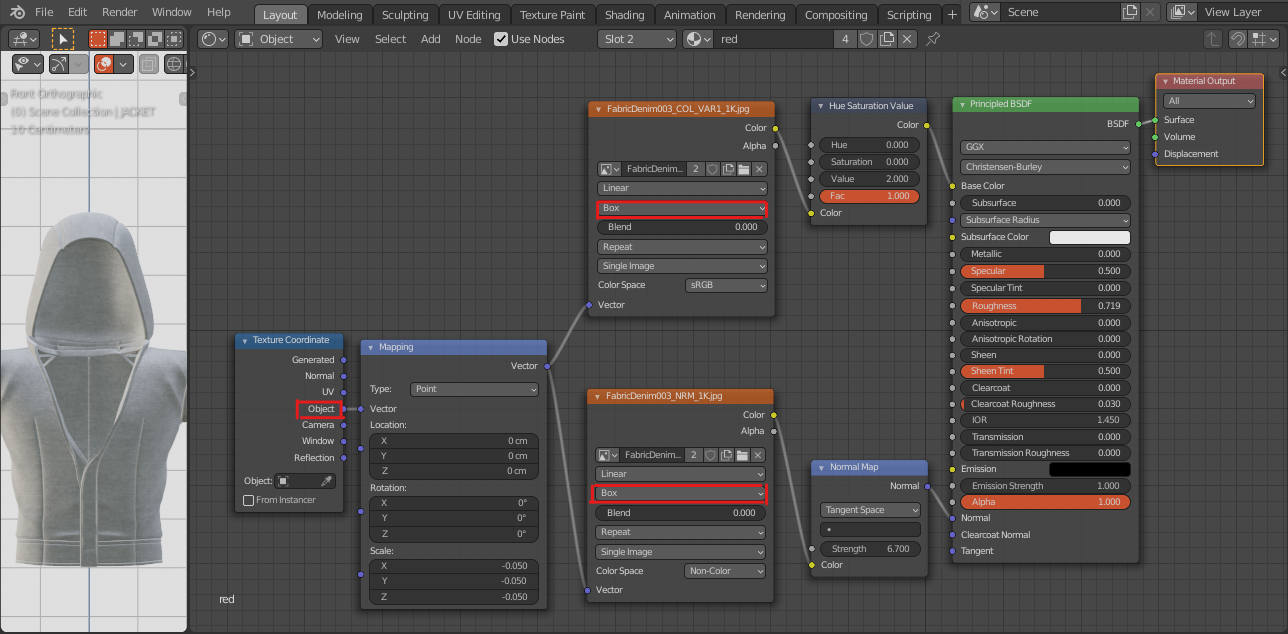
Material structure in blender
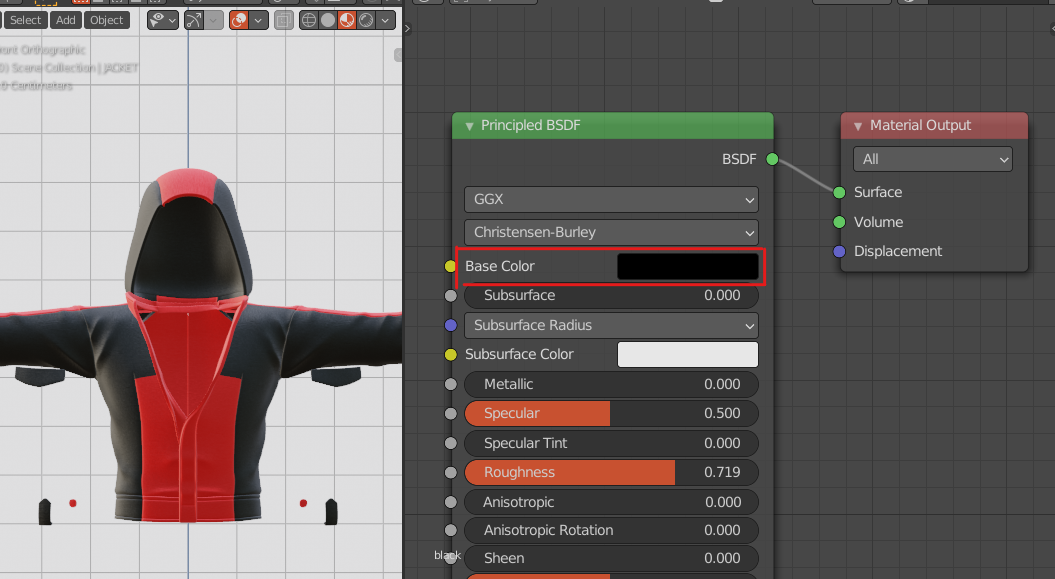
This is how my materials structure look like
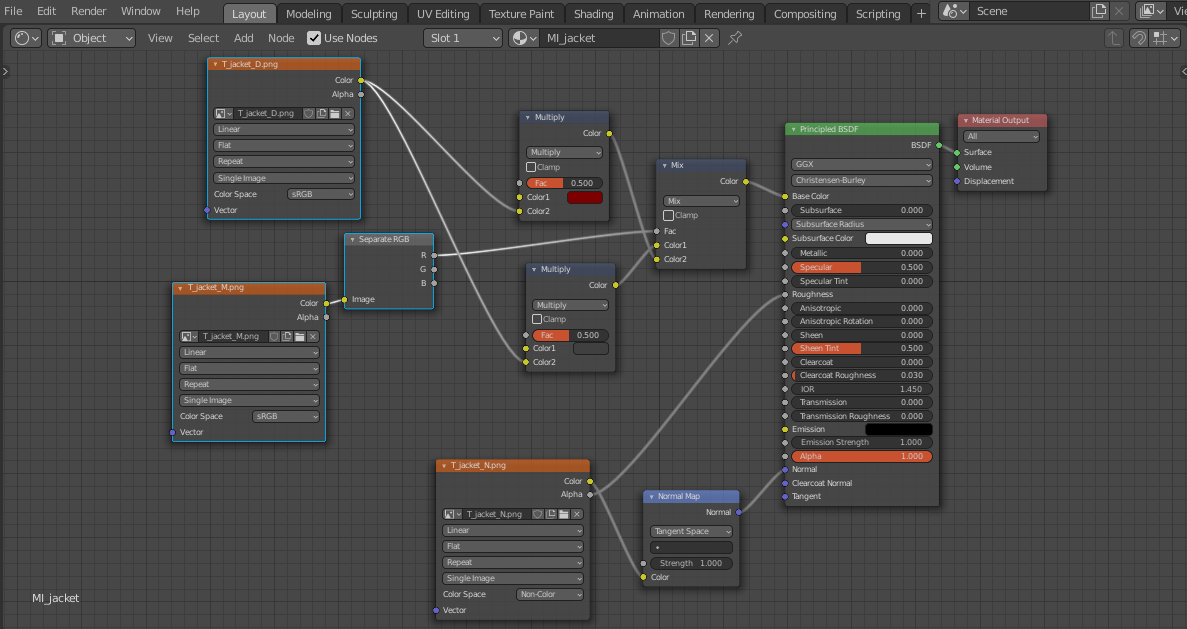
Things you can control
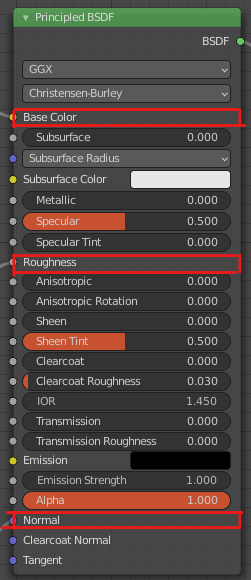 Everything else will be controlled by the MI your swapping with (CCI has some influence on this as well)
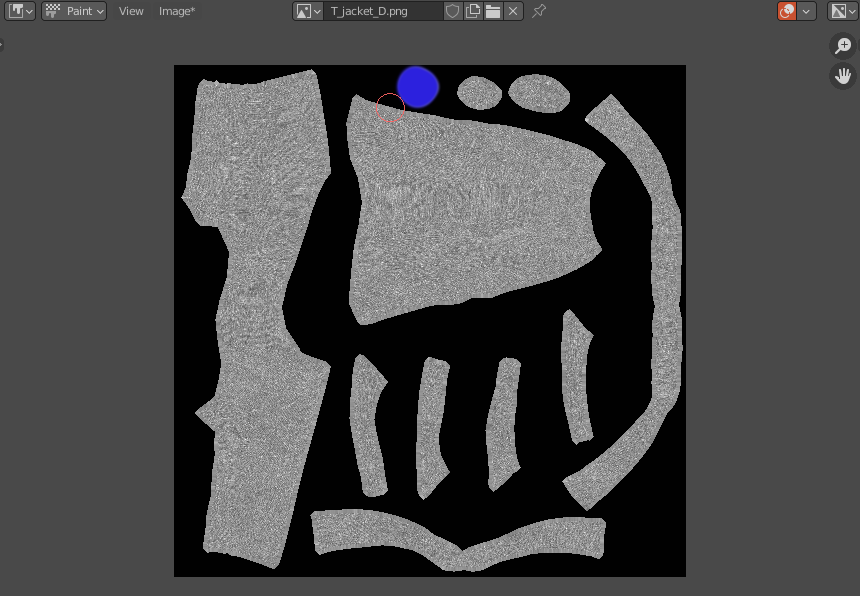
Diffuse Map
-Black and white if you want it to be colorable
-Colored if you don't plan on making it colorable
-Want to have both colorable and non-colorable areas? Leave the colorable areas black and white, give the colored area a color (like the image below)
Mask map (Material ID map,(mask map) this is used for determining coloring region)
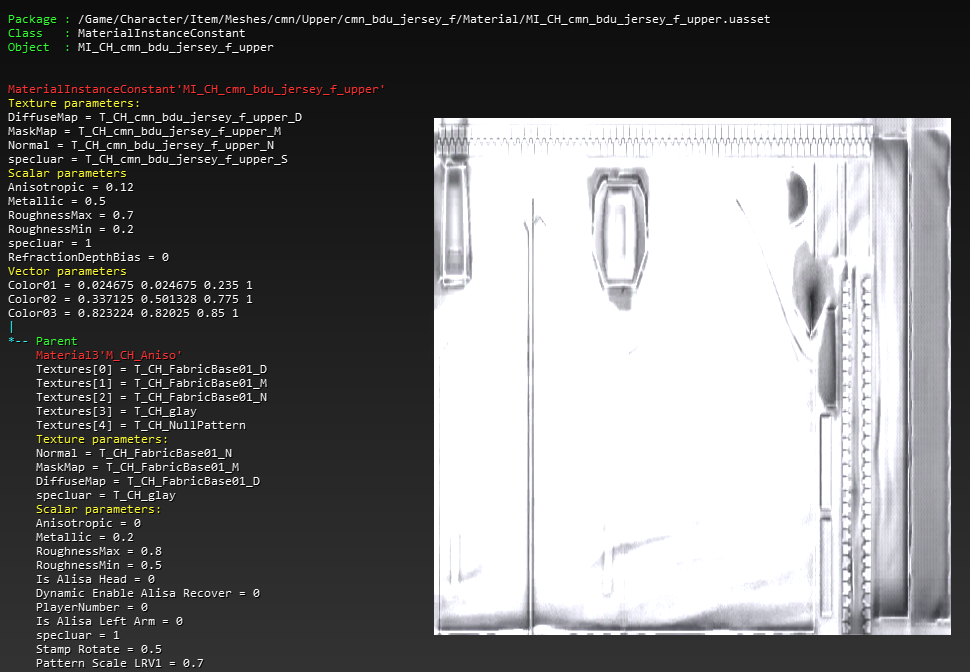
This one will make different areas of colorable, you need to think about this carefully! Find the costume your going to swap this with and look at it's colorable MI mask textures, you will have to use the exact same colors used in the original _M texture to make it work. If you don’t plan on making your mod colorable, make the Mask map fully transparent
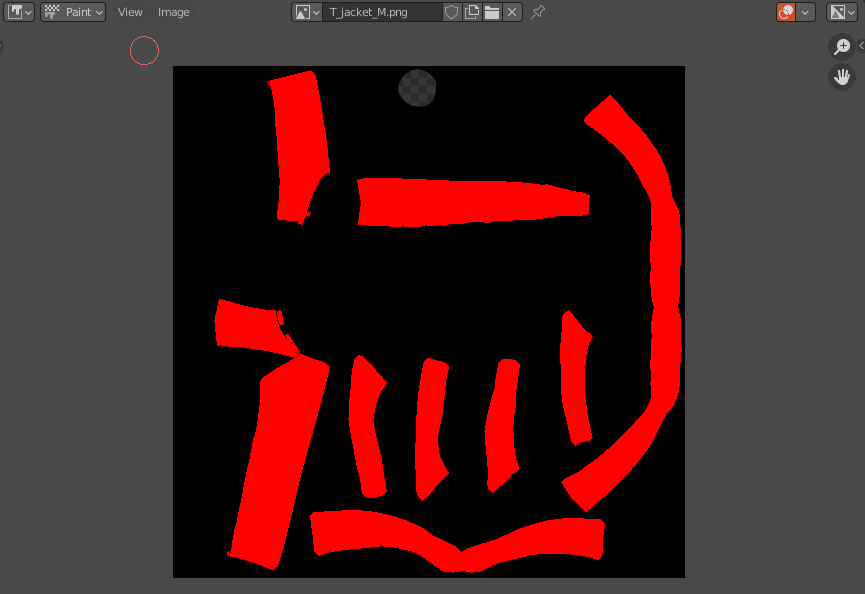 That transparent area on top of this texture tells the game that that part isn’t colorable
Note: You won’t be able to see it this in blender, but it will work just fine in the game so don’t worry about it
That transparent area on top of this texture tells the game that that part isn’t colorable
Note: You won’t be able to see it this in blender, but it will work just fine in the game so don’t worry about it
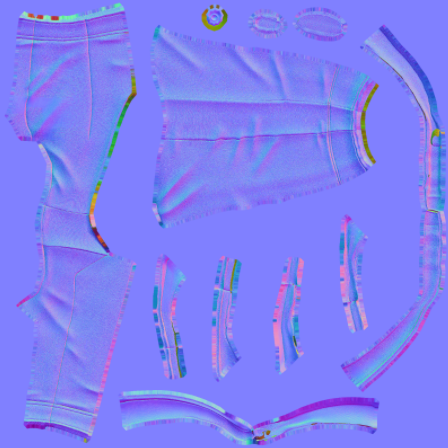
Normal Map
Normal map will give your models more details, you control the roughness by this map as well
How do you create a custom material for tekken7
I will show you how to create custom defused, normal, and mask maps (stoner method)
You can get free textures from this link: https://ambientcg.com/
Baking the Diffuse Map
But before baking I give my high poly mesh all the details I want, I don't uv-unwrap my high poly mesh, instead I use this texturing method(easy texturing) and play with the scale till I'm satisfied. You will have all the details in the (high poly) defused map after baking.video demonstrating the method
 *don’t forget to save the image
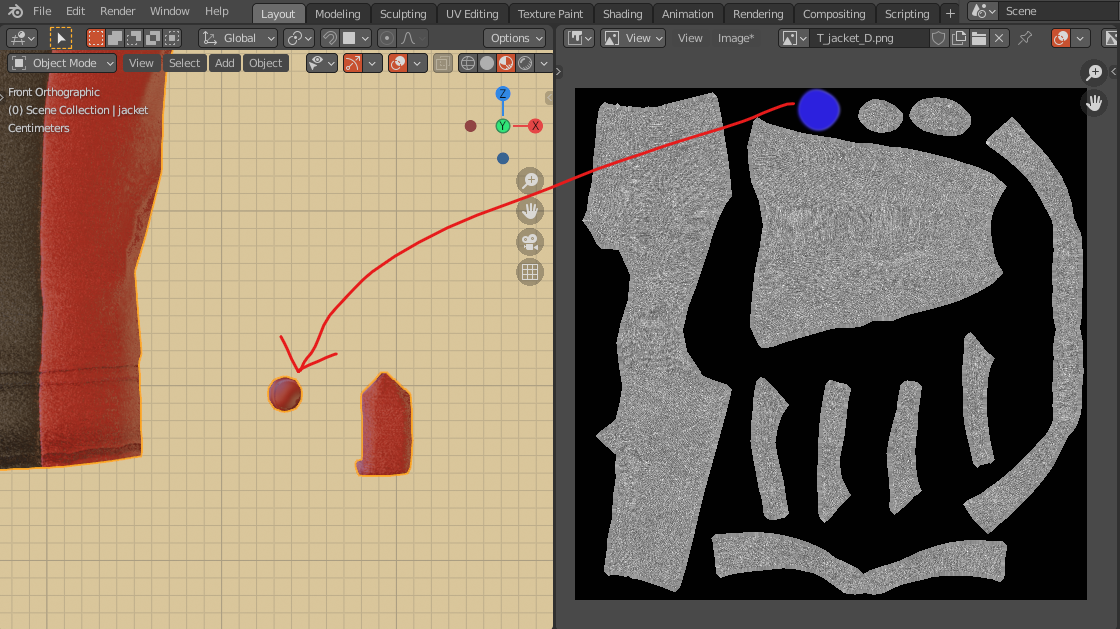
Baking the Mask Map
It's similar to creating the defused map, just make sure you give the colorable areas the right color
(this is how I do it)
 *don’t forget to save the image
Then I edit the image in krita(2D art software), I make transparent areas for the none colorable areas then save as png (any other art software can do this as well).
*don’t forget to save the image
Then I edit the image in krita(2D art software), I make transparent areas for the none colorable areas then save as png (any other art software can do this as well).
creating one texture for Normal and roughness with blender and krita(2D art software)
I mostly do what this guy does in this video
I keep doing the same thing I did when creating my defused texture to create all the extra details (fabric details)
 (ignore that all mustard colors lmao, they are hidden parts of the mesh and no one will see it anyway)
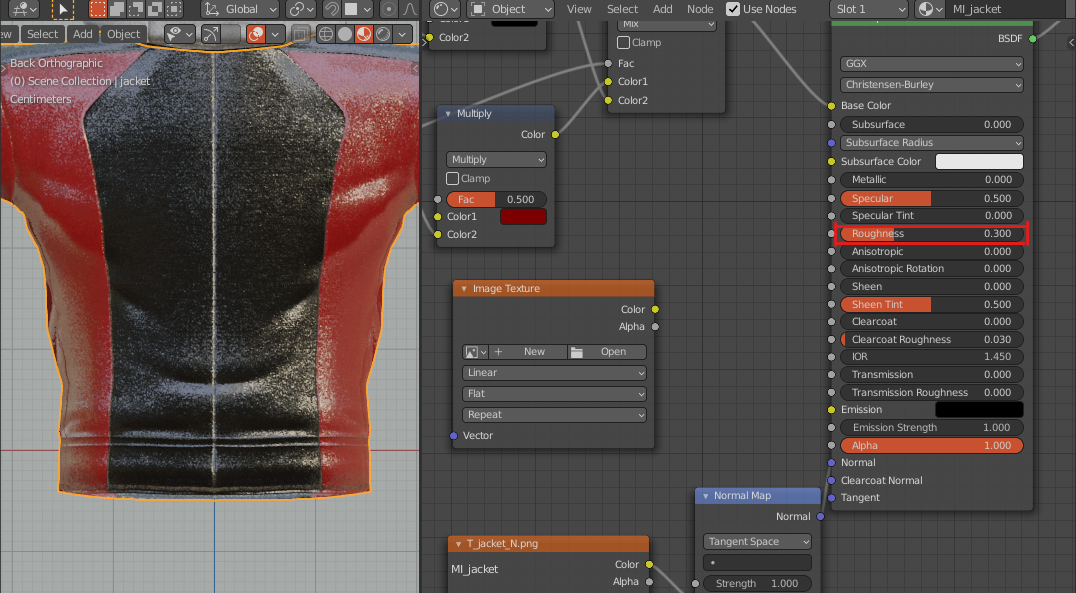
Although this looks fine in blender, you will need to invert the green channel for it to look right in the game (for unreal engine4 reasons)

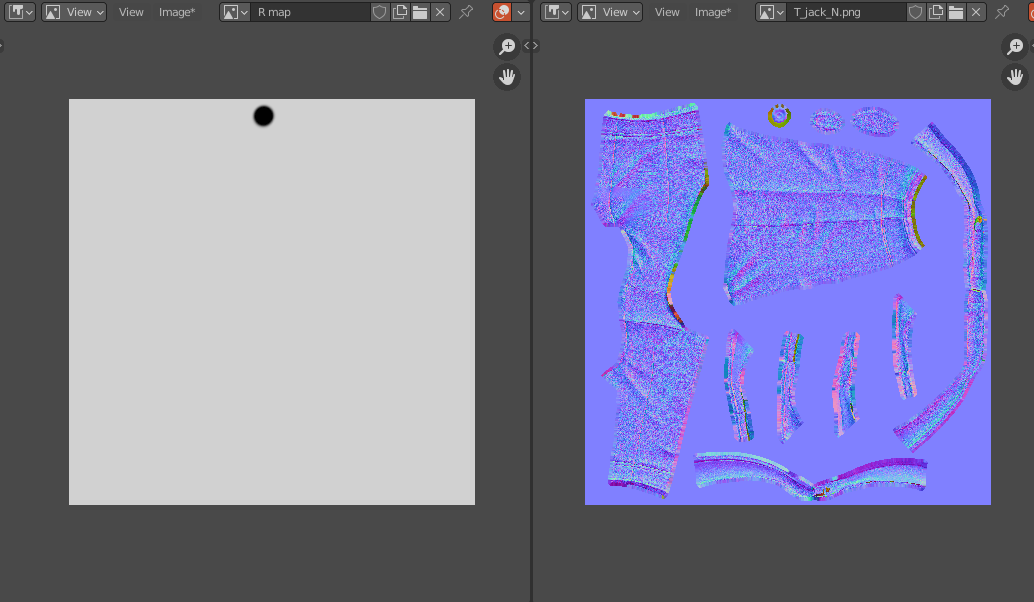
The roughness is controlled by the normal map, and before making that happen I would play with roughness slider and decide what value I want
create a new image and give it the same (black and white color) value then plug it to the roughness
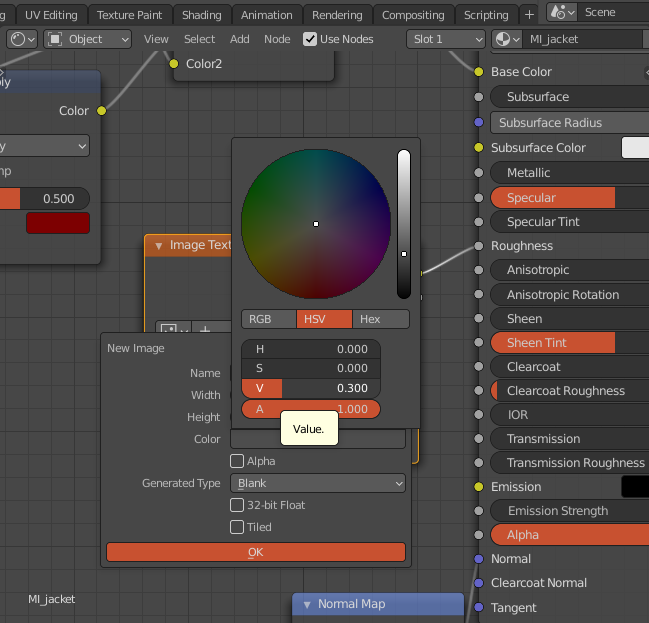 * make sure to set the color space to non-color instead of sRGB
If I wanted some parts to be shinier, I usually edit my roughness map in texture paint like this (black -> shiny
White -> rough)
* make sure to set the color space to non-color instead of sRGB
If I wanted some parts to be shinier, I usually edit my roughness map in texture paint like this (black -> shiny
White -> rough)
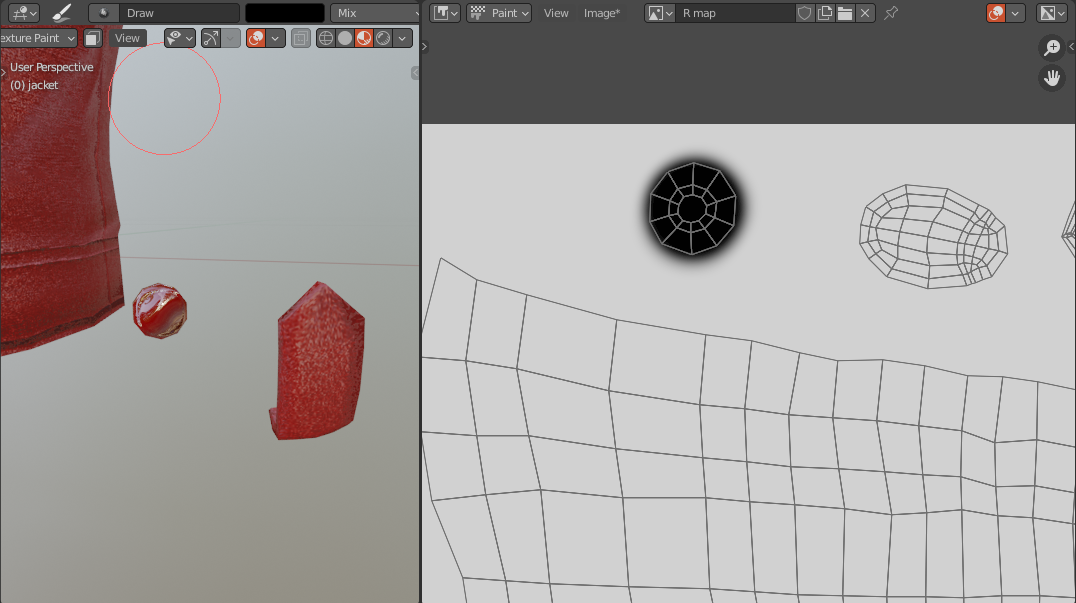 *i edited the roughness so you could see the difference
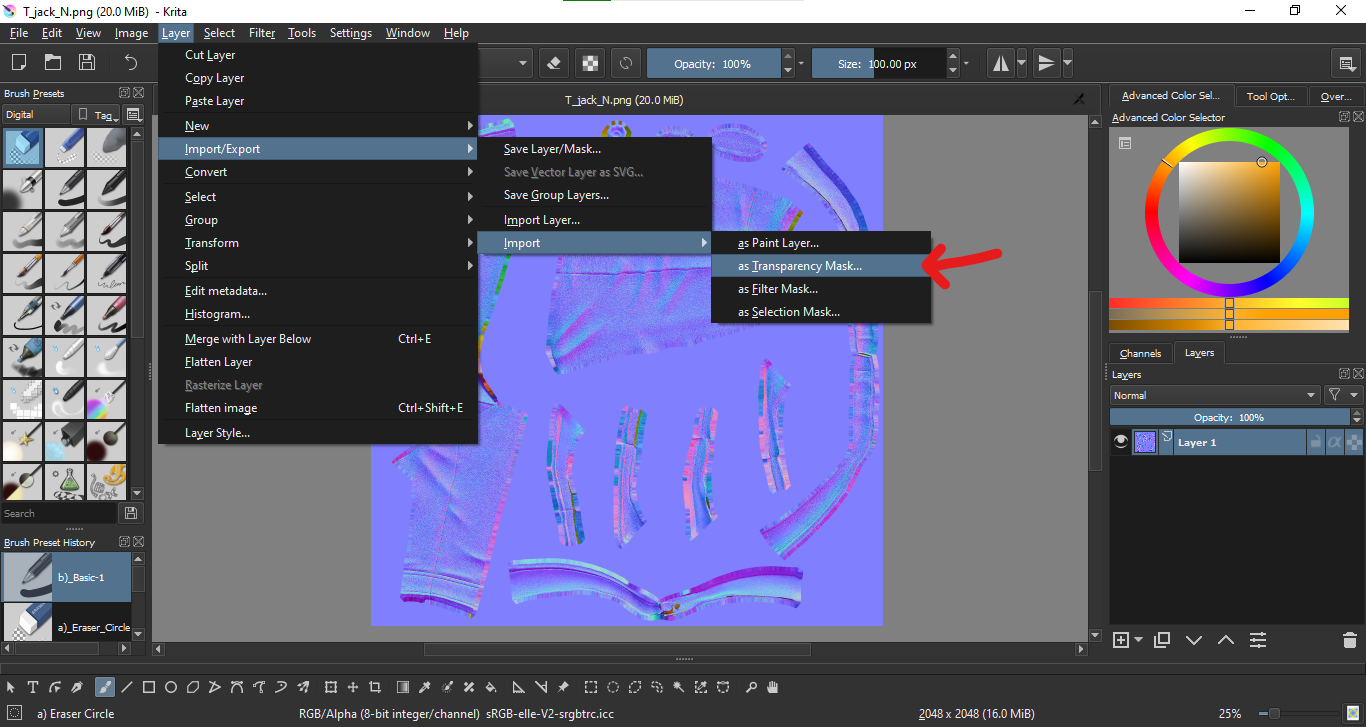
Now we will use the roughness map as a transparency mask in krita(2D art software) so we could use the normal texture for roughness and normal map together as seen in my material structure
Launch krita(2D art software) and hit file -> open then select the normal map you created
 You will end up with something like this, save it as png
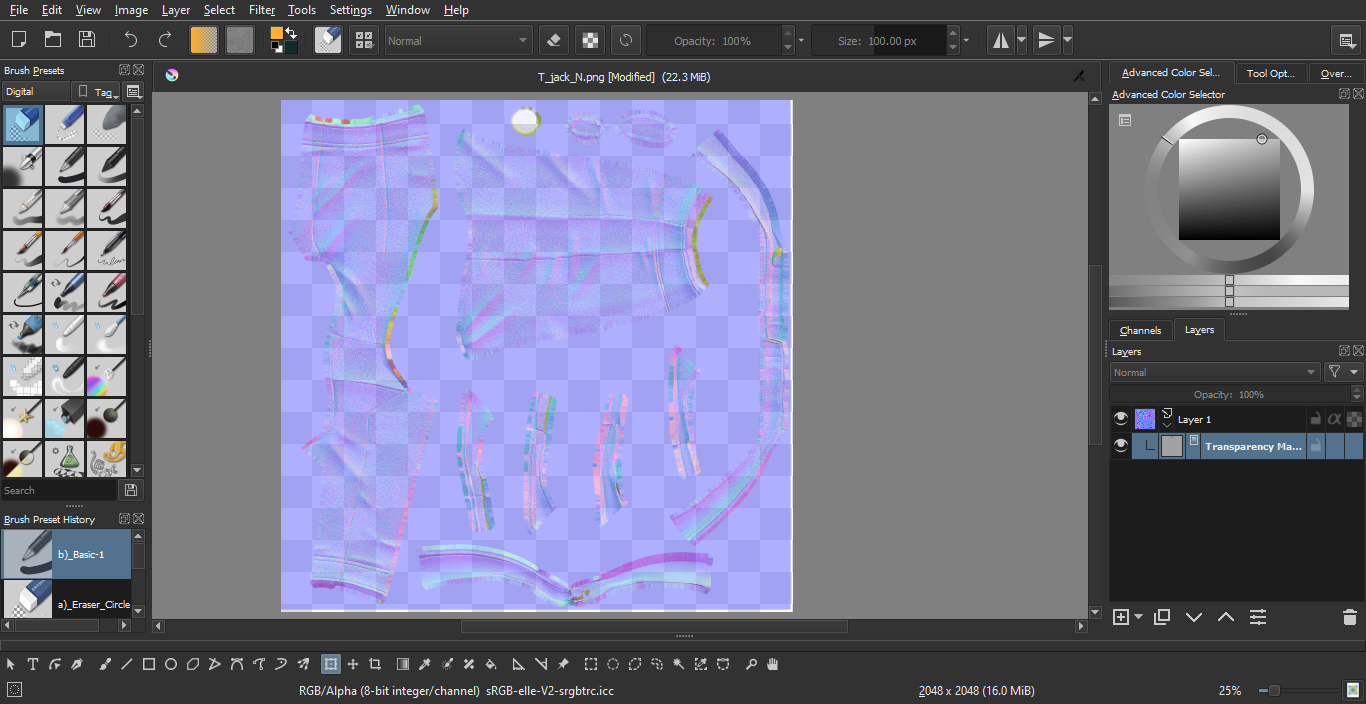
Photoshop method (image by Ultraboy)
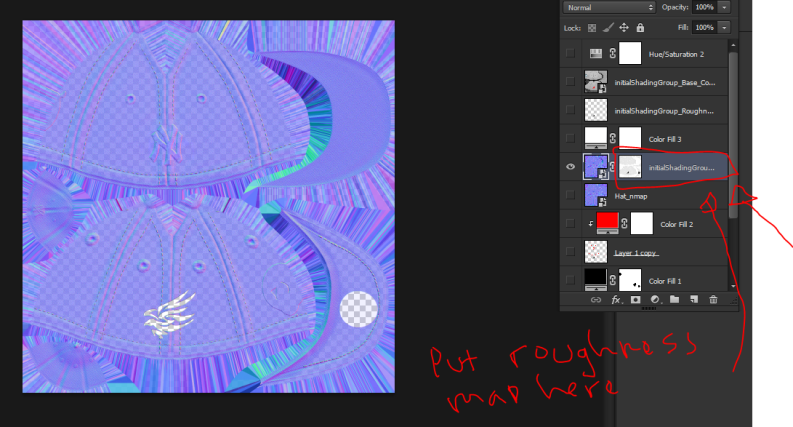
And like this you have your diffuse, mask, and normal maps
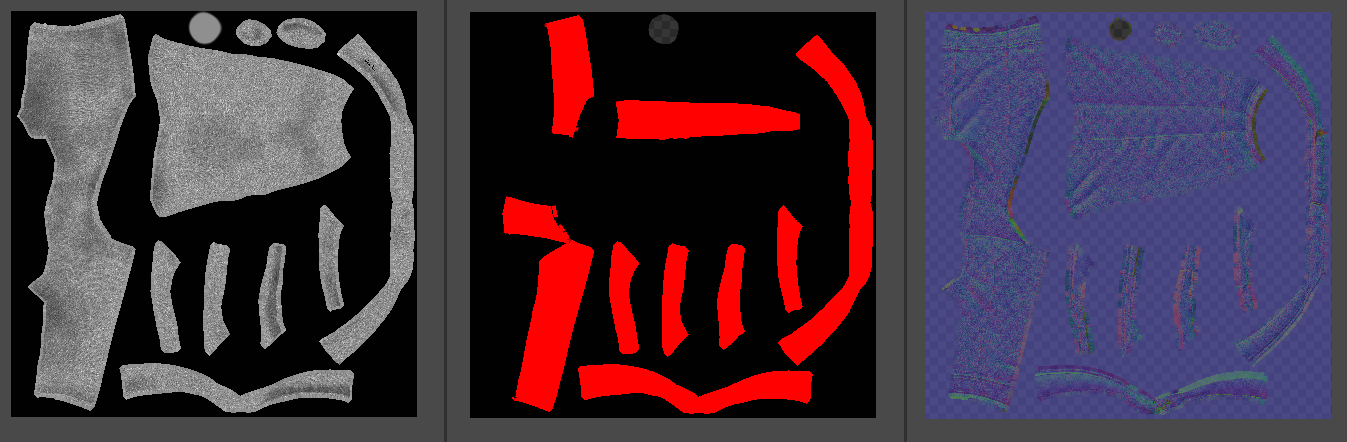 *i edited my diffuse map to make it look better
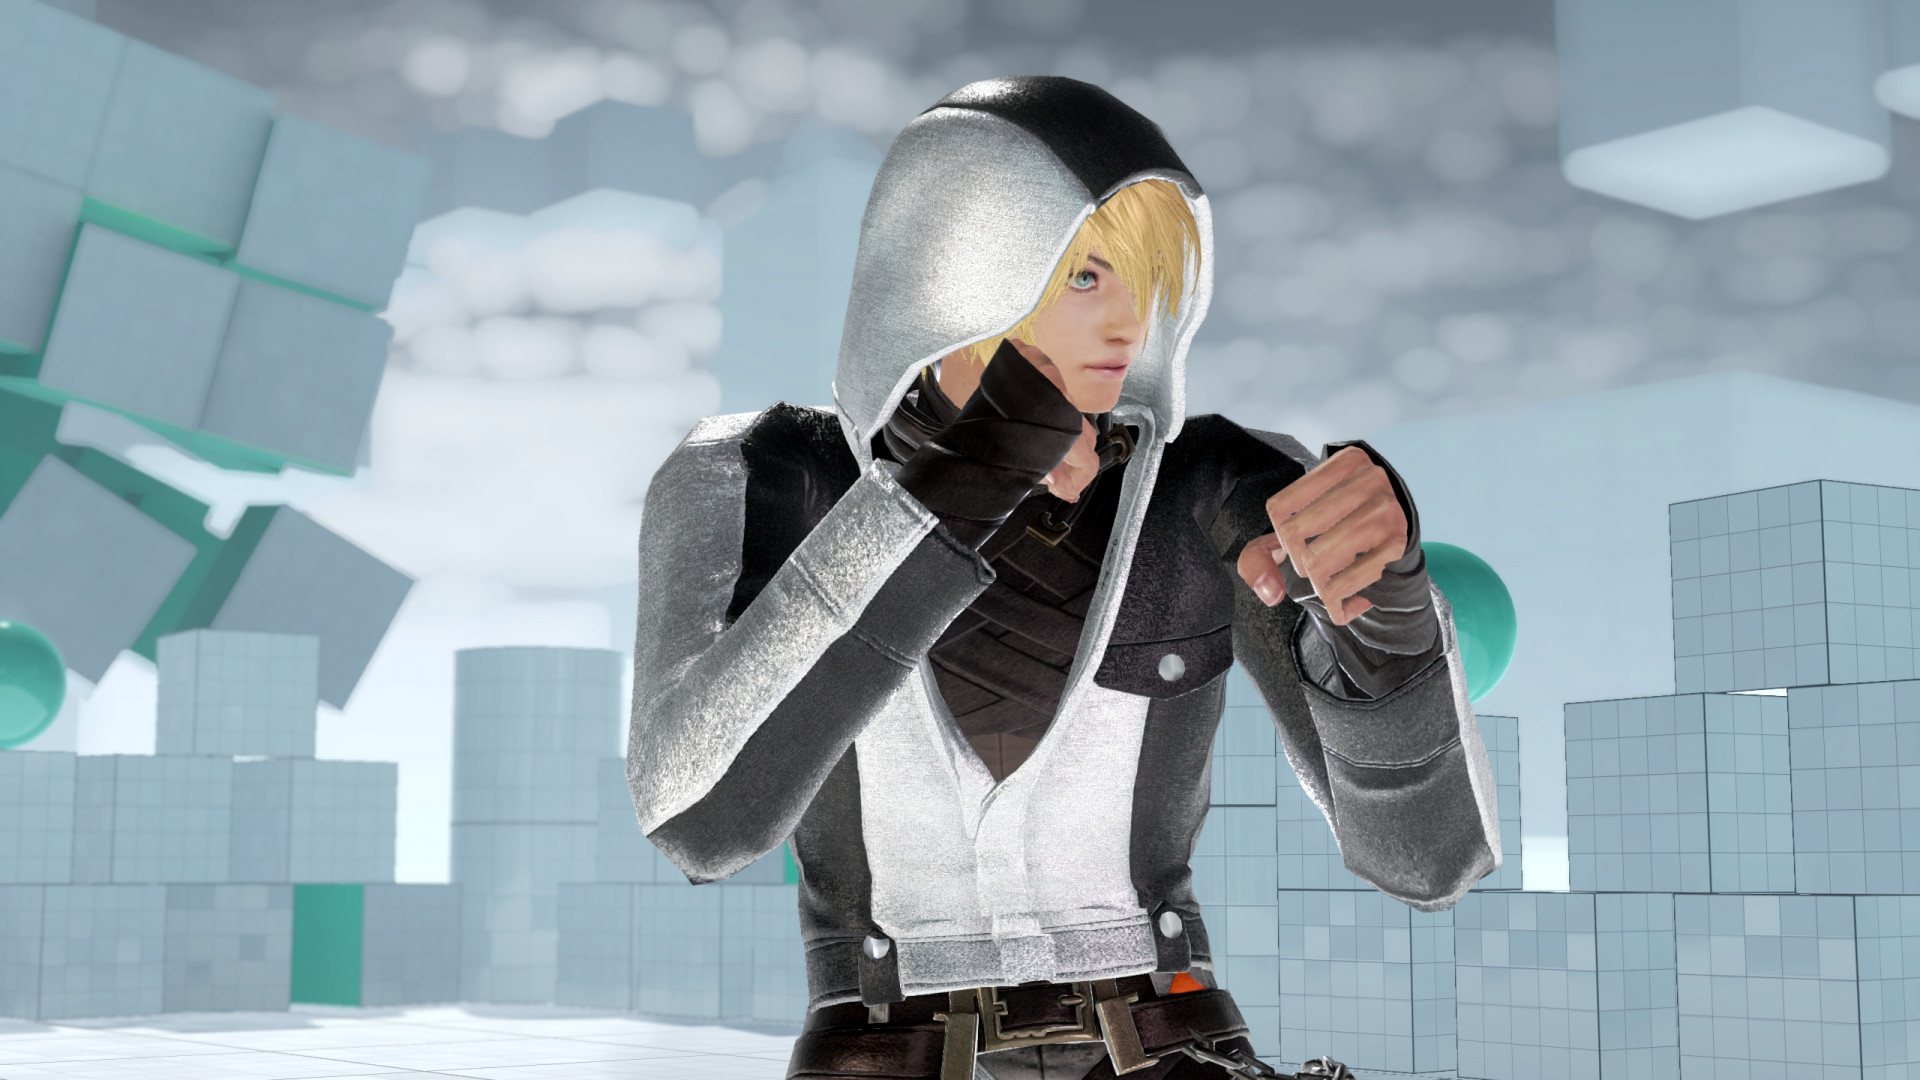
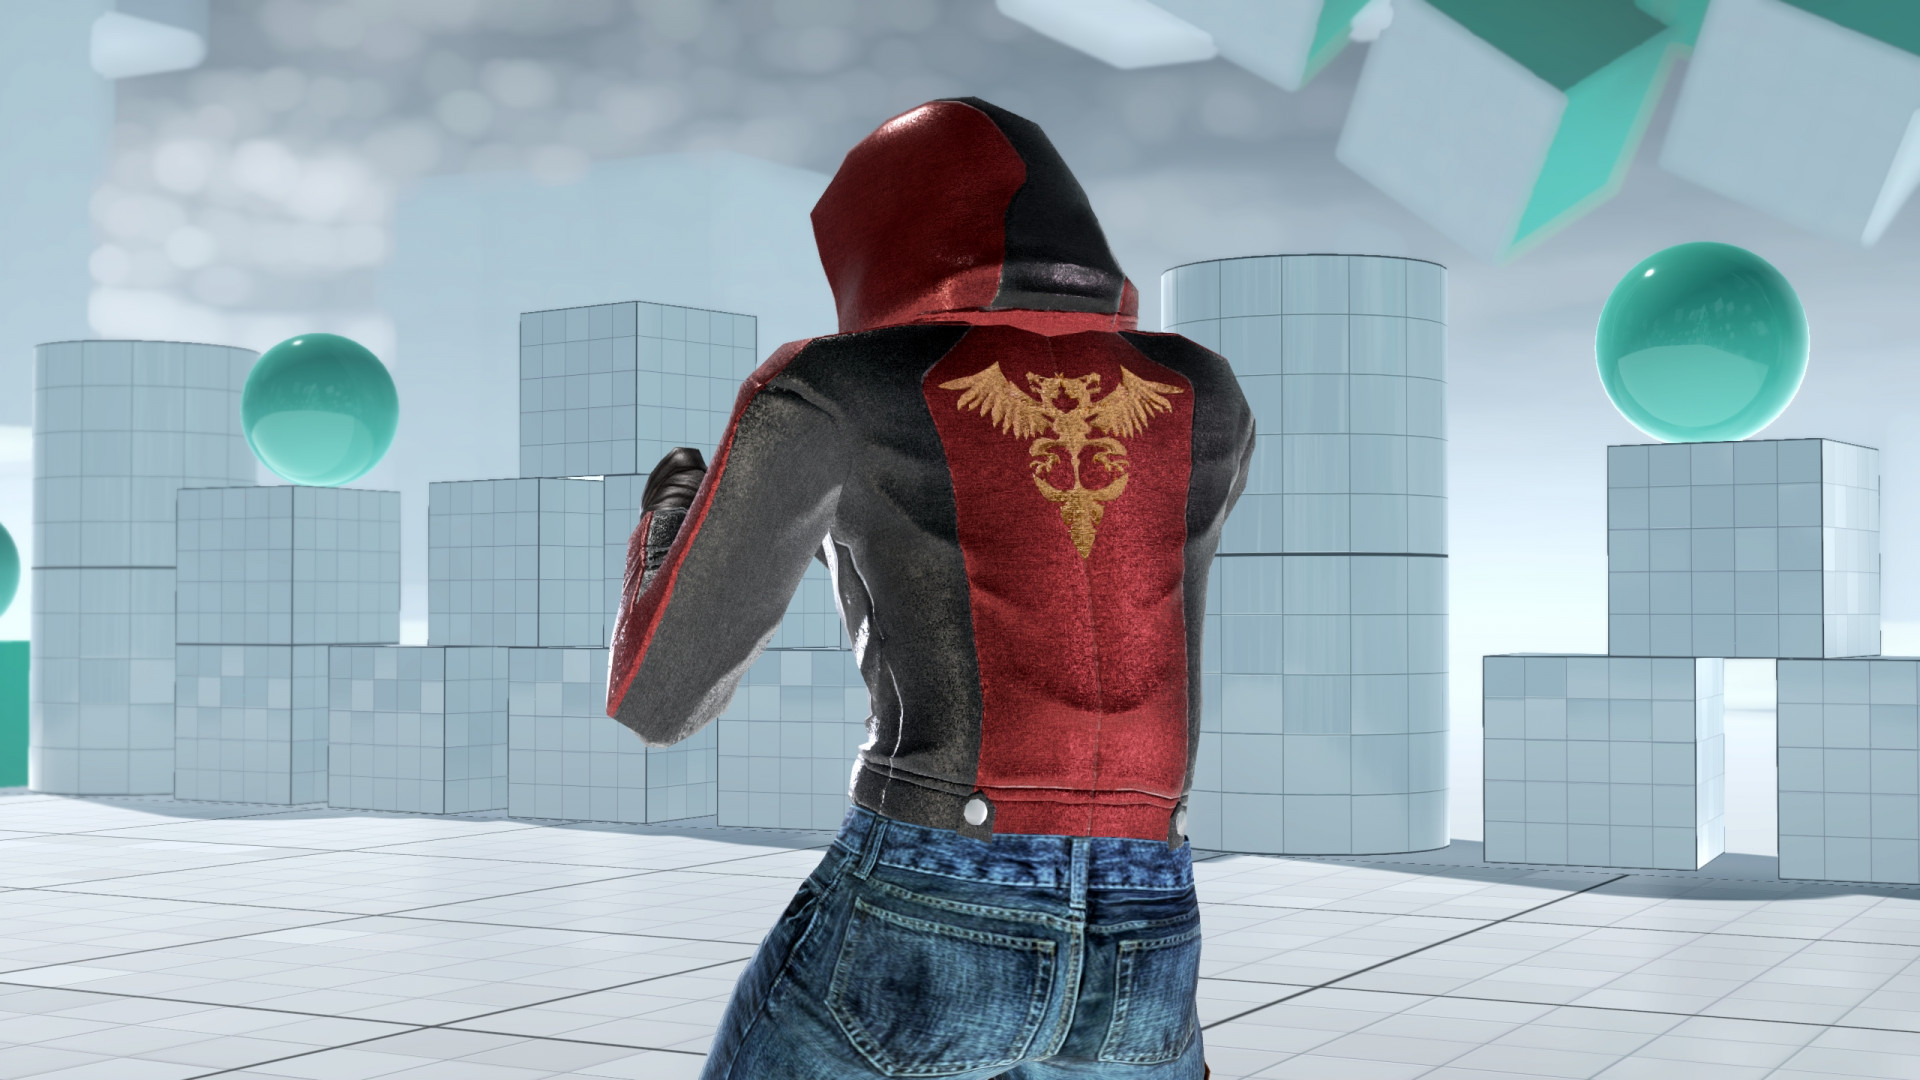
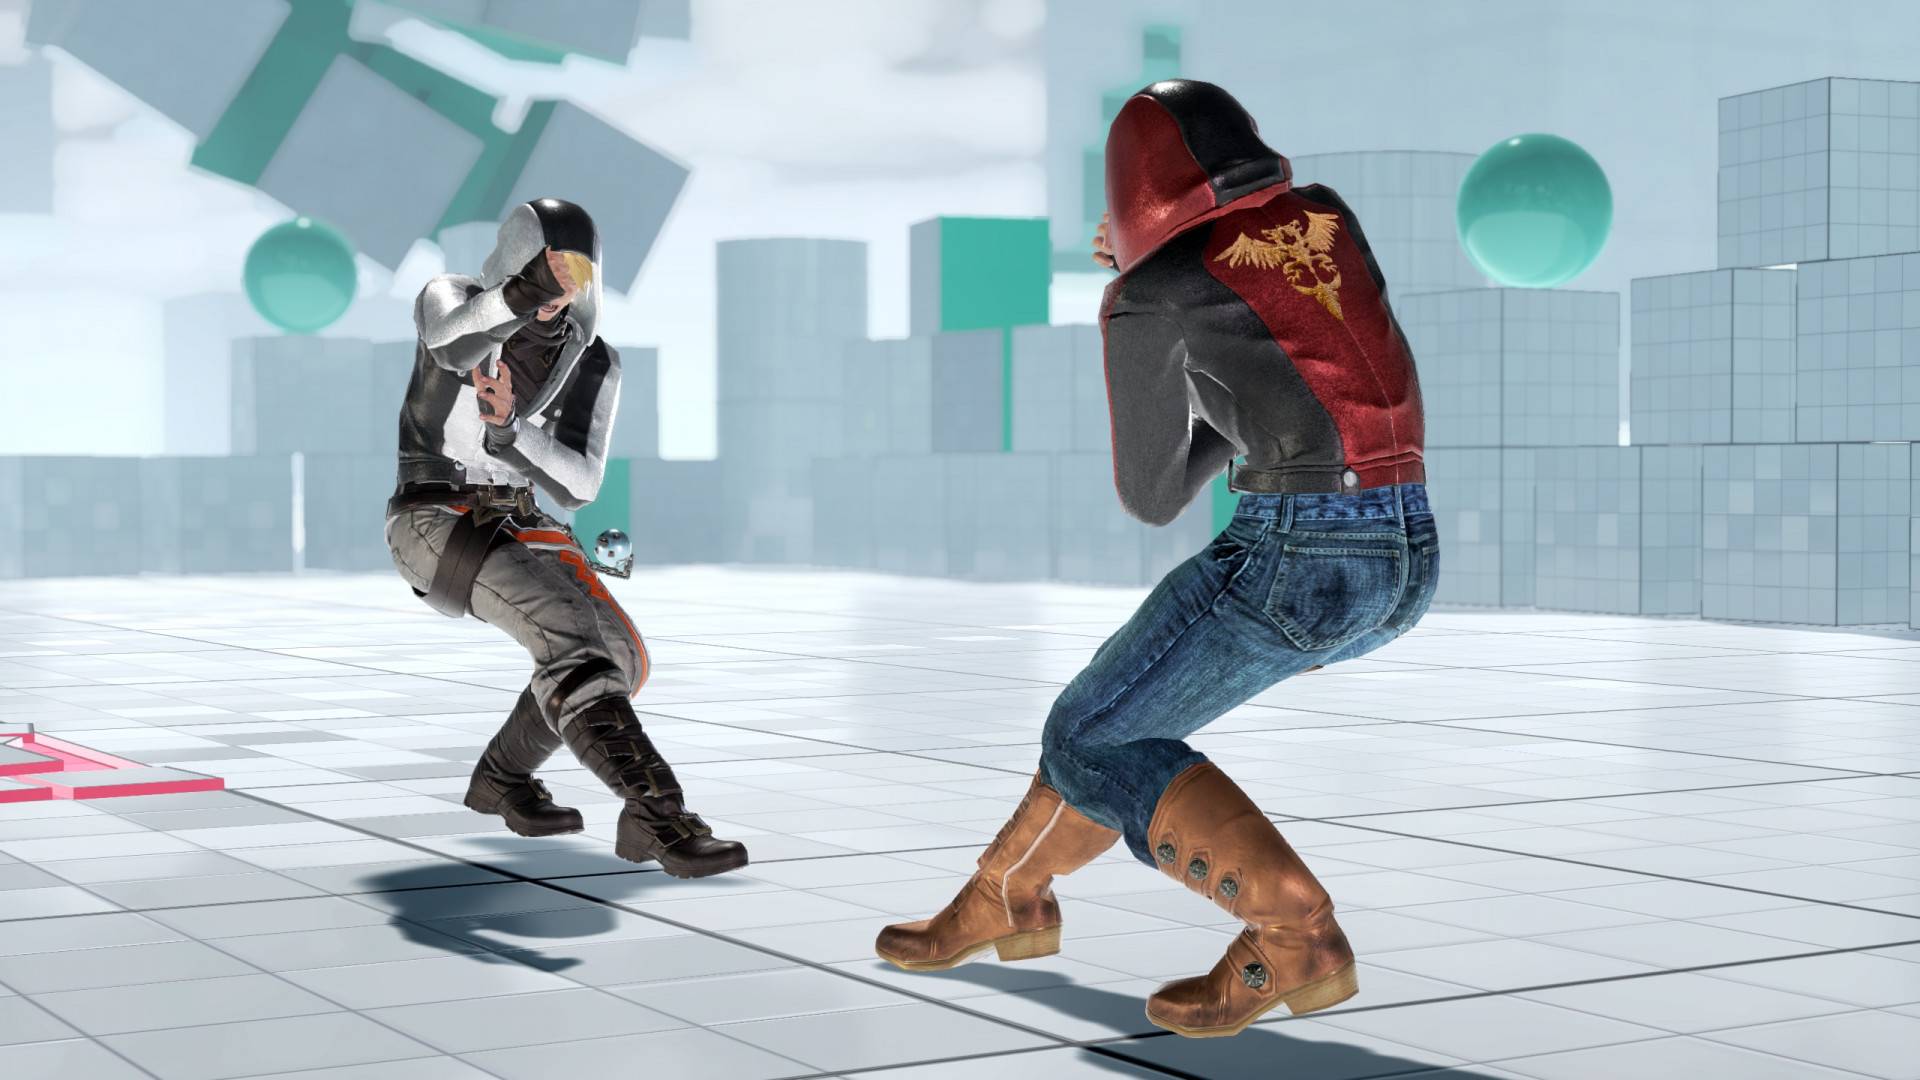
Results: