[SFxT] How to make your own Alpha mesh
An archive of SFxT mods forum board. Original guide was made by BrutalAce.
![[SFxT] How to make your own Alpha mesh](https://dist.tekkenmods.com/dist-cache/1920/1/posts/17/thumbnails/63c1dc2bfb28a067-1024x819.jpg)
NOTE: This guide requires some knowledge of Blender, Photoshop and general modding.
I made this technique sometime ago and wanted to share it, today I got some time to write a tutorial about it. Making Alpha mesh is a great way to add more detail to your mod as they allow you to add non-customizable or customizable elements. In SF4AE it is particularly easy to add new drawings because you have the option to paint directly on textures but in SFxT this gets difficult as we work on those customizable textures.
To understand what I am talking about take a look at this picture

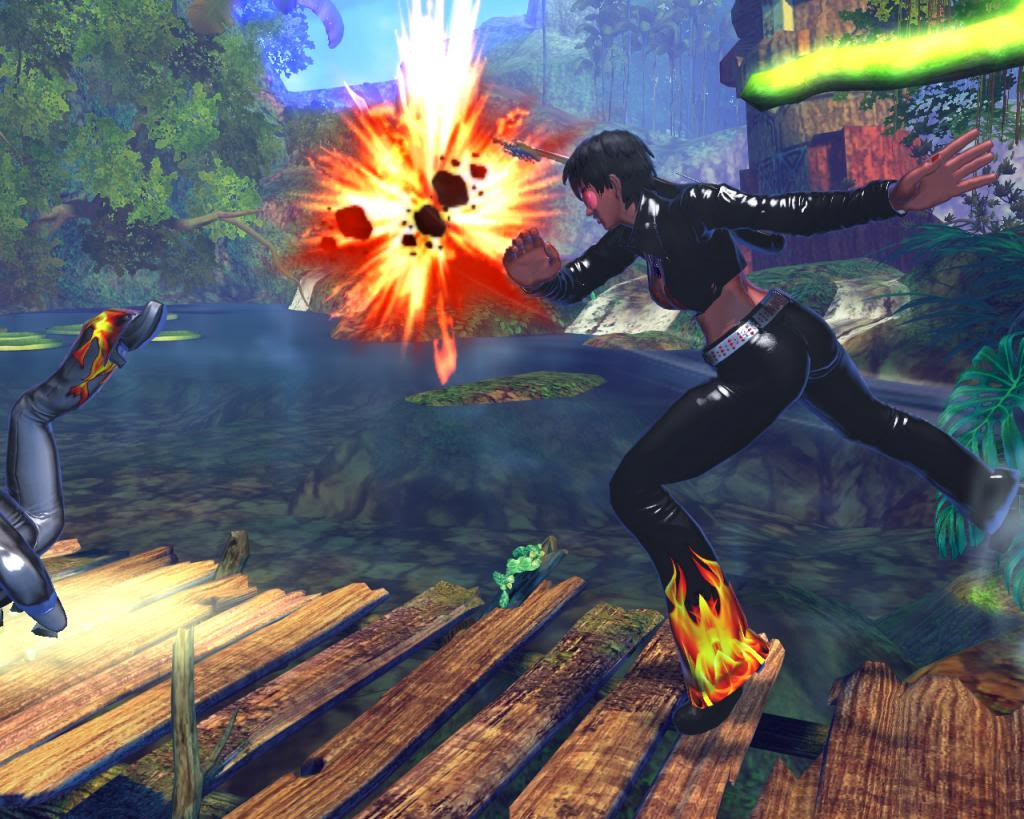
The mod looks good but a bit empty due to single color, what if I want to add a non-customizable element on her pants? Say some flames?
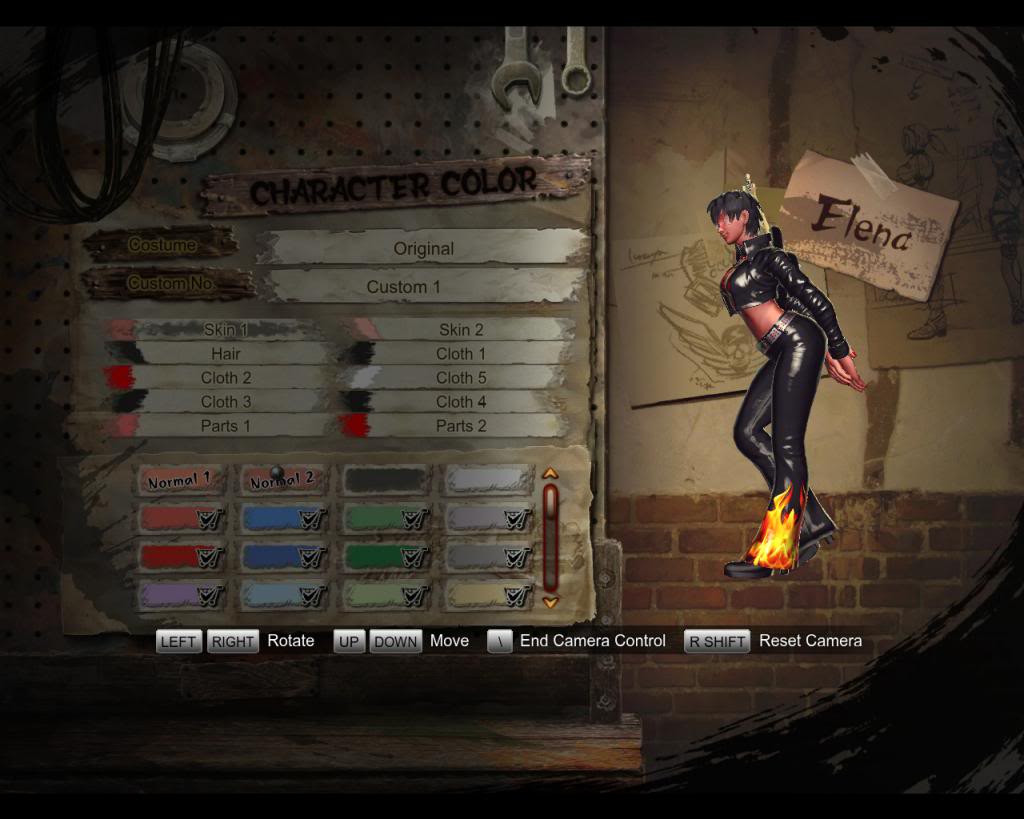
Looking good isn’t it? And underlying pants color is also customizable with no affect on your flame drawing. This guide will tell you how you can achieve this.
NOTE: Make sure you have completed your rigging before making an Alpha layer; it should be done in the very end.
STEP 1
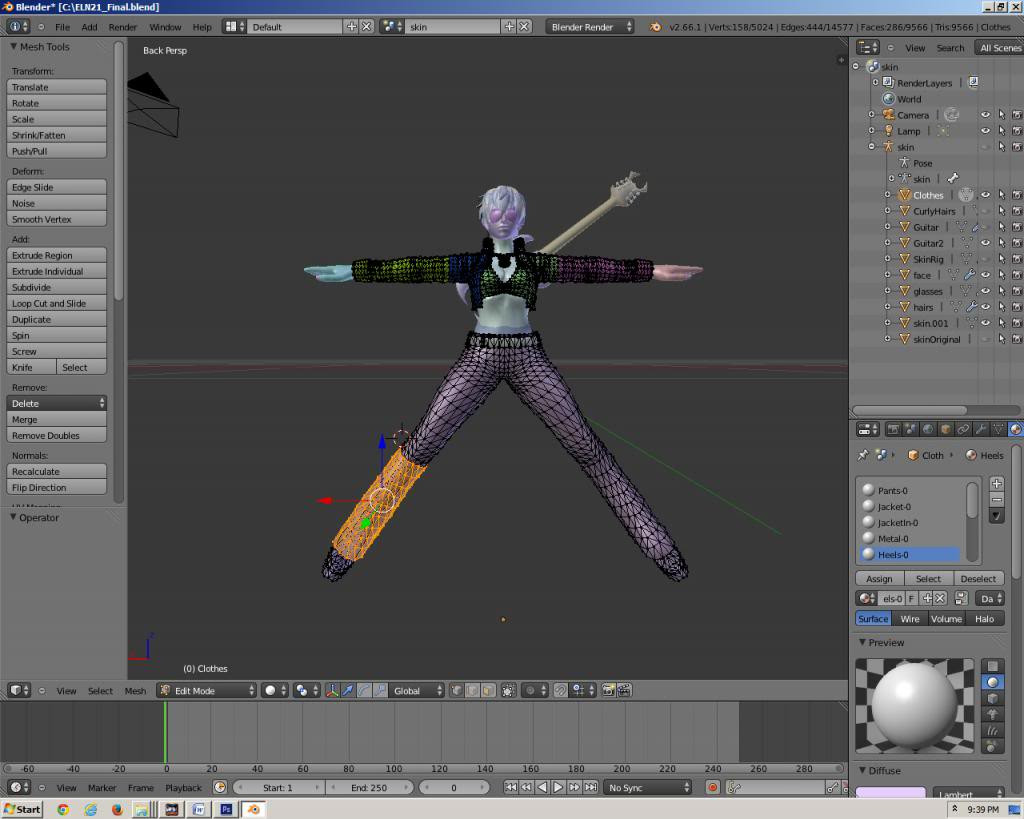
First of all open your Blender project that contains the mesh from which you want to make an Alpha mesh.

STEP 2
Now go in edit mode and select the vertices/faces that you want to use for Alpha mesh (Basically the area where you want to paint additional things).
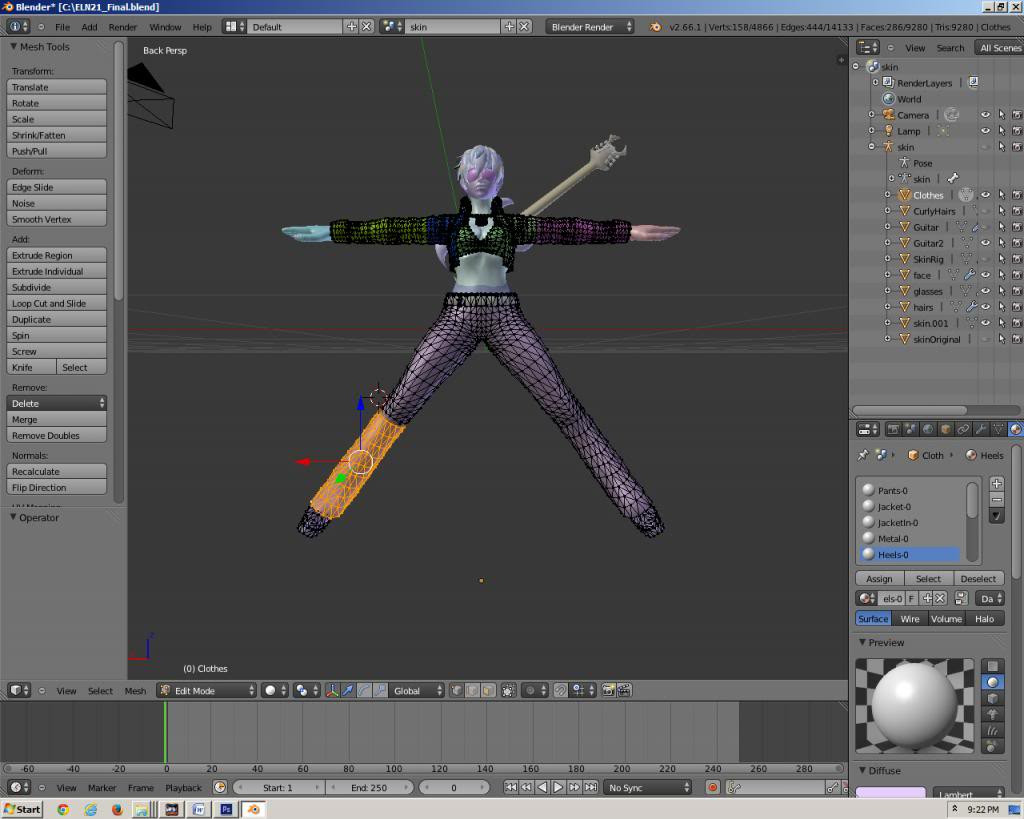
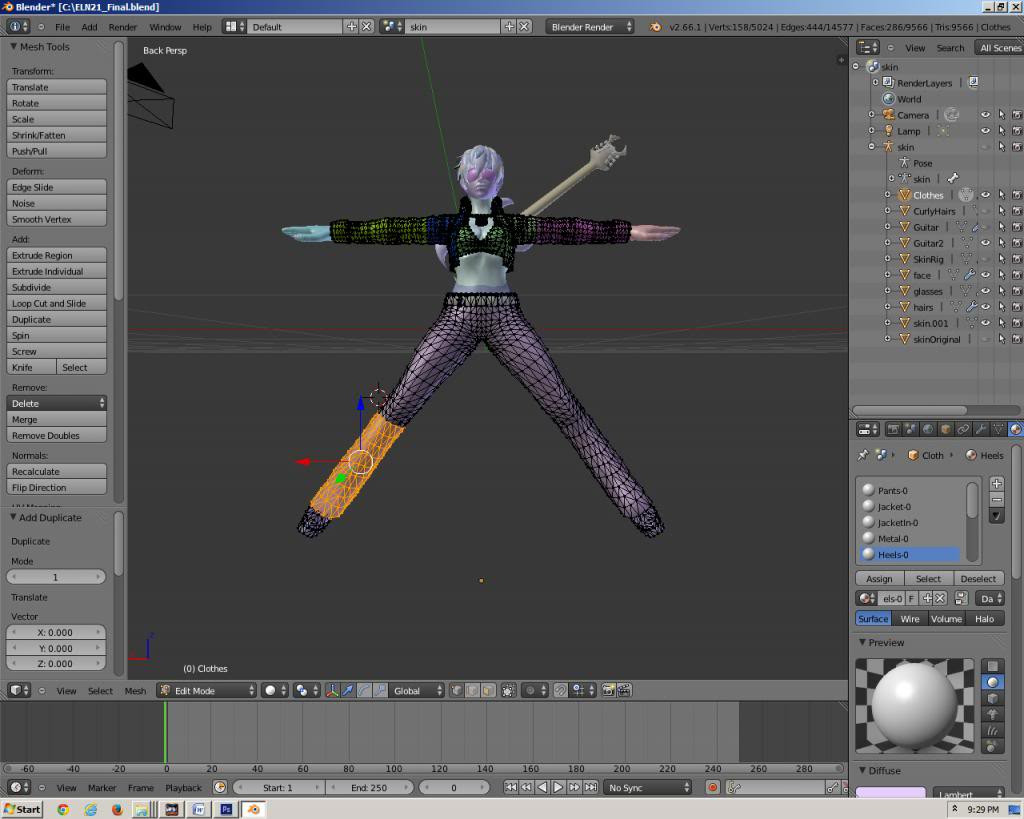
STEP 3
Now duplicate the selected vertices by clicking on duplicate button on left side. Make sure you press duplicate button twice to keep the position of duplicated vertices same as original vertices.
STEP 4
Now slightly increase the size of duplicated vertices. This can be done by either using “Shrink/Fatten” tool or “Scale tool” in Mesh tools on left side. “Shrink/Fatten” works better. Please make sure that proportional editing is off while you do this.
Notice that the size of duplicated vertices is increased by a very small margin, it is done to make them come on top of underlying vertices instead of overlapping on them, since the new vertices have same rigging as underlying vertices they will move exactly like them therefore you don’t have to worry about any clipping/overlapping.
STEP 5
Now make a new vertex group for your duplicated vertices and give them some name like “Pants_Alpha”. At this point you can save your work.

STEP 6
Select all other vertices by making an inverse selection (“Inverse” located in Select menu at lower left corner) and delete them, this will leave only the duplicated vertices you have made. Now export them as SMD.
STEP 7
At this point your Blender work is over; you can convert your smd to emg and inject it in your emo.
STEP 8
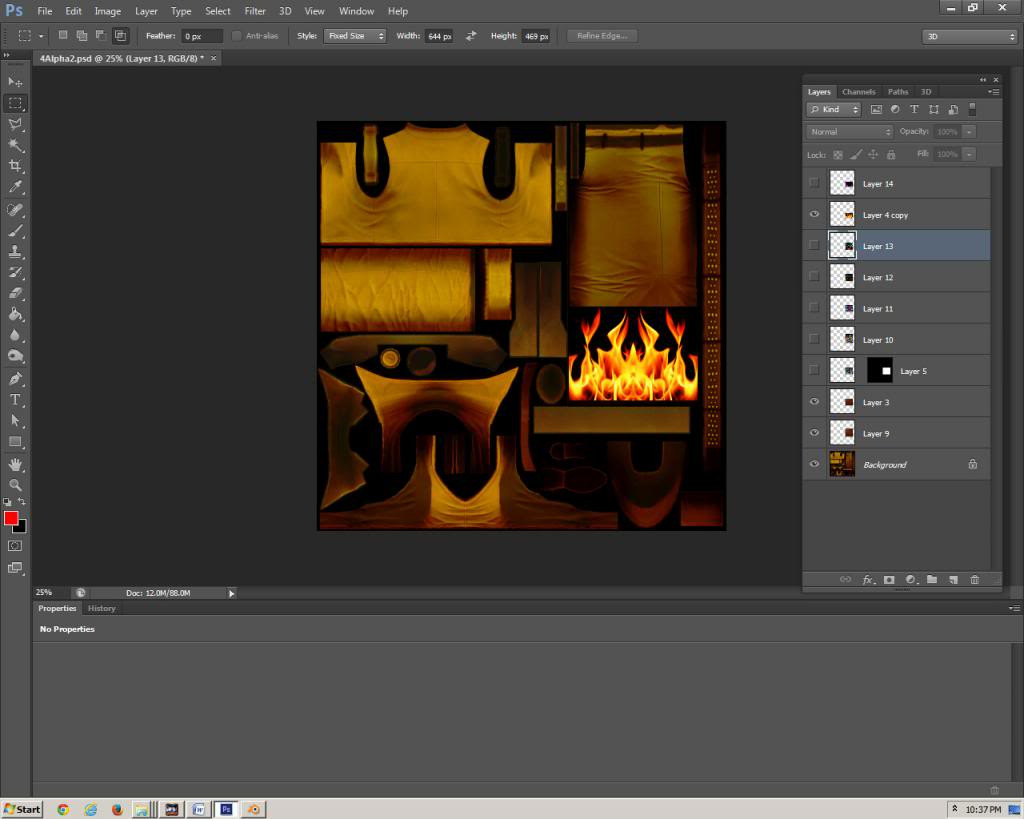
Now you will make a new texture dds for your “Pants_Alpha” emg to use. Open Photoshop then open the texture file that the emg is going to use. Keep in mind that your original pants emg is using a separate dds file while the “Pants_Alpha” mesh will use a new dds file having same textures as Pants dds but it won’t be a customizable dds.
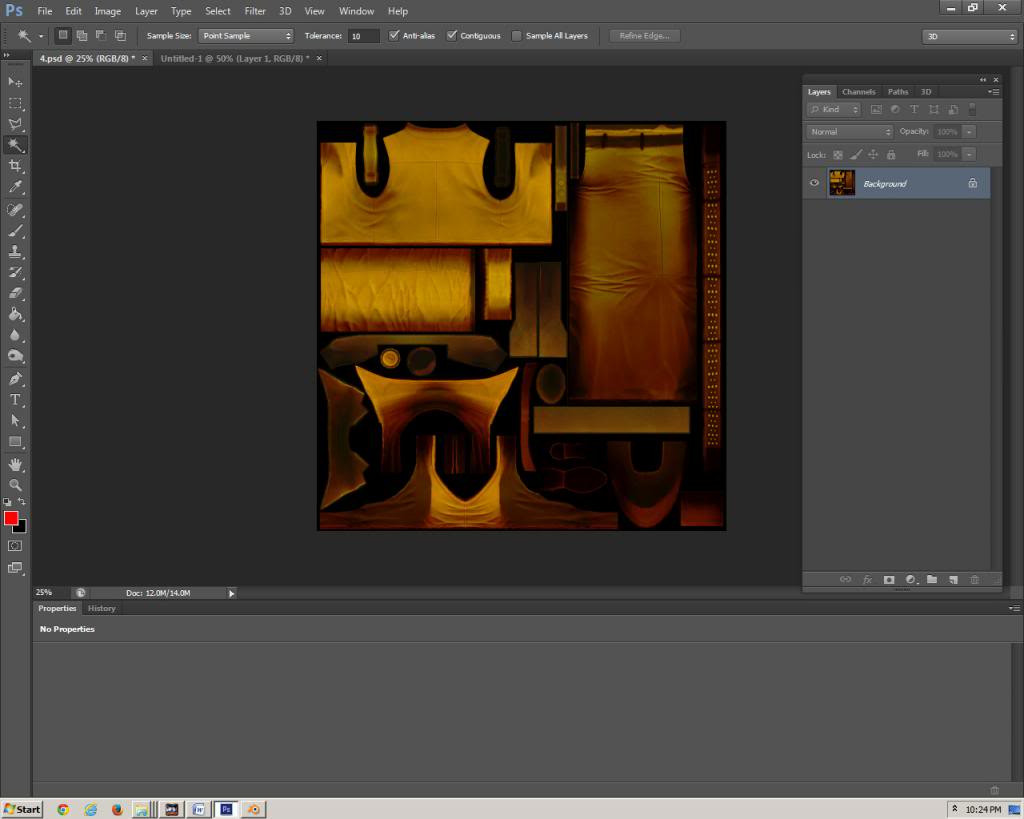
This is your pants dds.
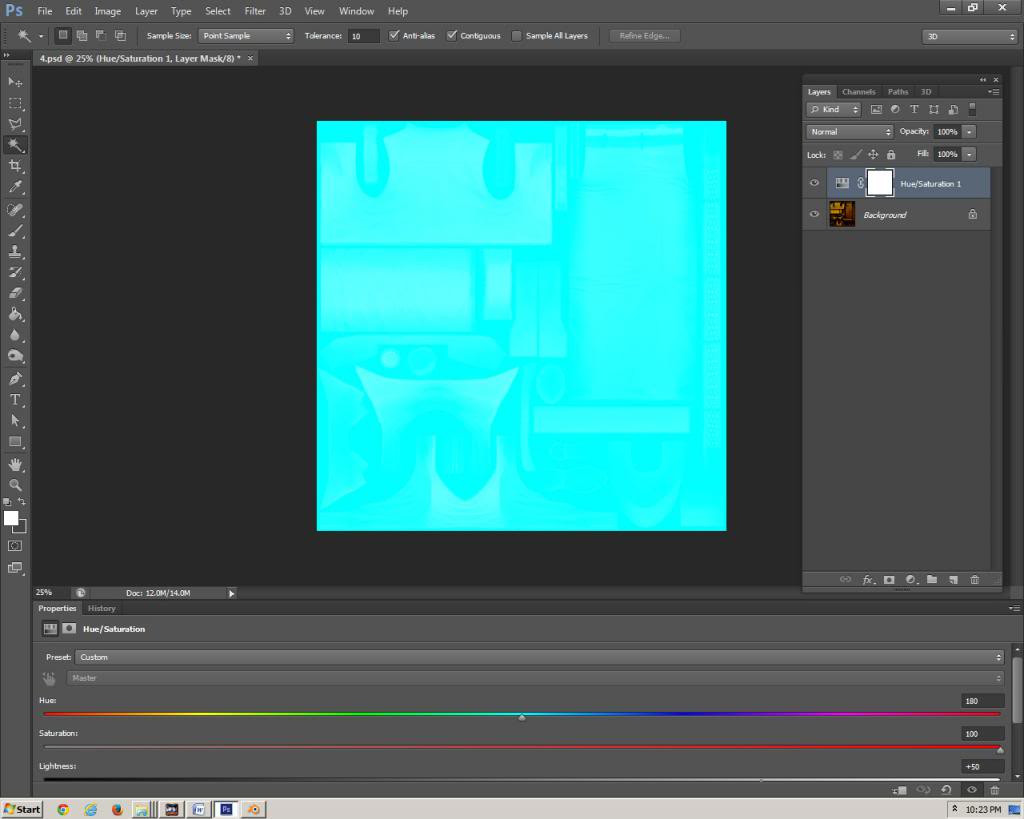
This is your pants_alpha dds.
Both have same textures but the one for pants is converted to a customizable dds and the one for pants_alpha is going to be non-customizable dds.
STEP 9
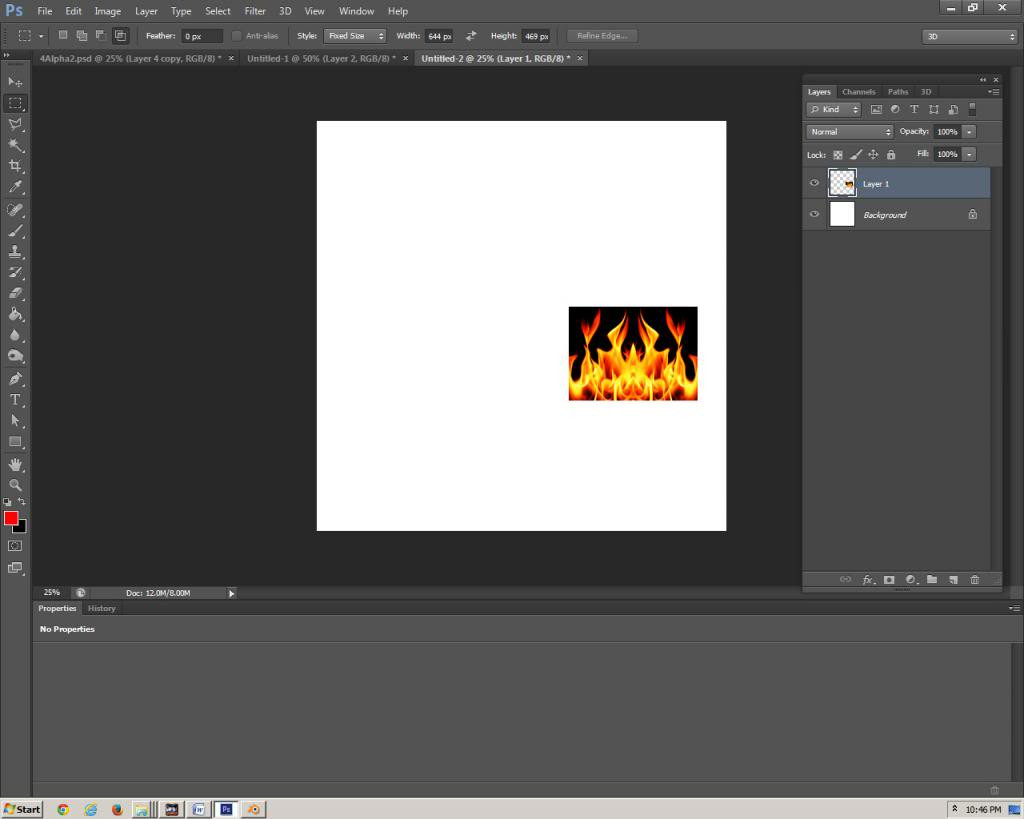
I have downloaded this flame image and made some modifications (like size, contrast etc). We will use this image on our pants_alpha dds and it will act like some fabric painting.
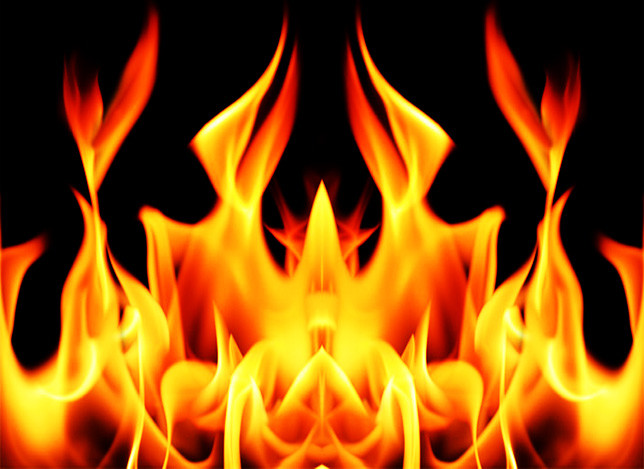
STEP 10
Paste the image on area which your alpha mesh (pants_alpha) is going to use. Like this (make sure you do this in a new layer).
STEP 11
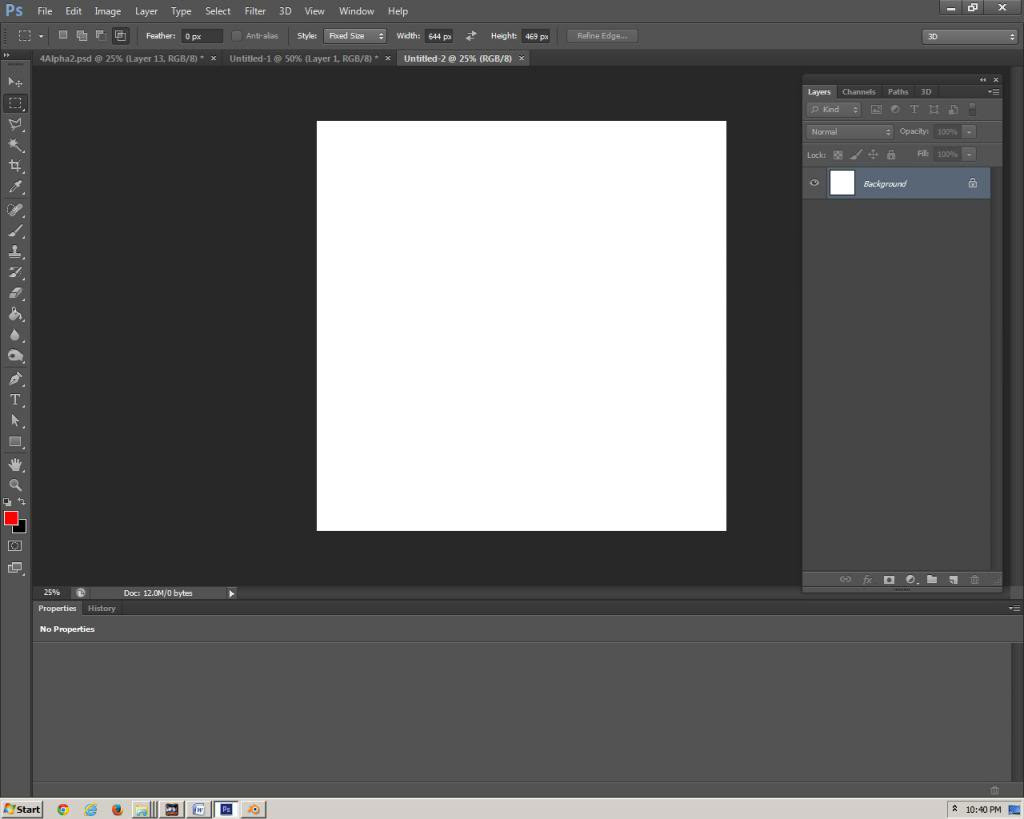
Now the most important step is to make an Alpha layer for your flames so it will blend with the pants. To do this make a new photoshop image and set the size same as your dds (here the size of my dds is 2048x2048).
STEP 12
Now from the dds where you have pasted your flames image, select and copy the flames layer (ctrl+click on flames layer then ctrl+c) and paste it in the new blank image you have just made (make sure you use “paste in place” option) this will preserve the location of your flames image. Like this
STEP 13
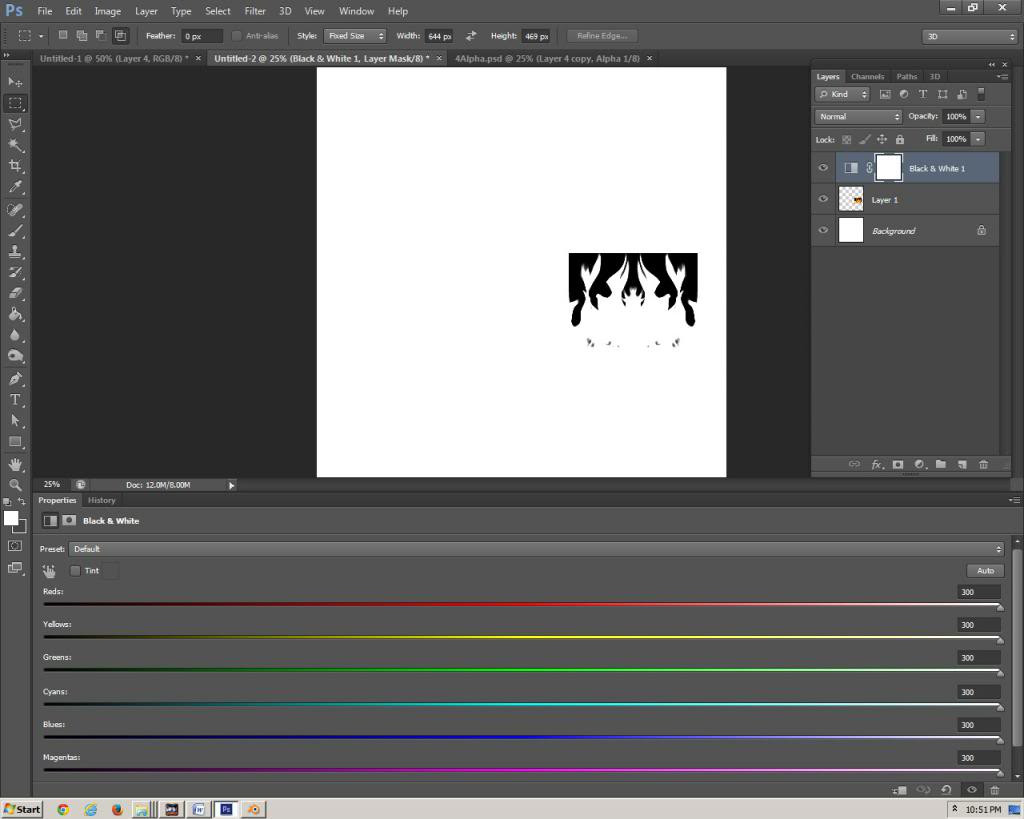
Now go in layer menu -> new adjustment layer -> black & white. This will make a black and white adjustment layer and you’ll see that your flames image will turn into black and white image.
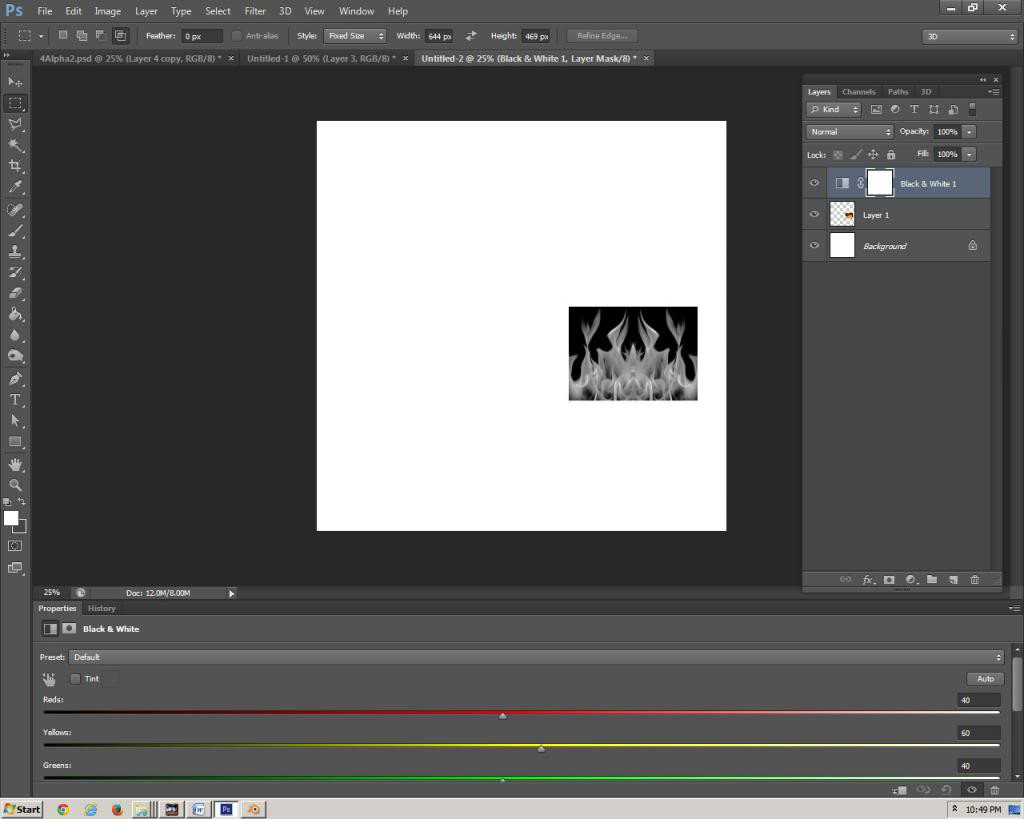
But this is not enough we need to convert this image into a pure black and white image instead of grayscale. To do this increase the levels of colors in black & white adjustment layer like this
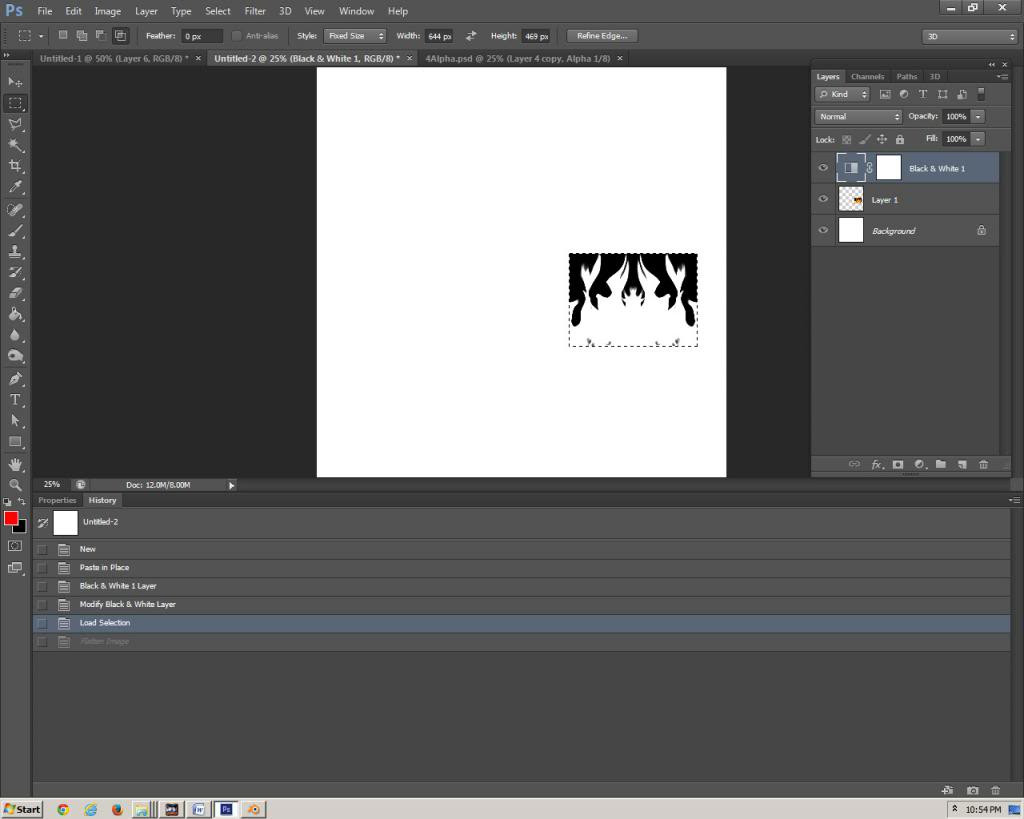
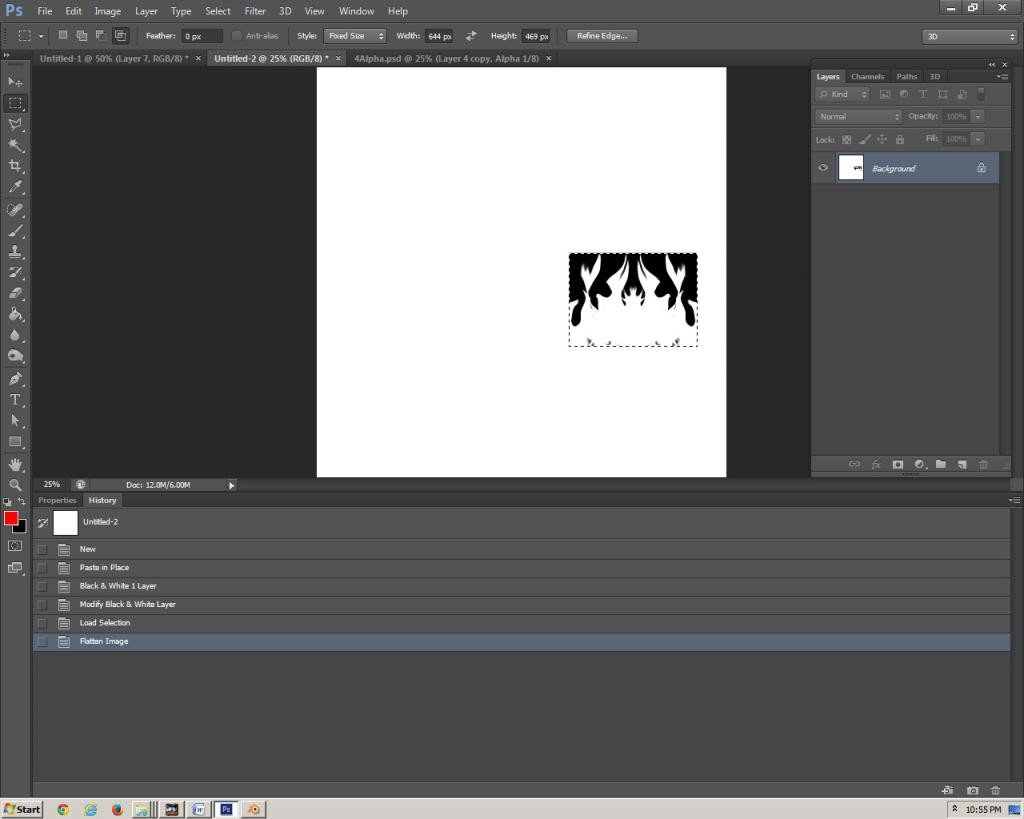
See now our flames image is converted into a pure black and white image. Now before you flatten this image ctrl+click on your flames image layer to select it and then flatten the image so that the area you want to copy remains selected.
STEP 14
Now copy the selected area and paste it back in Alpha channel of your pants_alpha dds like this (make sure you again use “paste in place” option to keep the location intact). Finally paint black color in all surrounding alpha channel leaving only flame as white.
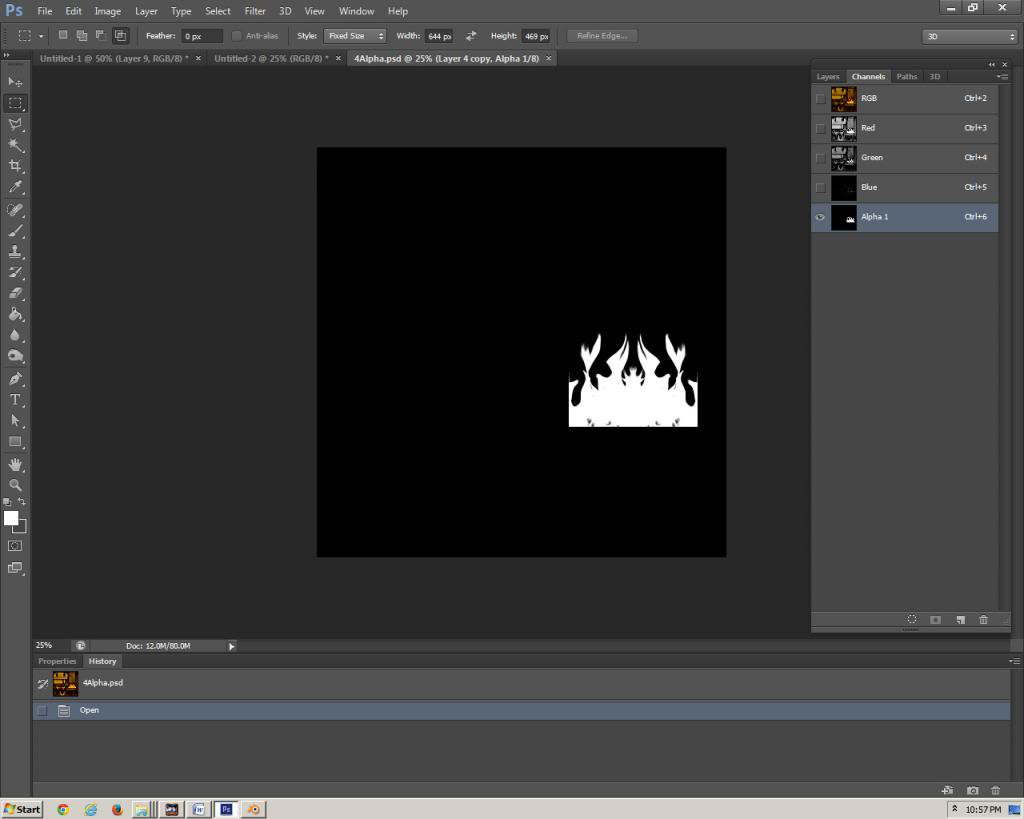
At this point our work in Photoshop is finished; you can save your work as dds.
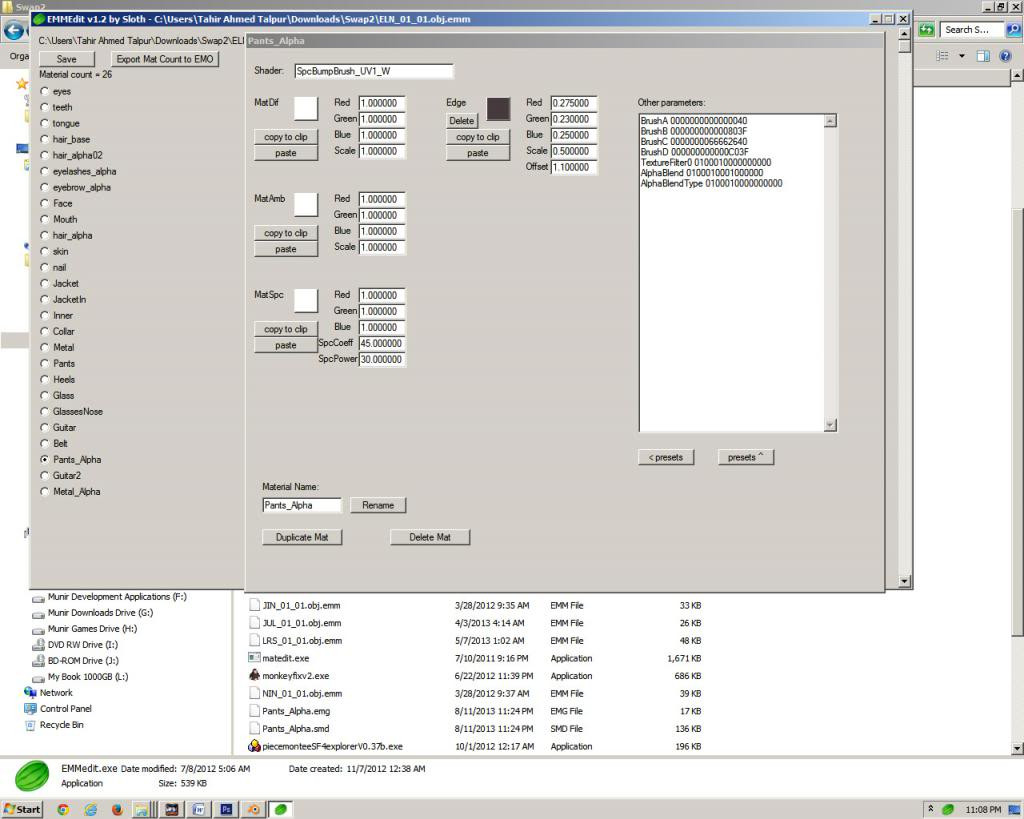
STEP 15
Open the emm file(s) and use these properties for your pants_alpha emg.
Now see your mod and witness some nice fabric painting.
As you can see the original pants color is customizable while the flames are intact with their own color.
This concludes the guide. Hope you find it useful.
Common Questions (FAQ)
1.What normal map should I use for pants_alpha dds? •There is no need to create a new normal map, the pants_alpha dds will use same normal map as the pants dds.
2.Can I make those flames customizable? •Yes. Basically this is the same technique that Capcom is also using in default costumes for example if you see Jin Kazama’s C1 it has customizable paint on his pants, so all you have to do is to convert pants_alpha dds into a customizable dds and make appropriate changes in emm files.
3.Is this guide only applicable on cloth meshes? •No. You can produce any alpha mesh using the original mesh (as long as original mesh is properly rigged). You can even paint stuff on bodies.
4.Which emm files I have to modify? •ABC_0X.pdr.emm, ABC_0X_01.emm and ABC_0X_02.emm (where “ABC” character name and X is costume number).
5.What settings should I use in Pandora emm? •Properties will remain same. Only shader will become "SpcBumpBrushEmiRGB_UV1_W" and color slots will be different, see any other pandora entry to understand and make changes according to your liking.
6.Is this guide also applicable on non-customizable mods? •It has more usefulness in customizable mods but yes it can be applied to non-customizable ones as well, for example if you need to paint something very difficult on texture then you can use this method.
7.You didn’t explained Blender part very well. •That’s right. I only explained what needs to be done, not how it should be done. The guide assumes you have some knowledge of Blender or any equivalent 3d program.
8.Are there any problems/issues in this method? •None that I know so far.