

Prerequisites
 Required files (t7voicemod.zip)
Getting Started
Extract the contents of t7voicemod.zip to a new folder.
All of the sound files that are in the game are under TekkenGame/Content/WwiseAudio/Windows.
The voice files are named AkBankVoice???.bnk, while the generic announcer/menu sfx/just about everything is in AkBankBattle.bnk.
Pick a file (in this example we’ll use Armor King’s voice) and put it in the folder you just made from the t7voicemod.zip file.
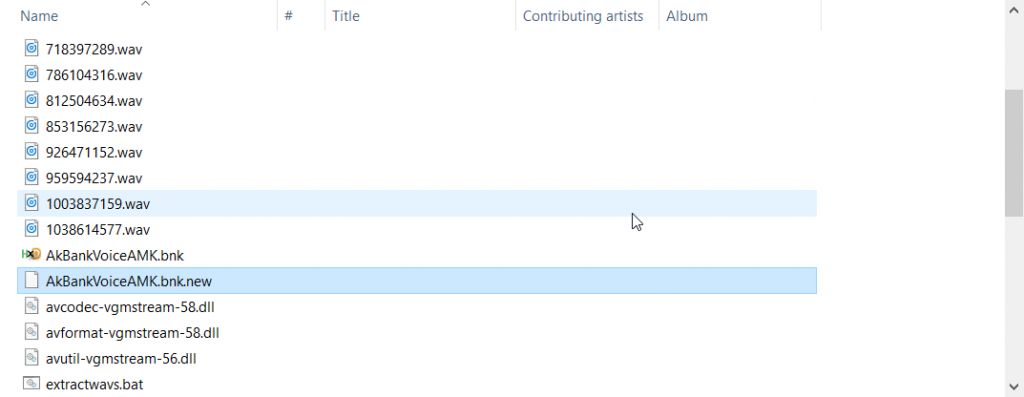
Drag and drop it over extractwavs.bat to extract every file in that .bnk as a vanilla .wav. You may now edit but not rename those extracted files.
Sound Editing
Using Audacity is recommended. Try and match volume levels/channel count. Once you’re done editing, there may be a caveat. Some files, if stored as stereo, will play at half speed/pitch (The Announcer sounding like a chain smoker, etc.).
To deal with this preemptively, we’ll create an Audacity macro/chain. To create one, it’s either under File -> Edit Chains or Tools -> Macros depending on how recent your Audacity is. Newer versions have Macros, while older ones have Chains, same stuff.
To start, add a new macro and name it after clicking the “New” button in the top right by the macro names. Then you want to insert two commands. The first is “StereoToMono”, takes no parameters, so you can hit “OK” after selecting it. Under that, you want ExportToWAV, so click that, it also takes no parameters, hit OK to save that. Make sure Export is under Stereo To Mono, use Move Up/Down as necessary.
To apply the macro in newer versions of audacity, under the macro names there should be an “Apply Macro To:” and two options: folder and files. Select all of the .wavs that came out/that you edited in, then hit OK and watch the magic happen. In older versions of audacity, go back to File -> Apply Chain, the same two choices appear, files is preferable, and hit OK once you’ve selected the .wavs that exist/you’ve replaced. Both methods will result in your new .wavs being in a folder called “cleaned” relative to where they were, with identical filenames. To re-import, fire up Wwise Editor, and create a new project, accepting the defaults. The first thing you want to do is get rid of the default sounds (if any). The only work unit should be the default work unit.
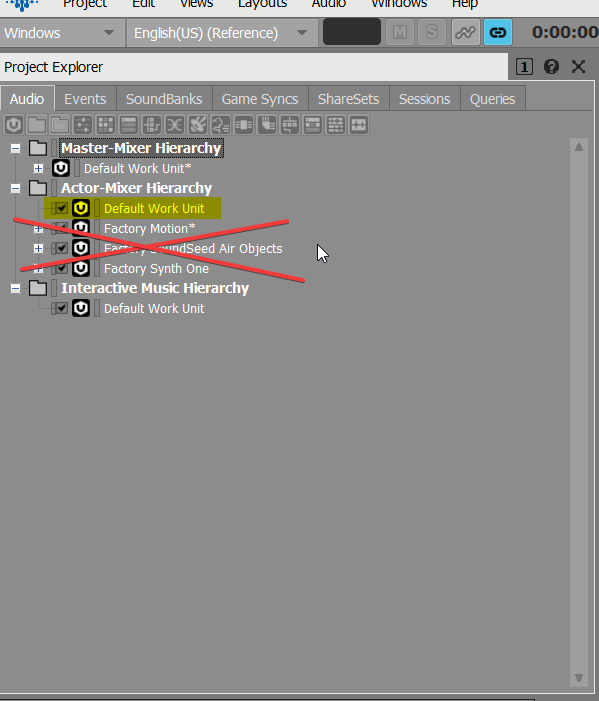
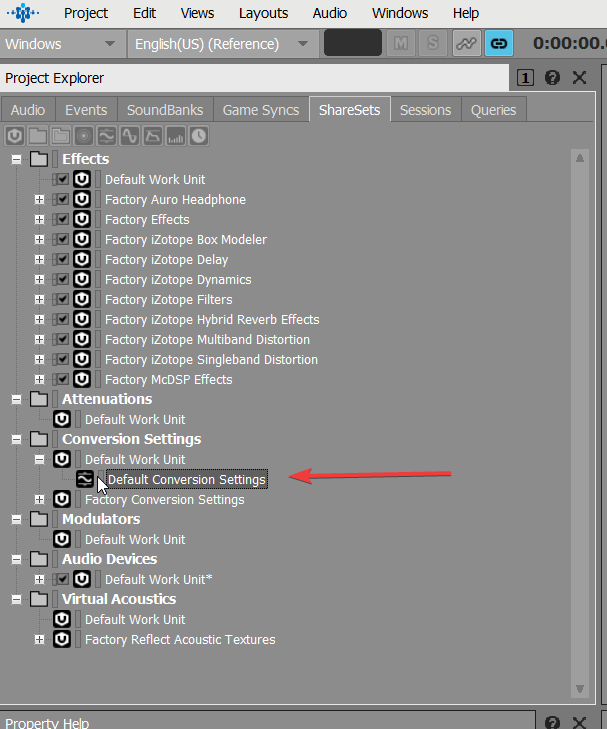
Above the “Master-Mixer Hierarchy” folder there are a group of tabs, hit the “ShareSets” one. Expand the folder and double-click on the “Default Conversion Settings” item to edit it.
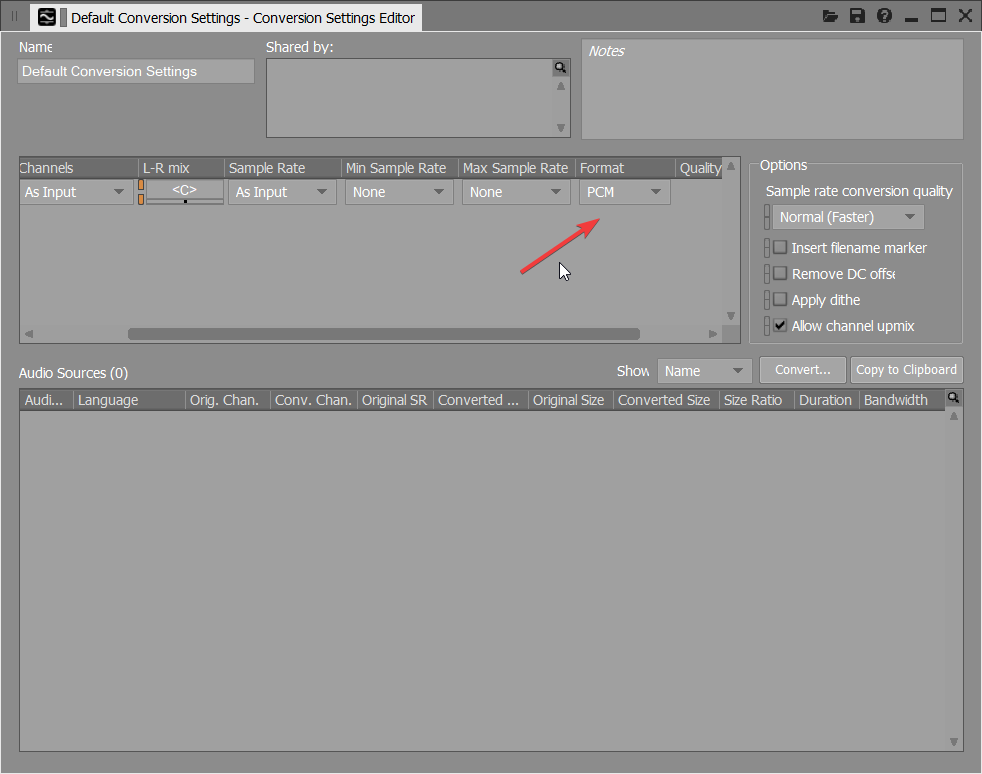
A window will pop up, scroll to the right until you see a “Format” column, set that to ADPCM that is now what Tekken 7 uses in general. It should be default unless you did this before.
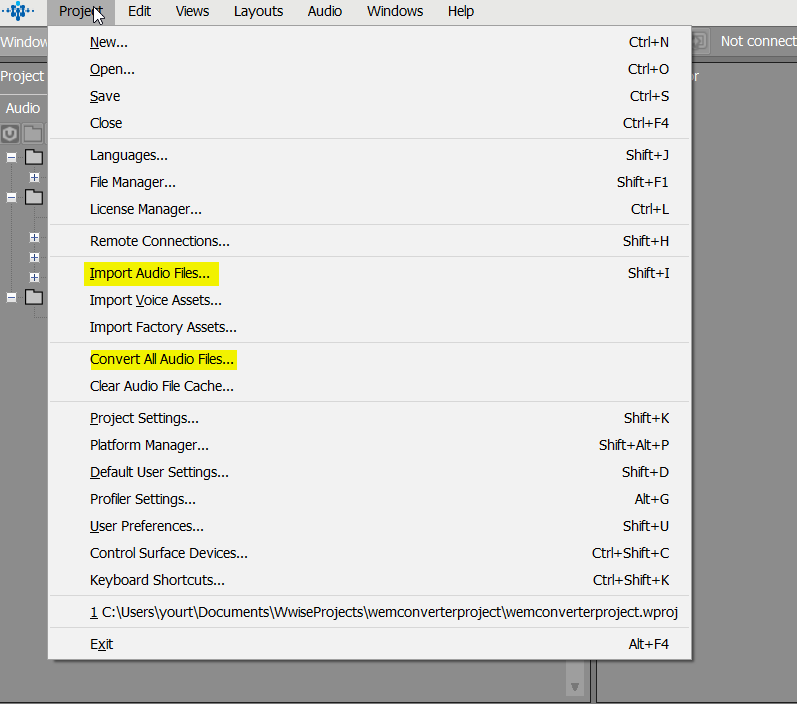
After setting the default conversion settings, import all audio files (including the unedited ones) using Project -> Import Audio Files, and then convert them to just Windows using Project -> Convert All Audio Files. The .wem files are now generated and cached.
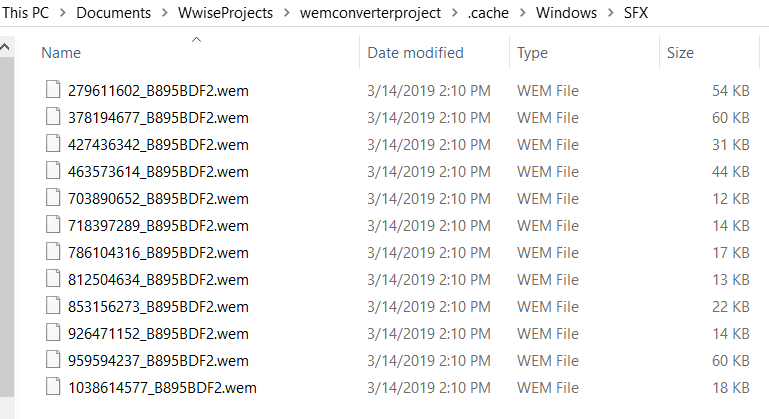
To get your .wems, they’re in (Wwise projects directory)(project name).cache\Windows\SFX. Don’t rename them, copy them all to your clipboard.
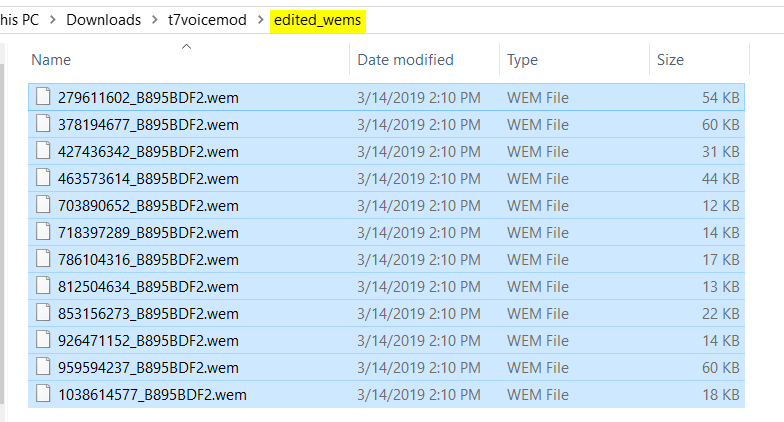
Paste them in (your t7voicemod folder)\edited_wems, the folder should already exist, no renaming required. Drag and drop the original .bnk file over importwems.bat and you should get a .bnk.new file.
This .new file is actually your new, modded .bnk. Put in the appropriate directory to be u4pak’d, remove the .new extension, and u4pak it.
Your mod is now ready-to-use!
Important Notes
Important notes to avoid any issues during editing:
- Use Wwise’s 2018 version.
- Use ADPCM format.