Beginner Modding Tutorial | Part 1 - Unpacking and Simple Swap
Tutorial on how to unpack game files for modding purpose and how to do a simple swap mod.

This tutorial is based on old tutorials from Modding Zaibatsu server. Thanks in advance to a5tronomy, Dennis Stanistan and all modders who already contributed so much to Tekken7 modding.
Part 1 - Unpacking Game Assets & Simple Swap
To start modding Tekken7 we need to extract the game content first.
Prerequisites:
- Legal copy of Tekken 7 installed
- 51GB+ free space
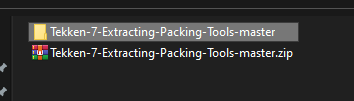
- Download Tekken 7 Extracting and Packing tools
NOTE: Extract the tool somewhere with 51GB+ free space.
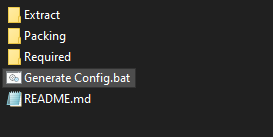
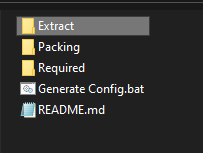
Once you’ve extracted it this is what you get inside.

Run Generate Config.bat
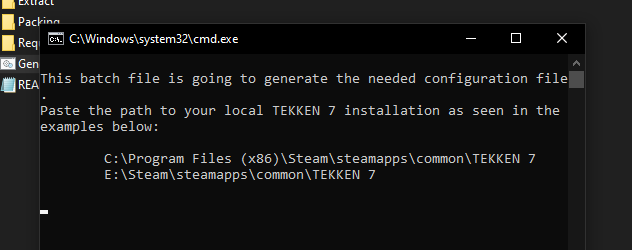
Copy-Paste your Tekken7 installation path
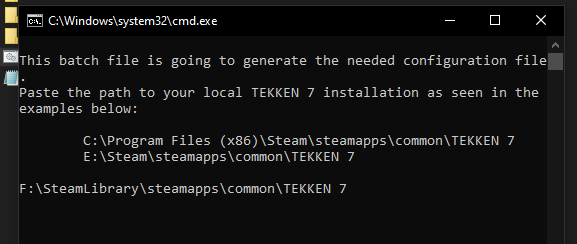
Press Enter
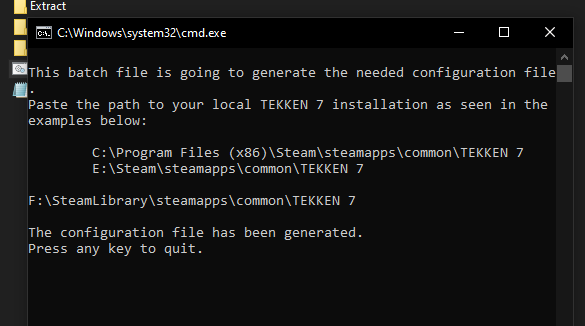
Press any key to close the command prompt.
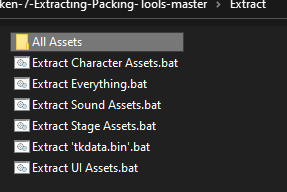
Go to Extract folder
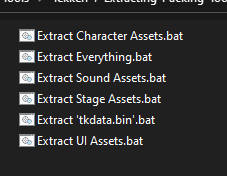
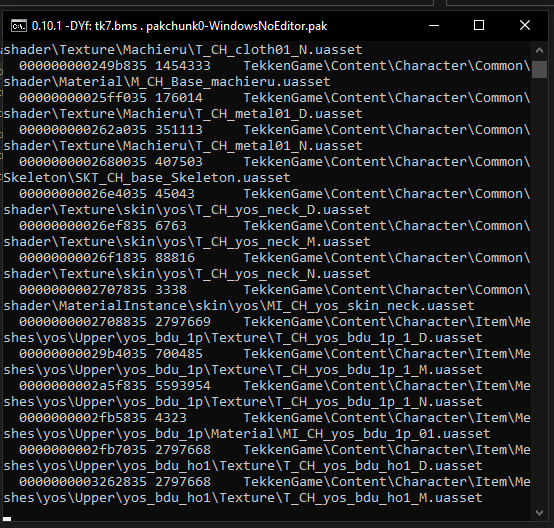
Here you have a different bat file for more specialized modding. I always extract everything in case I need other assets types. It also saves time since I only do extraction once. You can save some space here if you know what assets type you need. In this tutorial i will run Extract Everything.bat and it will start extracting.
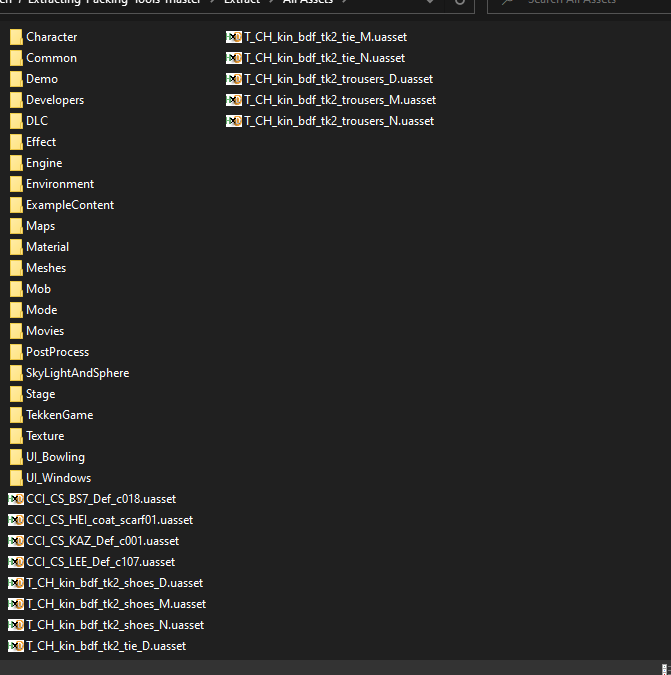
The speed of this extraction depends on your computer. It will take “some time”. Command prompt will close itself once extraction is complete. You will get All Assets folder and all extracted files inside it.
This concludes the unpacking part.
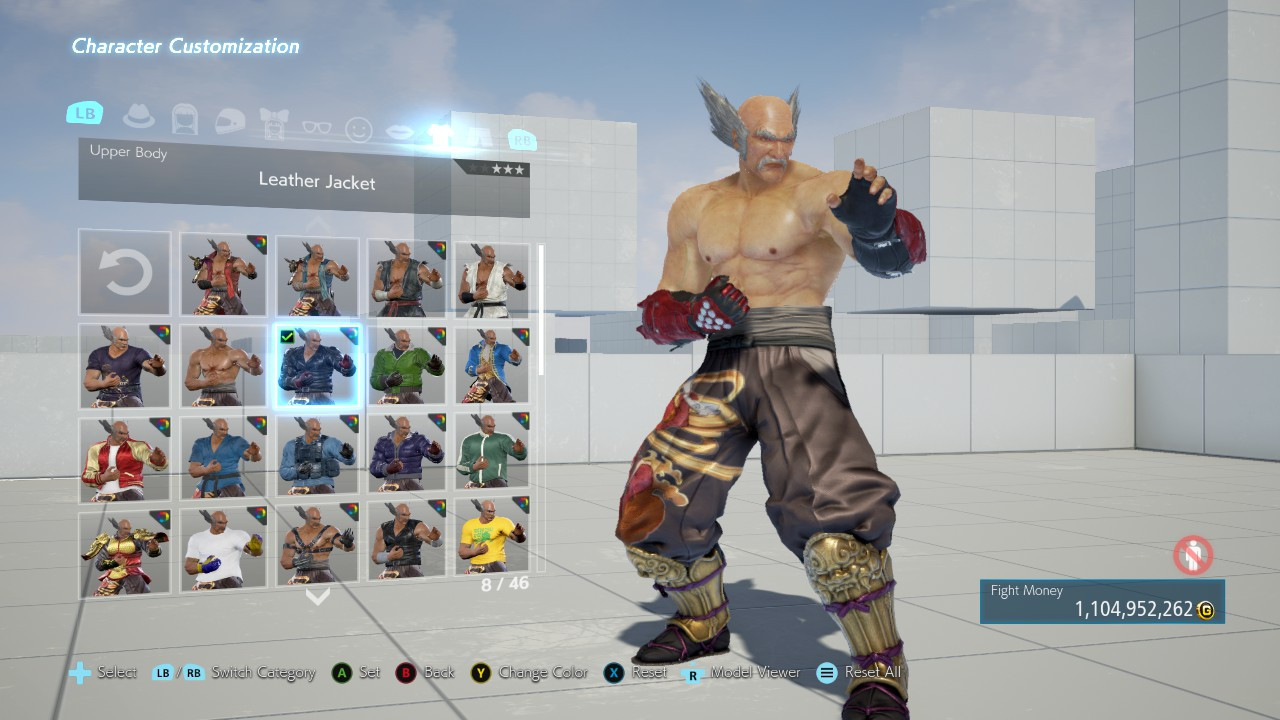
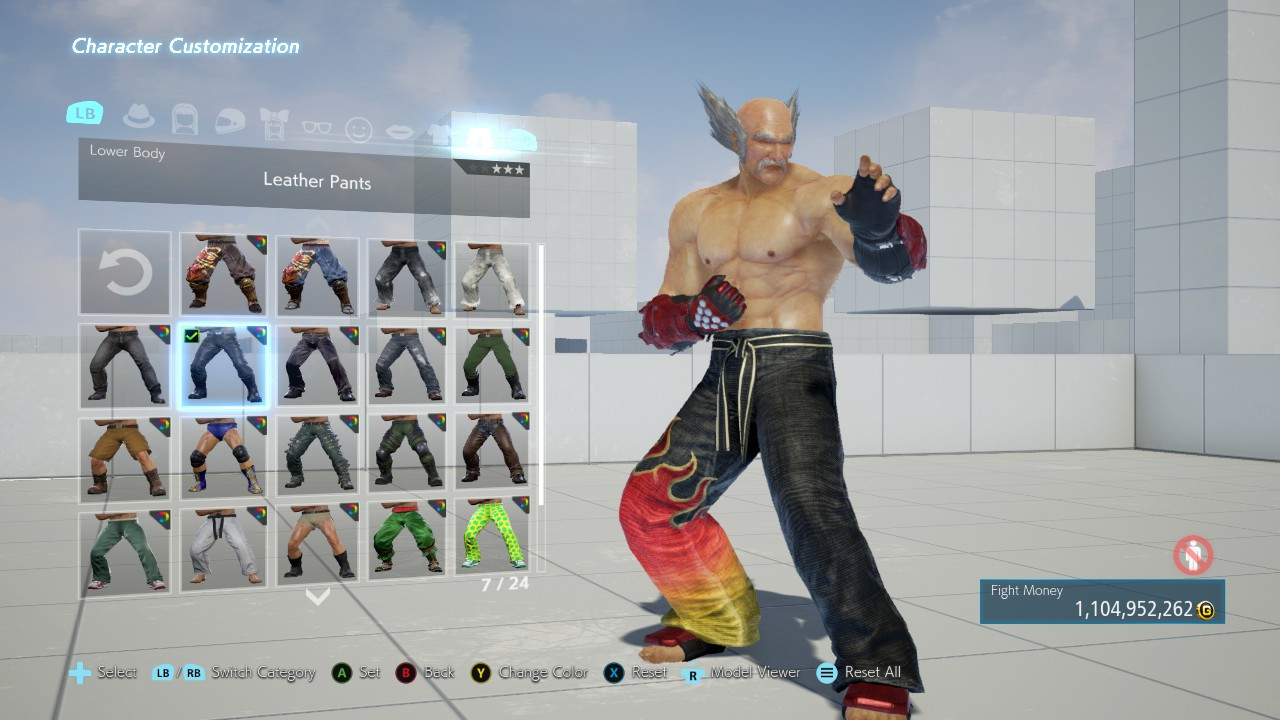
We will start modding by doing a simple swap for this next part. This mod will change Heihachi’s leather jacket & pants to Jin’s regular style A upper & lower.
Prerequisites:
- Download Simple Swap.rar provided for this tutorial. MEGA |
GDrive
- Download
UassetRenamer
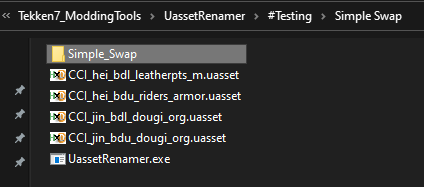
Inside the Simple Swap folder you will have 4 uasset files and a Simple_Swap folder. Copy UassetRenamer.exe here.
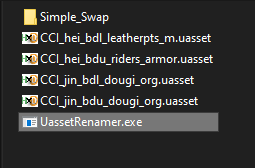
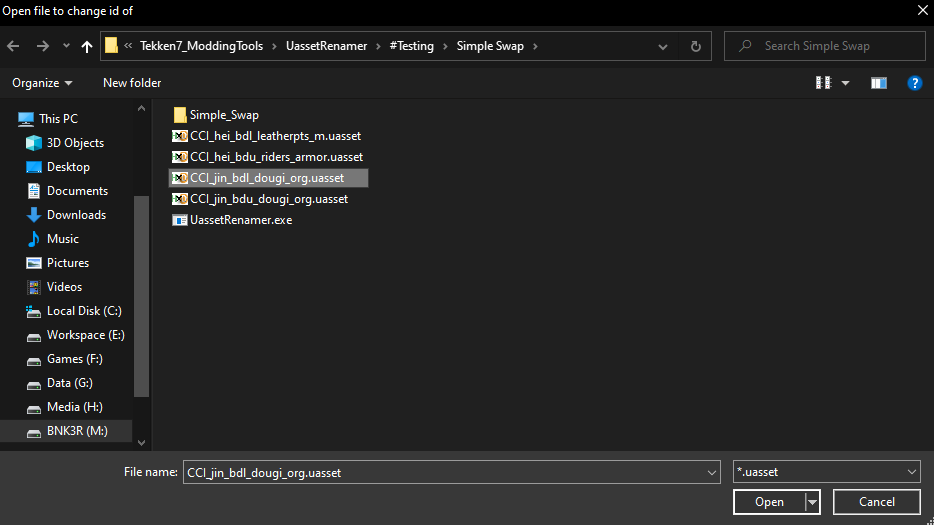
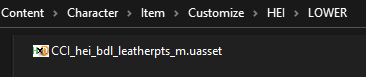
Let’s start swapping. Launch UassetRenamer and you will be asked to choose the first file. Choose CCI_hei_bdl_leatherpts_m.uasset by double clicking it or by pressing open.

Next choose CCI_jin_bdl_dougi_org.uasset for the second file.
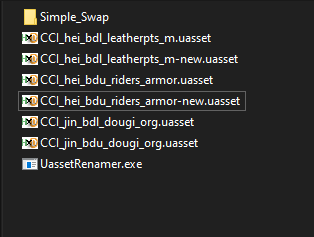
You’ll get CCI_hei_bdl_leatherpts_m-new.uasset. Notice that it is CCI_hei_bdl_leatherpts_m with “-new” suffix.

Now repeat this process with the other last 2 files. Choose CCI_hei_bdu_riders_armor.uasset then CCI_jin_bdu_dougi_org.uasset. Your files should look like this now.
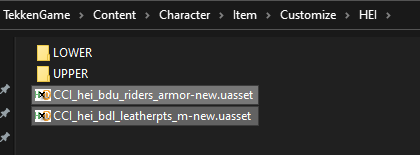
Cut these new files and we will paste it somewhere far inside the Simple_Swap folder. Go through the folder until you’re inside the HEI folder. The path will look like this: Simple_Swap\TekkenGame\Content\Character\Item\Customize\HEI. Once you’re there paste both files.
Rename both files by deleting “-new” suffix.
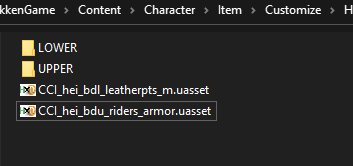
Move CCI_hei_bdl_leatherpts_m.uasset into LOWER folder. Move the other to the UPPER folder.

Go back to the Simple Swap folder and copy the Simple_Swap folder.
Remember where you extracted Tekken-7-Extracting-Packing-Tools-master.zip? Go there and paste your copied Simple_Swap inside the Packing folder.
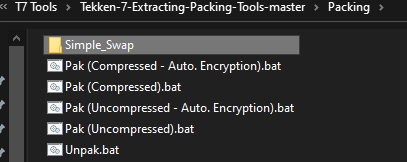
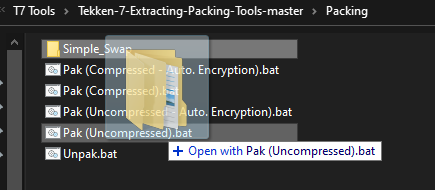
Drag Simple_Swap folder onto Pak (Uncompressed).bat. If you want to know what other bat files do it’s already explained on a5tronomy’s github.
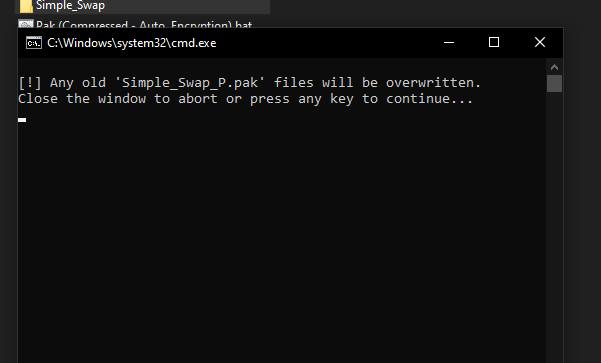
You’ll get a confirmation like this. Press any key to continue.
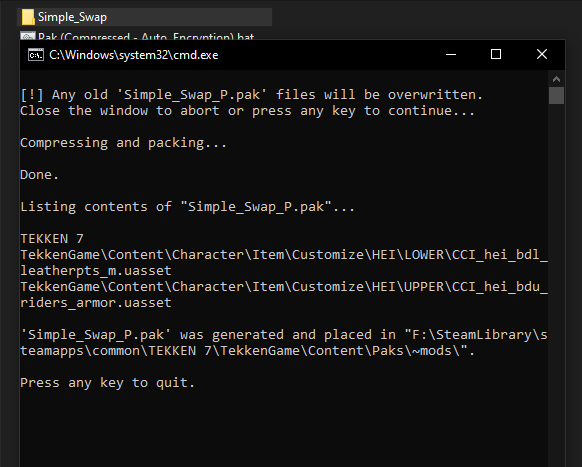
Once done it will give a summary. Press any key to quit.
What UassetRenamer does is swapping the content of the 1st file with the 2nd file. Finally the game only recognizes the original file name. That’s why we need to rename it back to its original name by removing the “-new” suffix.
Now let’s check it in game.
Congratulations on making your first mod! This concludes the tutorial.