Beginner Modding Tutorial | Part 2 - Understanding File Structure & Asset Checking
Tutorial on checking and understanding assets in Tekken7.


Part 2 - Understanding File Structure & Asset Checking
In part 1 we successfully made a mod from simple swapping CCI files. These files must be in their original name. Do you remember the path we need to put these files in? This path is also specific. So how do we know it’s original name and path? By checking the file itself of course. This tutorial will show you multiple methods to check Tekken7 assets.
Prerequisites:
- Download CompareIt
- Download
Tekken 7 Texture Editor
- Read
Tekken 7 – General Information (optional)
CompareIt With this software we can see a lot of file’s information such as original path, original name, hex value and more.
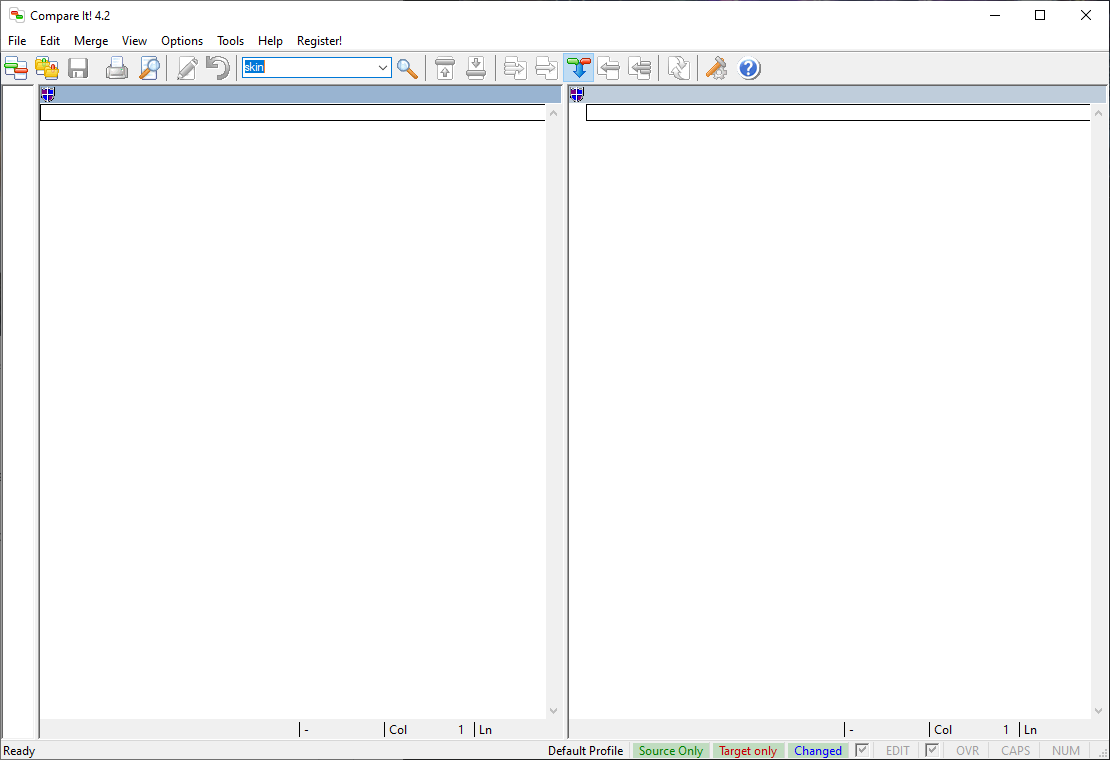
When you first launch CompareIt it has a side by side vertical view.
You can change this to a horizontal view using Ctrl+H hotkey.
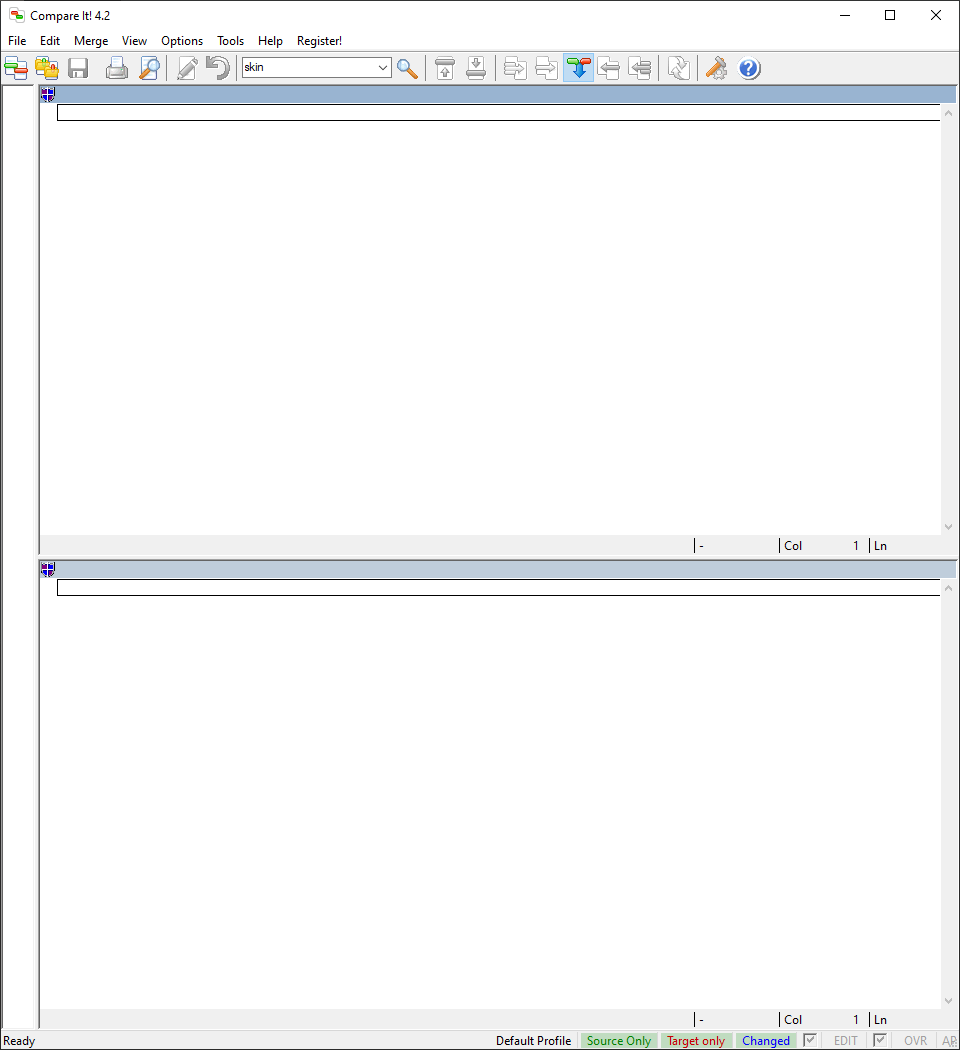
This view is more readable when you want to have a folder open on the side of this program. For the rest of this tutorial I will use this view.
To check a file you just drag it onto CompareIt. But you need to open 2 files since it needs a file to compare to. If you want to open a single file just drag it twice. Let’s go to our Simple Swap folder. Drag CCI_hei_bdl_leatherpts_m.uasset and CCI_jin_bdl_dougi_org.uasset to CompareIt window.
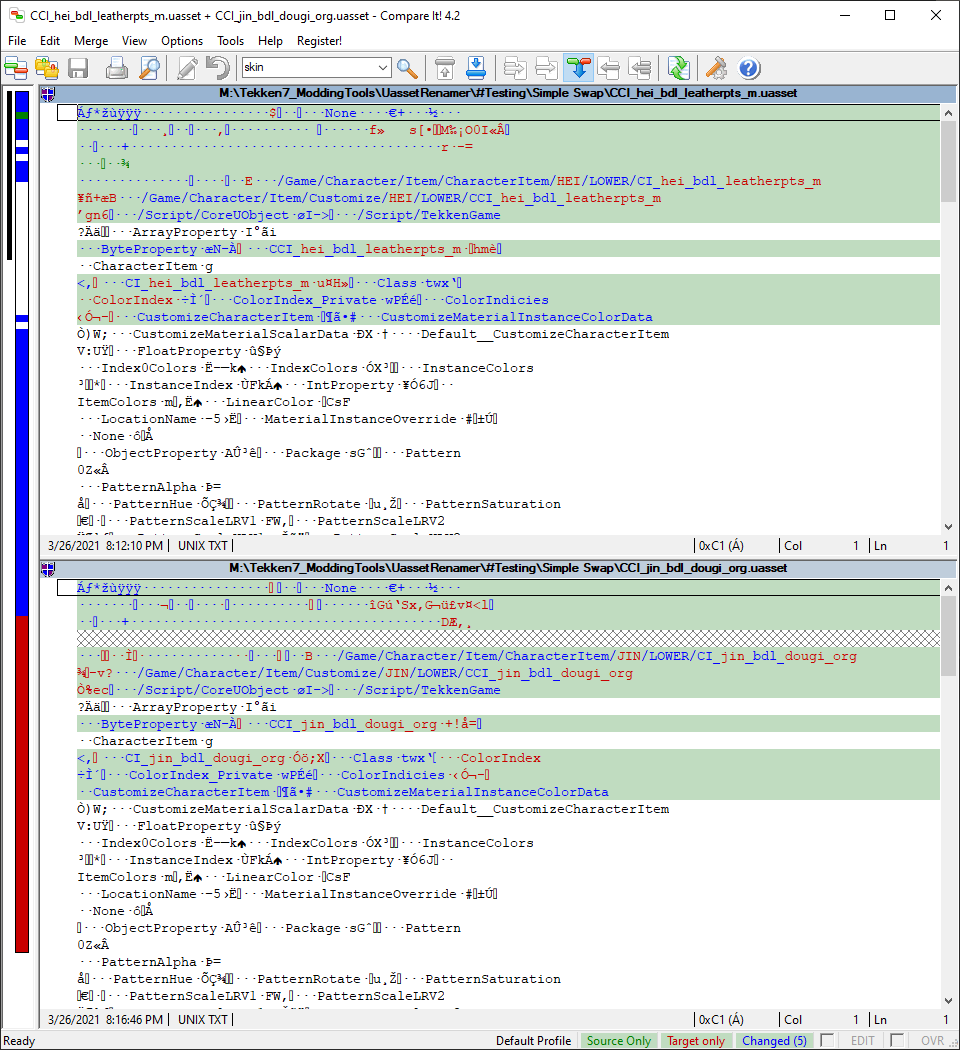
We can see their original name and path.

Their path starts with /Game, this is actually /TekkenGame/Content when you make paths for your mod or looking for assets within the extraction folder.
NOTE: Some DLC character assets are located outside /TekkenGame and inside /Character folder. You will still put them inside /TekkenGame/Content when you make a mod.
There are also CharacterItem lines. This references a CI file which means the CCI will load a CI file. In this case CI_hei_bdl_leatherpts_m and CI_jin_bdl_dougi_org. This will be explained later.
For now swap CCI_hei_bdu_riders_armor.uasset with CCI_jin_bdu_dougi_org.uasset. Then compare CCI_hei_bdu_riders_armor.uasset with CCI_hei_bdu_riders_armor-new.uasset.
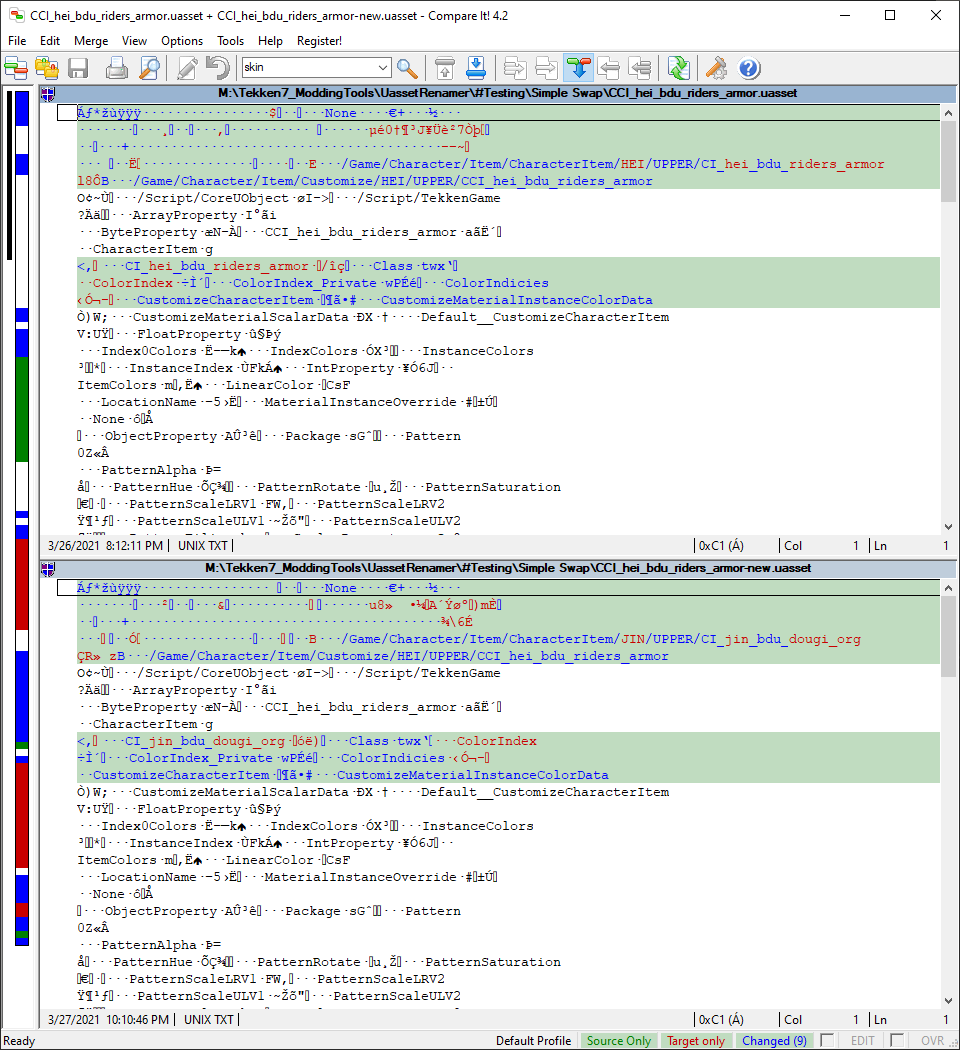
Here we can see that CCI_hei_bdu_riders_armor-new.uasset original name is actually CCI_hei_bdu_riders_armor.uasset without “-new” suffix. If you rename or misplace a file by accident you can still check it’s original name and path this way.
Understanding File Structure
There’s something different with this -new file. If you look at it’s CI line it references CI_jin_bdu_dougi_org which means it will load Jin’s CI instead of Hei. We need to check this CI file to understand what it does. To get this file we need to go to it’s location.
Go to your Extract folder and follow this path: /Game/Character/Item/CharacterItem/JIN/UPPER/. Remember that /Game is actually /TekkenGame/Content. Once you’re in, check the CI using CompareIt.

There’s another line referencing SK/Mesh(es)/Model. Meaning this CI will load SK_CH_jin_bdu_dougi_org. Continue to check this SK file too.
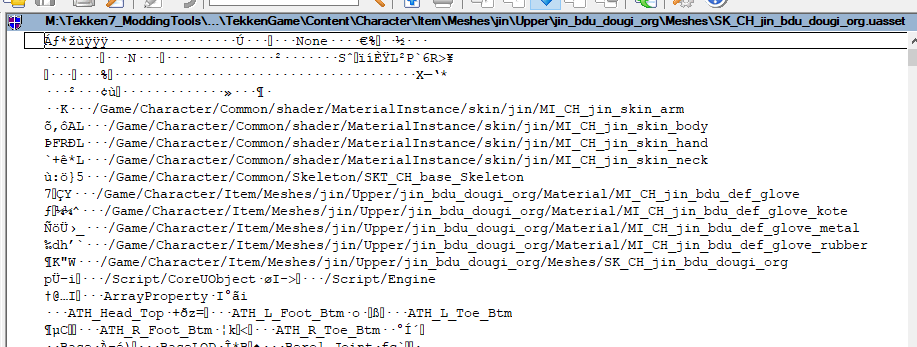
What do we have here? There are Material Instance, Material & Skeleton lines. These references mean this mesh consists of a skeleton and multiple materials & MIs to make it work. Now we know the order goes like this: CCI loads a CI, then CI loads an SK, and this SK consists of MI, M & SKT. In short our Hei CCI loads Jin SK. By understanding these file structures you will know where and what file to use for your mod to work. Try checking these MI & M files for yourself.
Tekken 7 Texture Editor
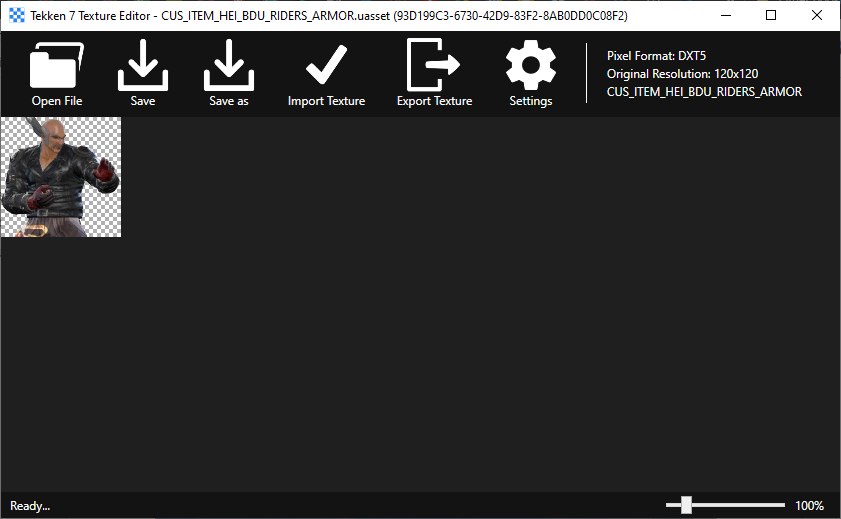
Our mod changed Heihachi’s leather jacket & pants. Our CCI’s were CCI_hei_bdl_leatherpts_m & CCI_hei_bdu_riders_armor. The only resemblance with leather pants was CCI_hei_bdl_leatherpts_m. What about CCI_hei_bdu_riders_armor ? How do you know if it is the leather jacket? Well, by checking it’s icon with the texture editor we can use this program to view and edit texture assets.
Navigate to this location: /Game/UI_common/Texture2D/ReplaceImages/CUS_ITEM/HEI/. You’ll see many CUS_ITEM files. These files are item’s icons used in customization. They have different abbreviations in their name like BDF, BDL, BDU, GLA and so on. For now launch the program and try opening these files by dragging it onto the texture editor.
If you’ve opened these files you can guess what their abbreviation stands for. BDF = Body Full, BDL = Body Lower, BDU = Body Upper, GLA = Glasses and so on.
Leather Jacket is an upper body item so it should have BDU in its name and what’s the icon for Leather Jacket?
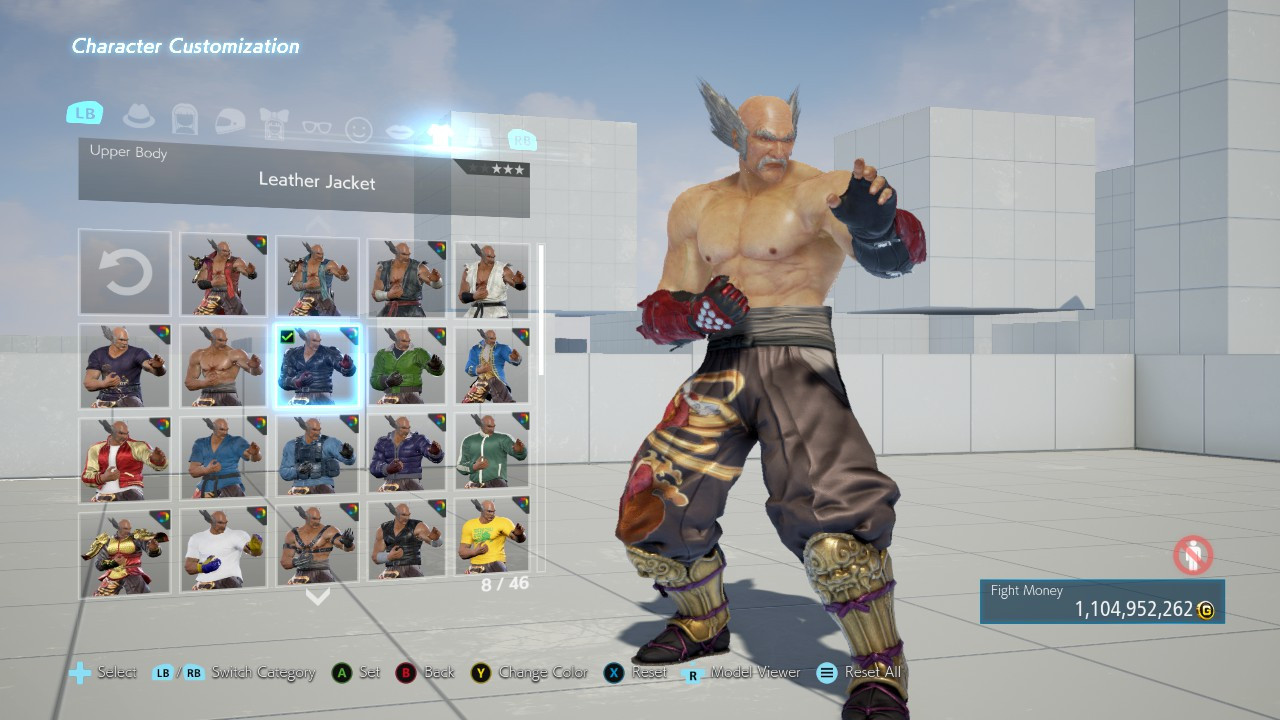
You should be able to find it with this information.
The item should have HEI_BDU_RIDERS_ARMOR in its name and CCI_hei_bdu_riders_armor has exactly that.
These are prerequisites for part 3. Locate and make a copy of these items in your own folder:
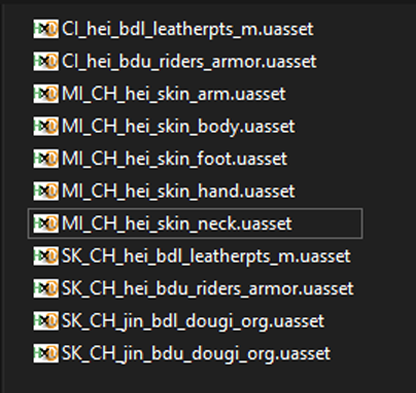
Use what you’ve learned from this tutorial. We will use these items to update our mod. Your folder name can be anything.
This concludes the tutorial.