
Part 3 - Advanced Swap
We’re going to update our mod in this tutorial. But before that we need to check something first. In part 2 we know that Hei CCI loads Jin SK. The SK consists of SKT, MI & M to make it work. What will happen if we make changes to this SK? Our Heihachi will be updated of course but it will also affect Jin. Why? Because it is actually Jin SK not Hei SK. To avoid this we need to make Hei CCI load Hei SK that has been swapped with Jin SK.
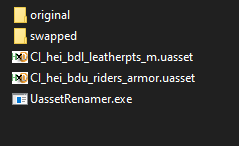
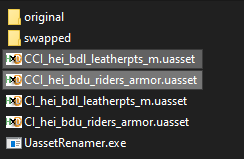
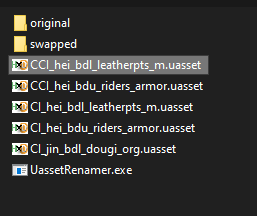
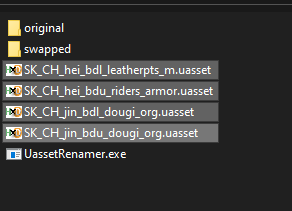
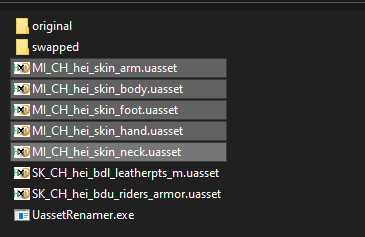
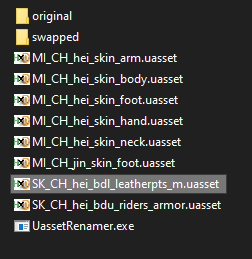
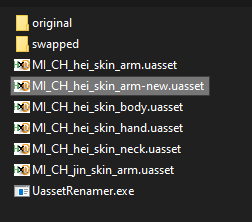
Go to your folder and make 2 new folders. Name them original & swapped.
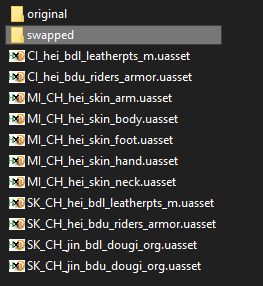
This will make your project easier to manage. It’s a good practice to do this especially when you’re working on a big mod. Most of the time mod doesn’t work because you have the wrong file, typo or misplace it. Move everything to original and make a copy of CI_hei_bdl_leatherpts_m & CI_hei_bdu_riders_armor in your folder. Also copy UassetRenamer here.
Let’s talk about workspace. This next step is optional, if you have a different setup that will work for you please do so. I’ve made this folder setup to make navigation easier for modding purposes.
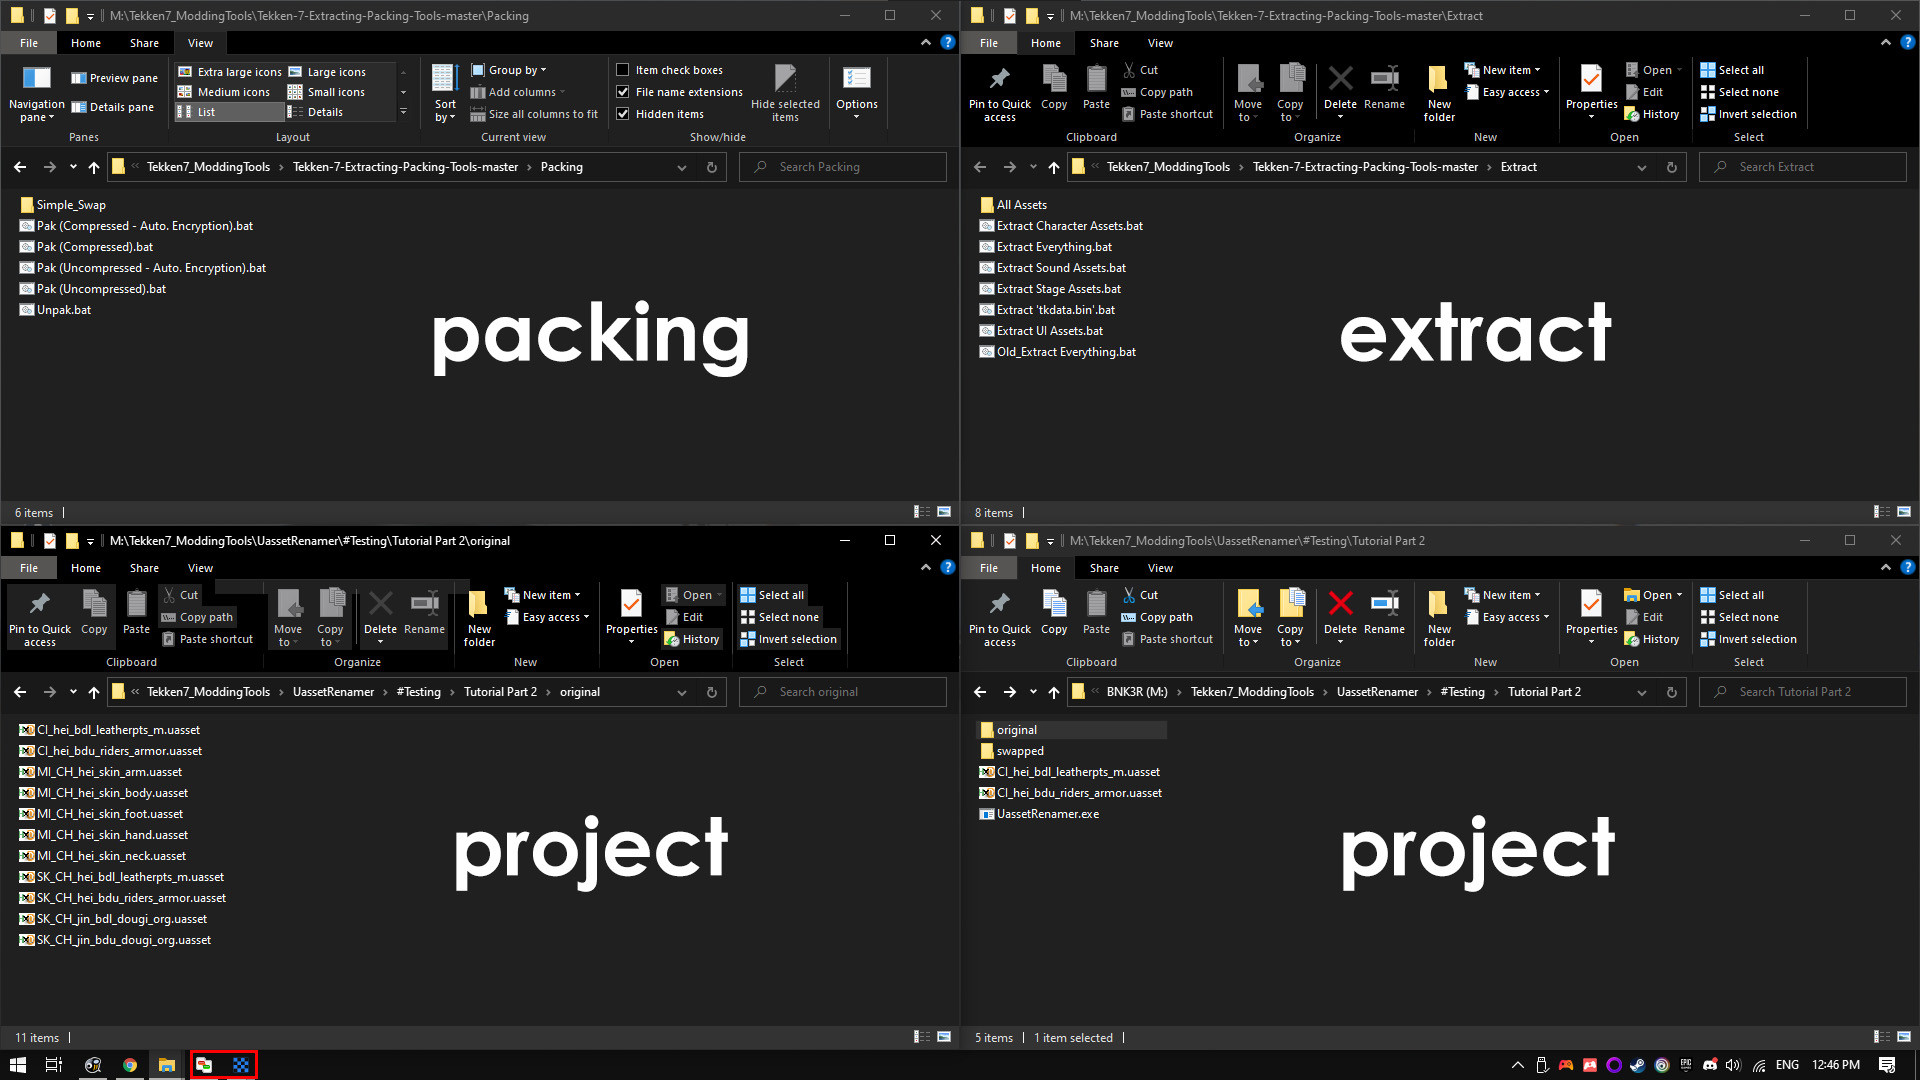
The purposes for all these folders are as follows: Packing - This is where you put files for your mod and packing it to test it in game. Extract - Your assets folder where you will search and find files for your mod Project - I separate this into 2 folders. One for navigating copied assets and one for swapping. In the taskbar I have tools opened in this case CompareIt & Texture Editor. With this setup it is easier to navigate between checking, copying and moving files from one folder to another. It also minimizes any mishap.
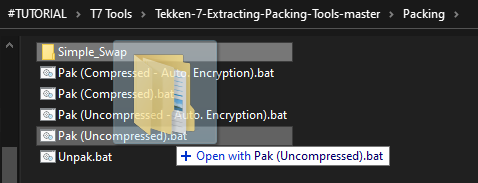
Navigate to your Simple_Swap packing folder and copy both CCI files to your project folder. That is CCI_hei_bdl_leatherpts_m & CCI_hei_bdu_riders_armor.
Check Lower CCI (bdl) with CompareIt.

This CCI loads Jin CI. We need to make it load Hei CI specifically CI_hei_bdl_leatherpts_m. So how are we gonna do that? With UassetRenamer not only you can swap file contents but you can also swap the path inside the file.
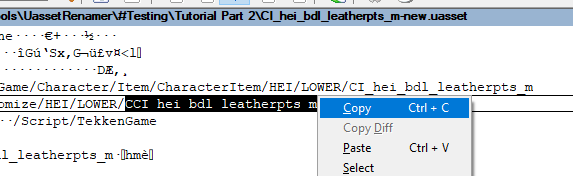
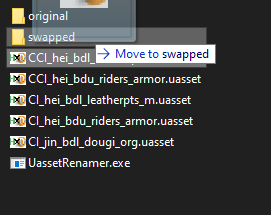
Block CI_jin_bdl_dougi_org text in CI line by double clicking it and then copy that.

Rename CCI_hei_bdl_leatherpts_m.uasset to CI_jin_bdl_dougi_org.uasset with Ctrl+V.
![]()

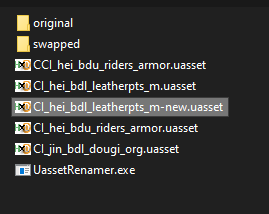
Open UassetRenamer and choose CI_hei_bdl_leatherpts_m.uasset first then CI_jin_bdl_dougi_org.uasset. You’ll get CI_hei_bdl_leatherpts_m-new.uasset.
Check this file with CompareIt.

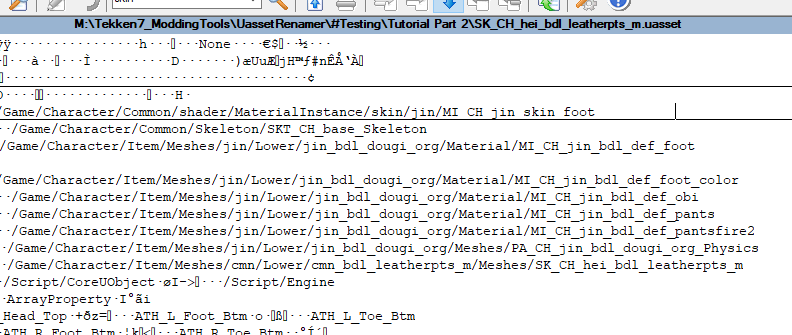
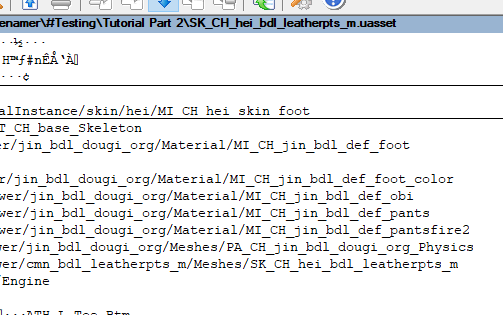
The CI now matches with its CCI. To make sure if this is the right file we want to scroll it down until you find this part.
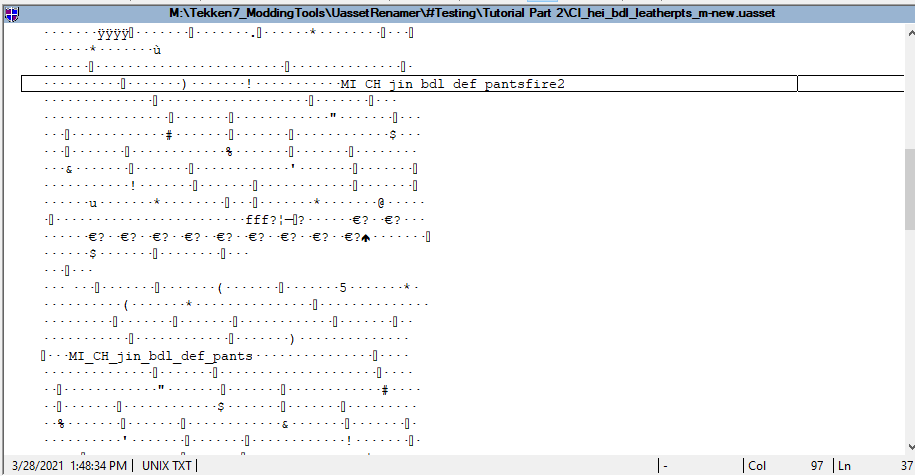
CCI tells the color for different parts of a mesh. It needs references of materials from the mesh itself. MI_CH_jin_bdl in our CCI means it will work with SK_CH_jin_bdl_dougi_org which is exactly what we want.
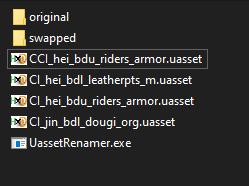
Rename this file back to its original name just like before.
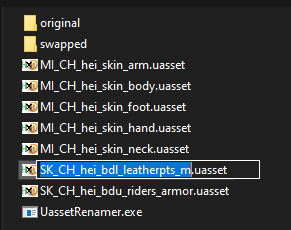
Move it to the swapped folder.
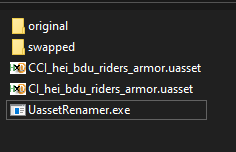
You can delete the old file and Hei CI.
![]()
Do the swap with the Upper CCI (bdu) too. When that’s done we have 2 swapped CCI files in our swapped folder.

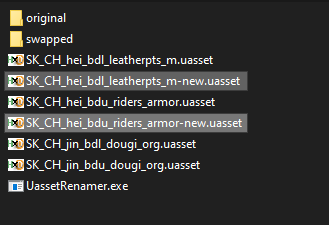
We’re going to swap the SK. So go to the original folder and copy the SK files to your project folder.
We want to change Hei SK into Jin SK so we just need to do a simple swap for these. Swap SK_CH_hei_bdl_leatherpts_m with SK_CH_jin_bdl_dougi_org and swap SK_CH_hei_bdu_riders_armor with SK_CH_jin_bdu_dougi_org.
Check both files in CompareIt.
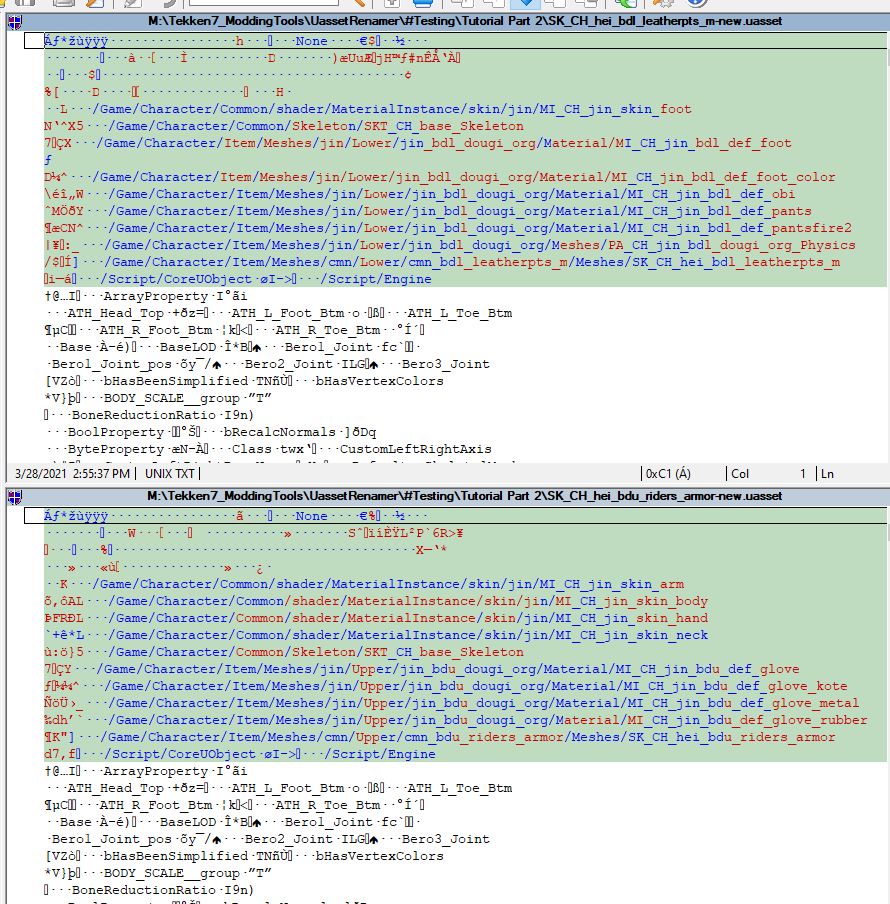
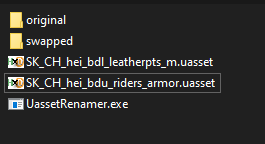
They both are Hei SK that consists of jin_dougi_org MI & M which means they’ve swapped successfully. Delete other files and rename these to their original name. In this case you can just delete “-new”.
We will update the skin material in these files so they have Heihachi’s skin. Copy all skin MI from original folder.
Open the Lower SK in CompareIt.
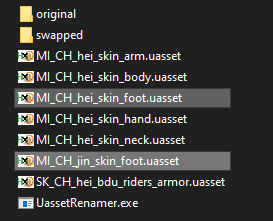
We want to swap MI_CH_jin_skin_foot path to MI_CH_hei_skin_foot so it will load Heihachi skin. Steps are the same as we did with CCI before: Rename -> Swap -> Rename
Copy the MI name.
![]()
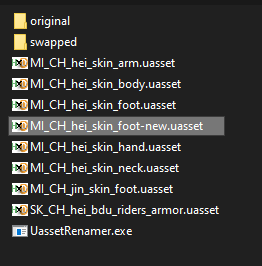
Rename your SK.
Swap MI_CH_hei_skin_foot with MI_CH_jin_skin_foot.
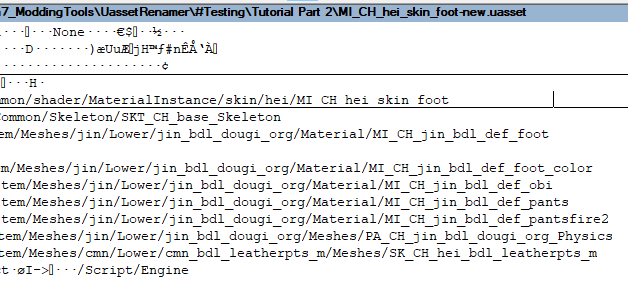
Check the new file.
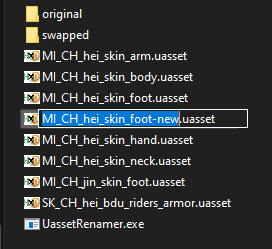
Copy SK name.

Rename.
Check the file again just to be safe.
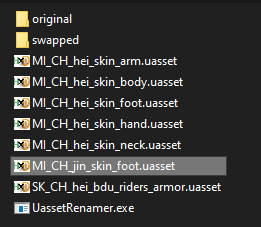
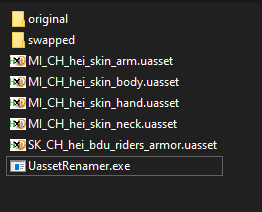
Move this new SK to swapped and delete the other two skin foot MI.
Open the upper SK file.
We have multiple skin MI paths that we need to swap one at a time. Swap the arm skin first.
Check this new file.
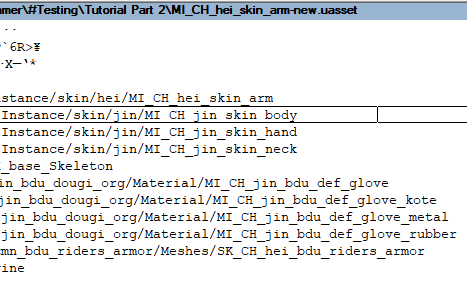
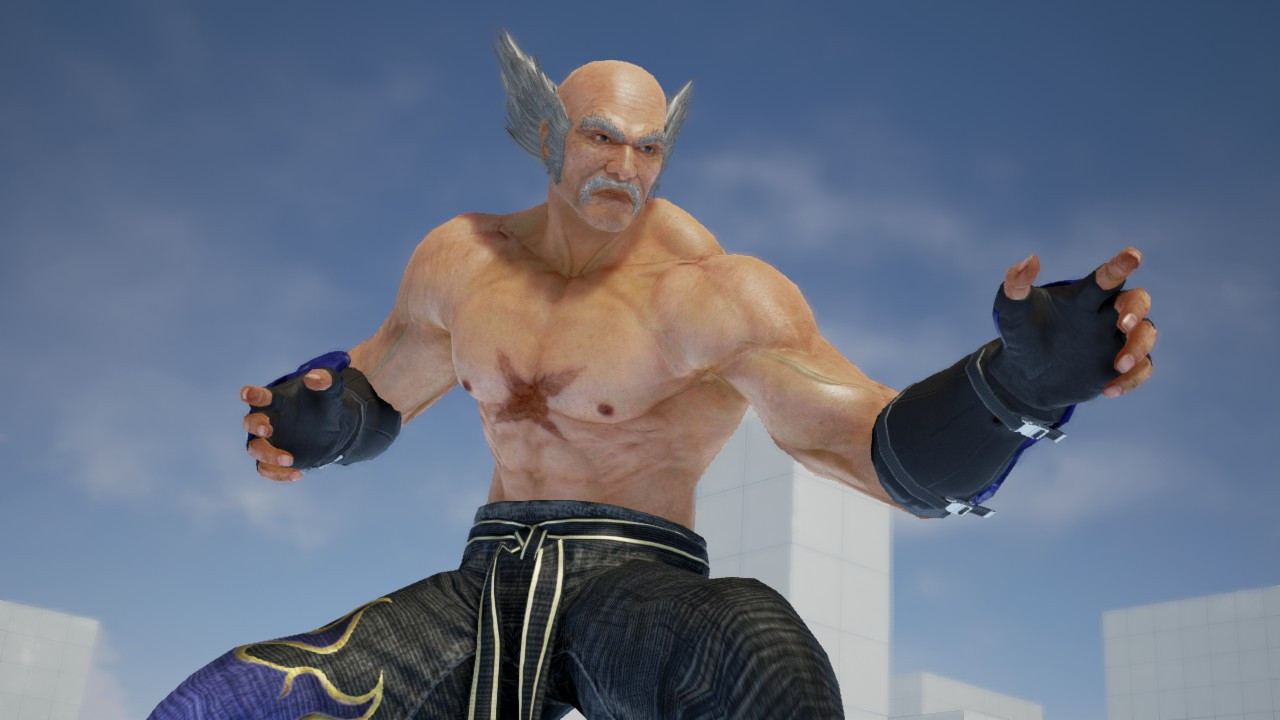
It’s a successful swap. Repeat this process with remaining skin MI paths. Remember to check the new file after each swap. When you’ve done these swaps you’ll have this SK with Heihachi skin.
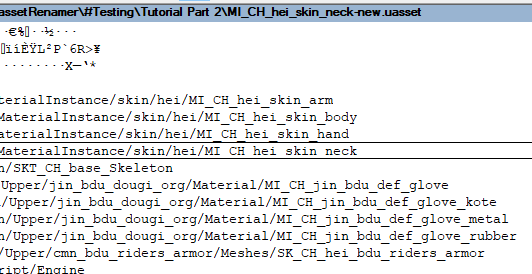
Rename it back to it’s SK name, move it to swapped and delete other files.
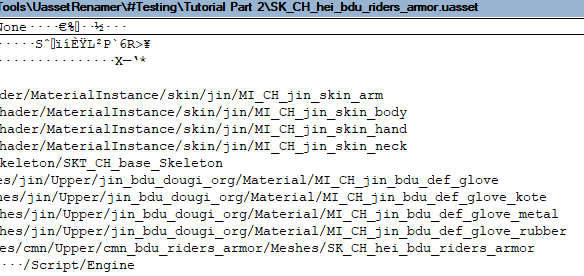
![]()
See how clean that is. Go to the swapped folder.
![]()
We have all these files to update our mod. We just need to put them in our Simple_Swap packing folder. The only available folders there are for CCI files. What about our SK? Just open them in CompareIt and there you have their paths.


Make these same paths in your Simple_Swap folder. So that will be:
/Game/Character/Item/Meshes/cmn/Lower/cmn_bdl_leatherpts_m/Meshes/
/Game/Character/Item/Meshes/cmn/Upper/cmn_bdu_riders_armor/Meshes/
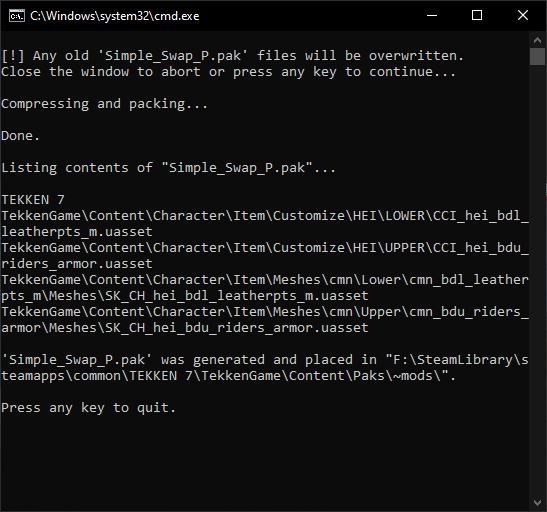
Notice that both are inside /Meshes/cmn/ and both SK will be inside another /Meshes/ folder. Overwrite the old CCI in your packing folder with the new one. After that pack your mod and test it in game.
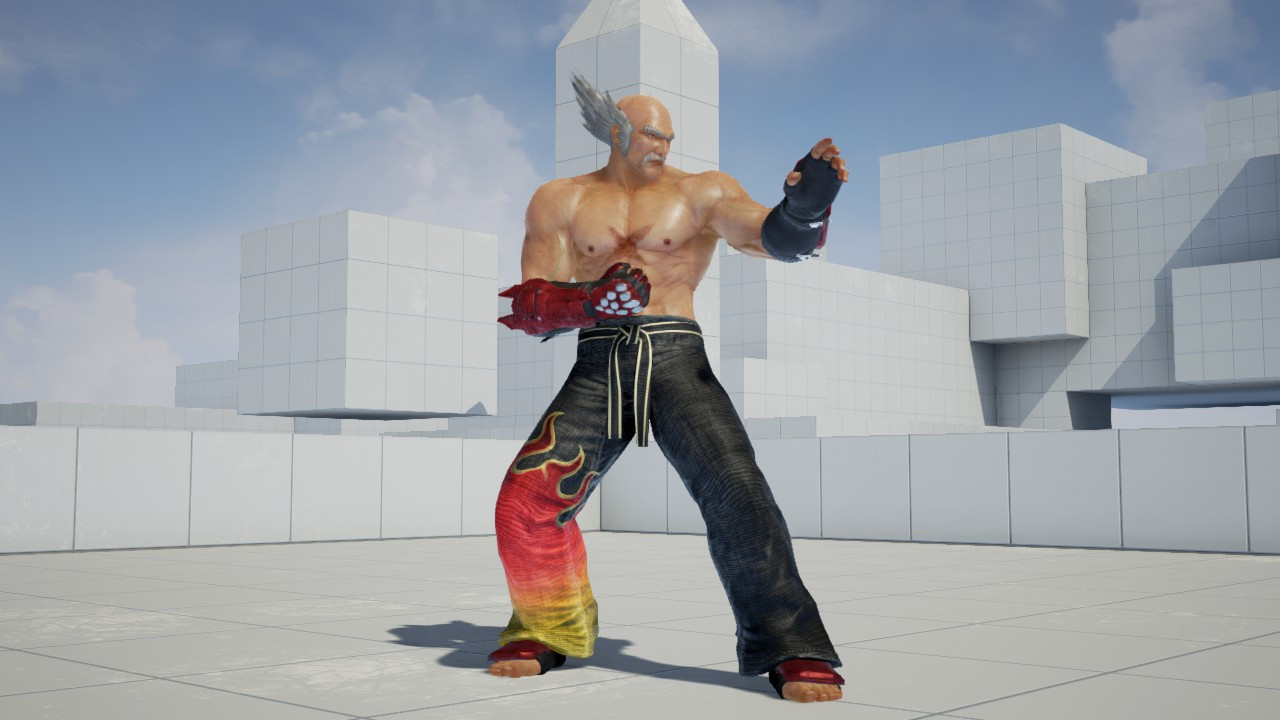
Compared to Jin.
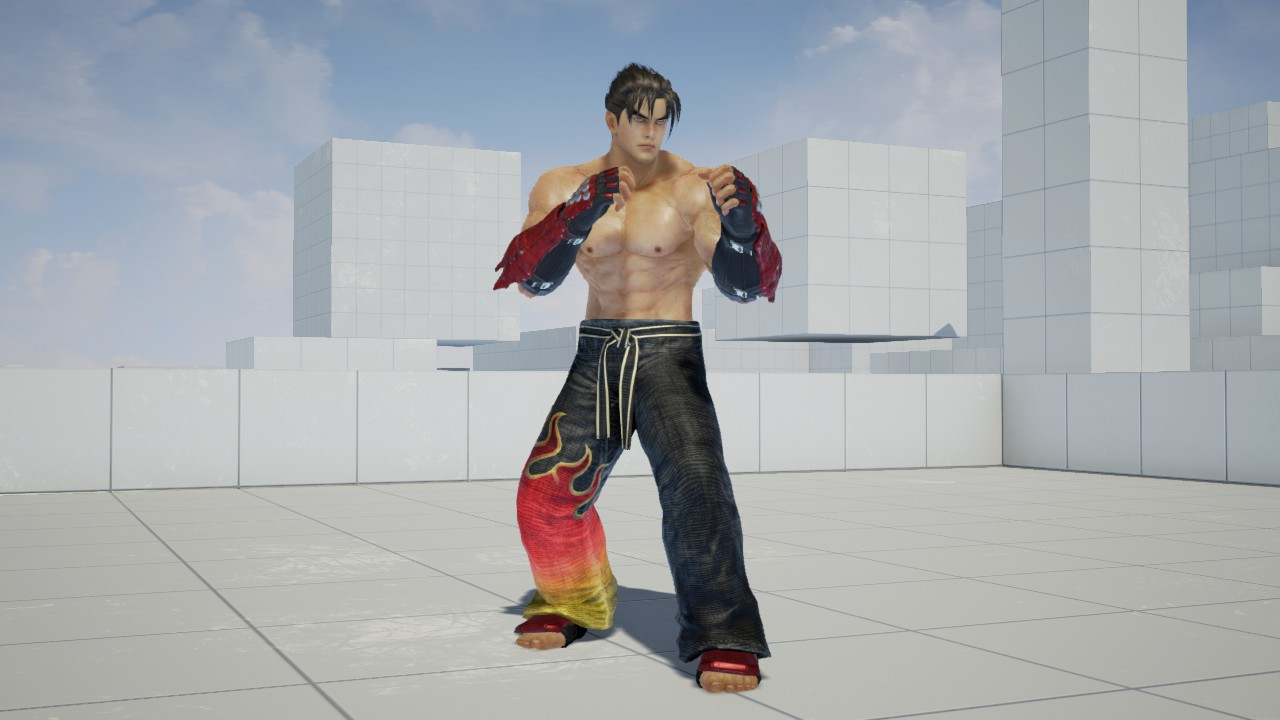
We’ve successfully updated our mod to have Heihachi’s skin and not affect Jin’s mesh.
This concludes the tutorial.