
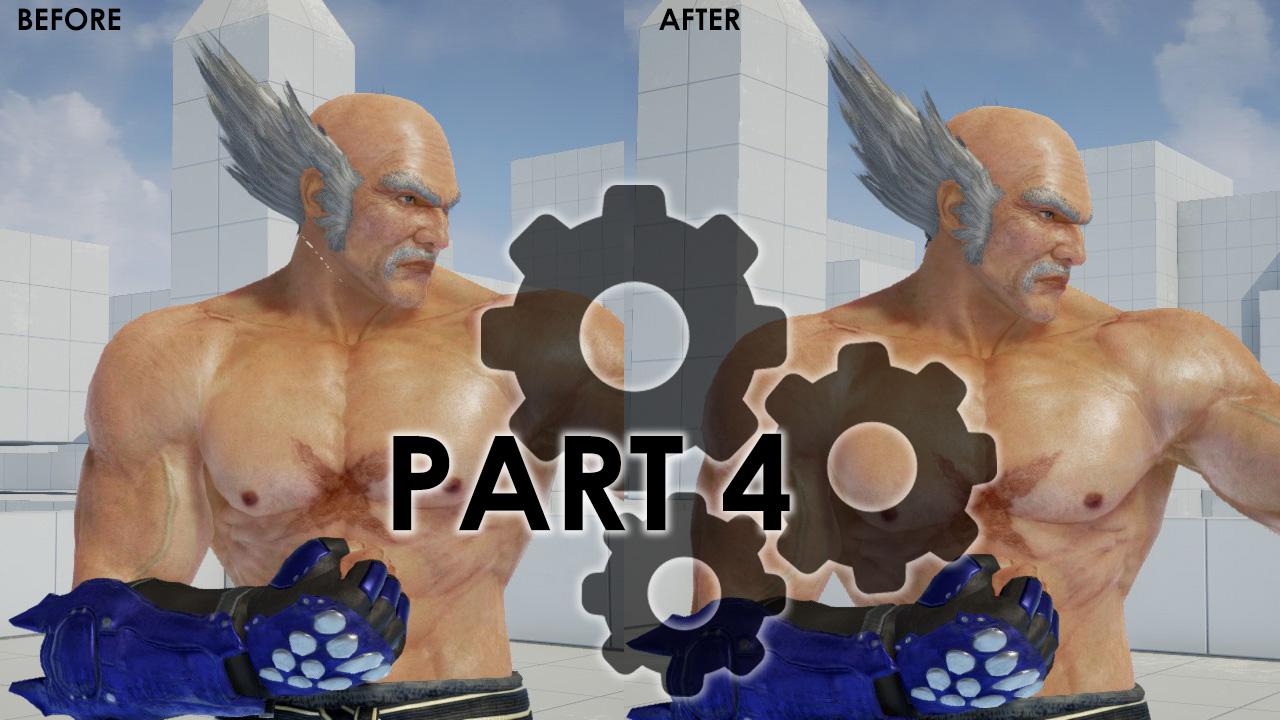
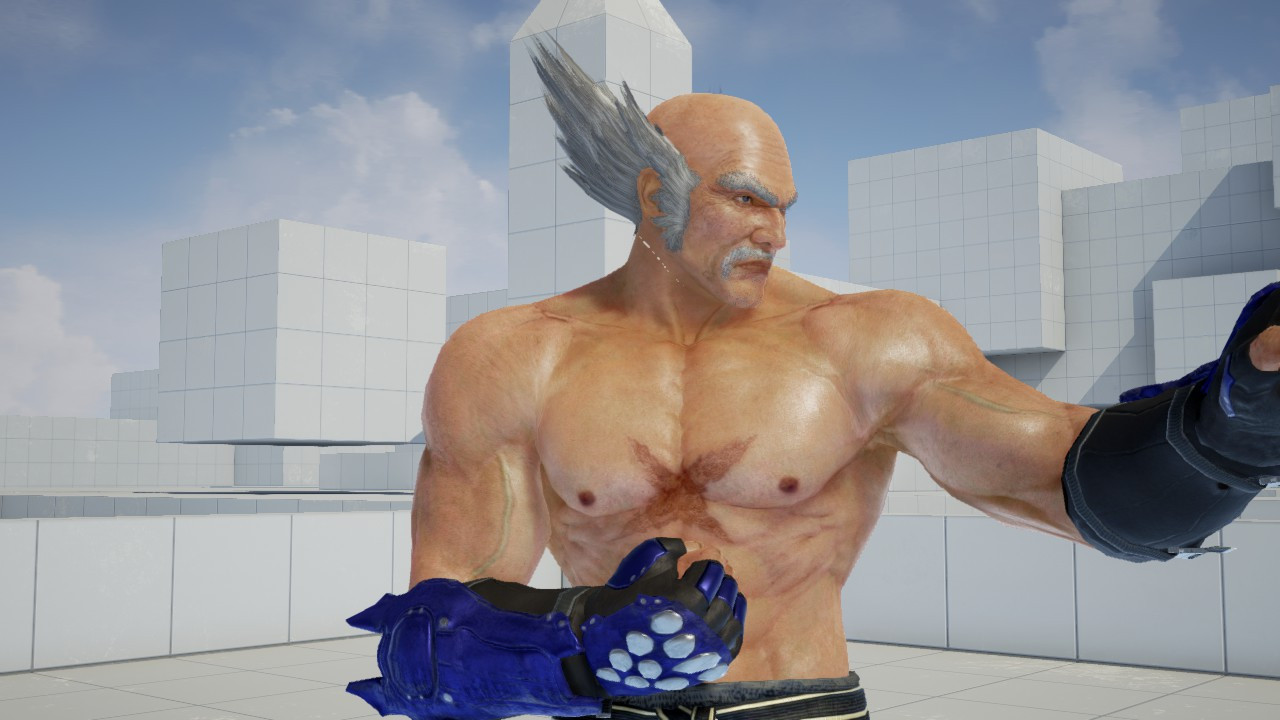
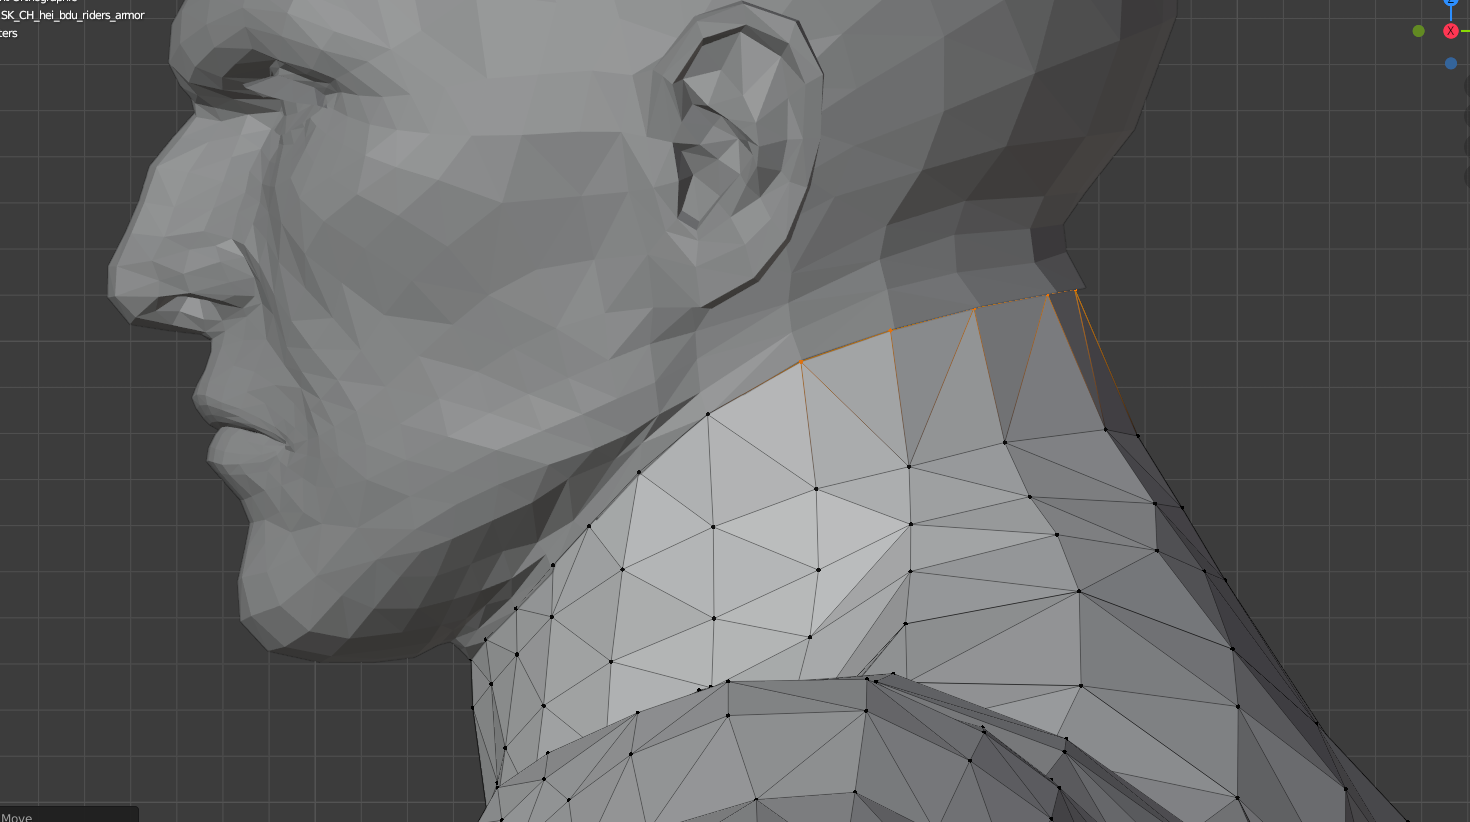
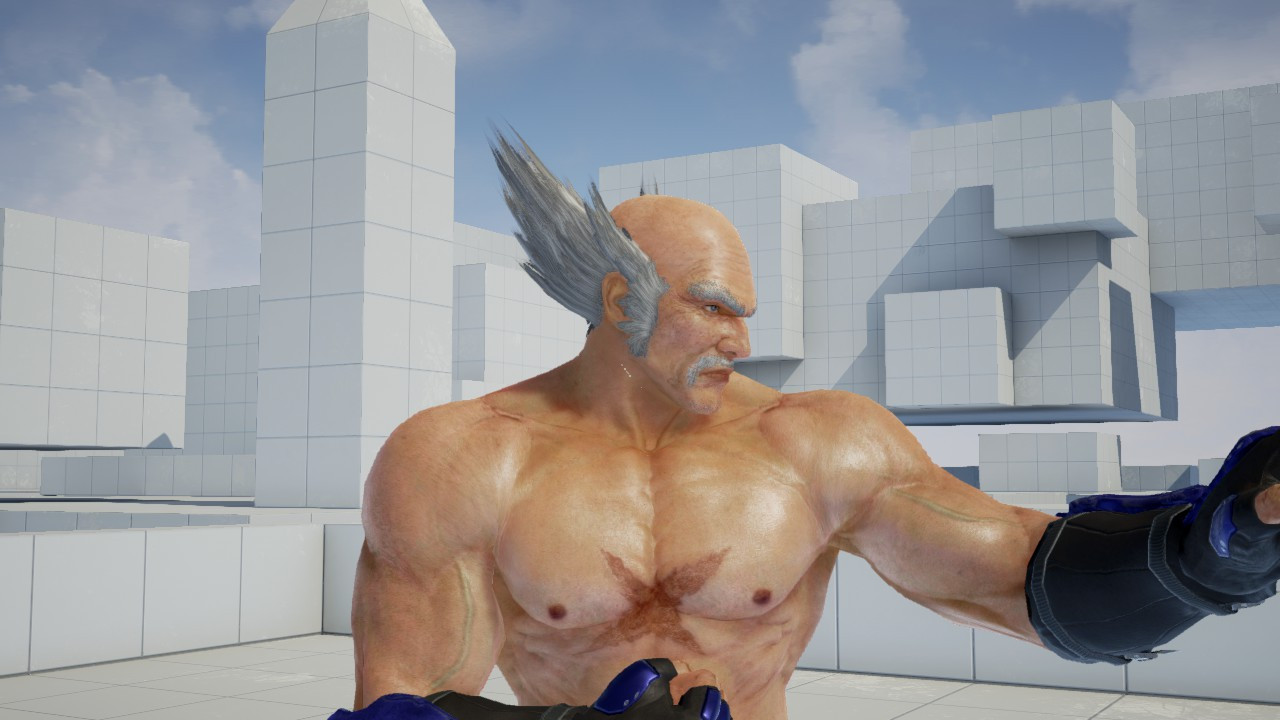
Our mod is already looking good. So how can we improve it? You may notice that there's a gap around the neck on our mod.
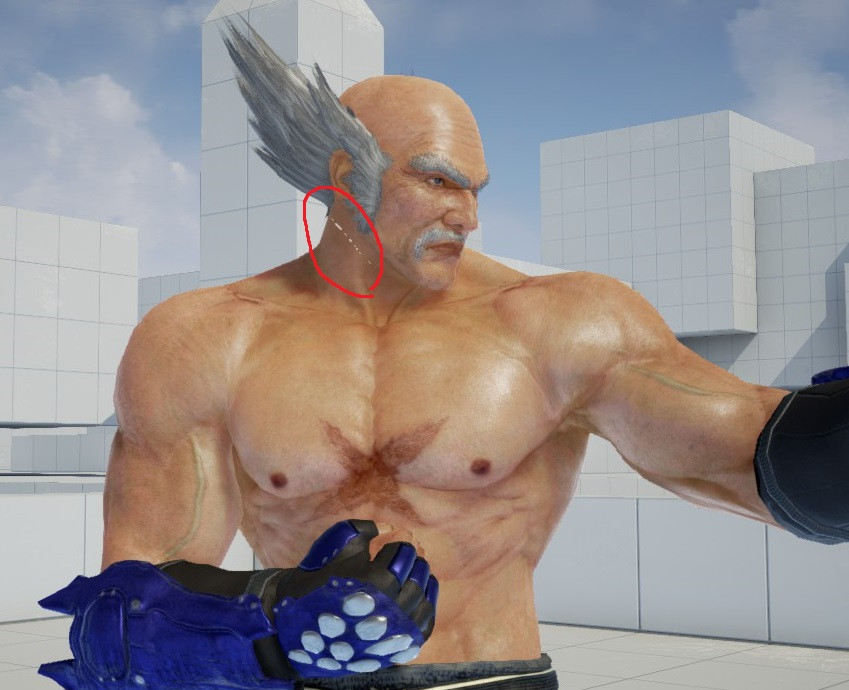
This happens because each character has a different body size. With mesh editing we can fix this problem.
NOTE: Some meshes only need small adjustment and some can't even be totally fixed without looking weird with this method. There's a more advanced method with better results through Importing Custom Mesh.
Prerequisites:
- Download T7 Ninja Tool
-
Blender or any 3D Modelling software
- Basic understanding in Blender.
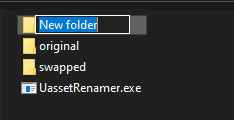
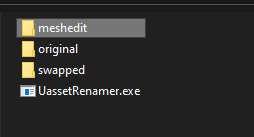
Go to your project folder and make a new folder named meshedit.
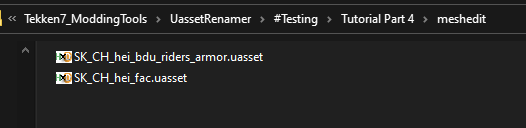
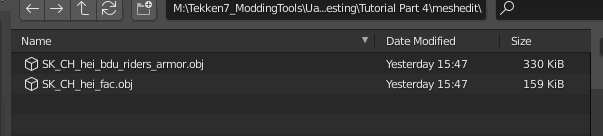
We need the upper body mesh and Hei's face mesh.
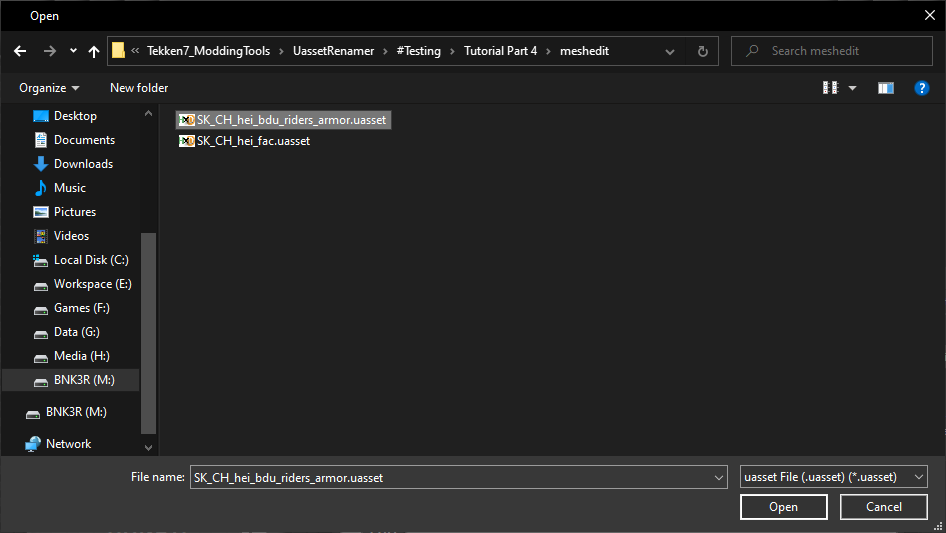
Navigate to \TekkenGame\Content\Character\Item\Meshes\hei\Face\hei_fac\Meshes and copy the mesh to meshedit folder.


Copy the upper mesh from the packing folder into the meshedit folder.

Launch T7 NinjaTool. You’ll get this message, press No.
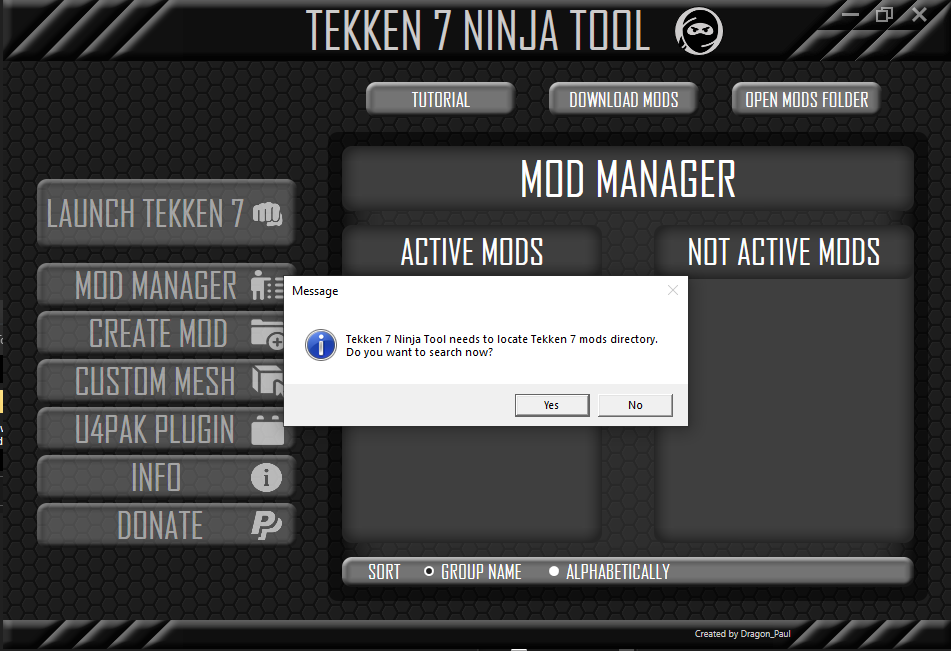
For this one choose Yes then OK.
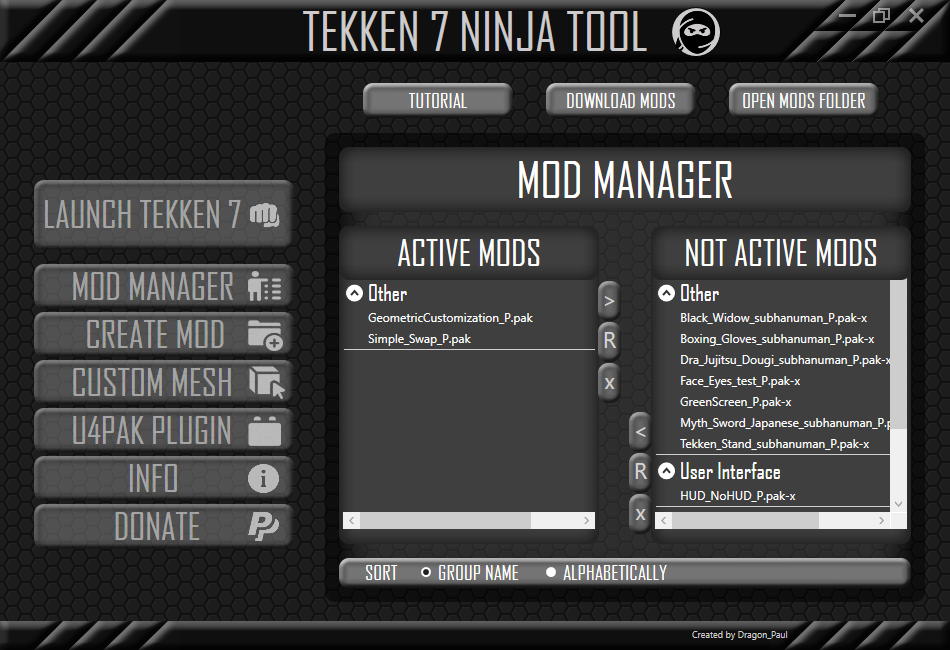
This is how it looks. Click the CUSTOM MESH tab on the left.
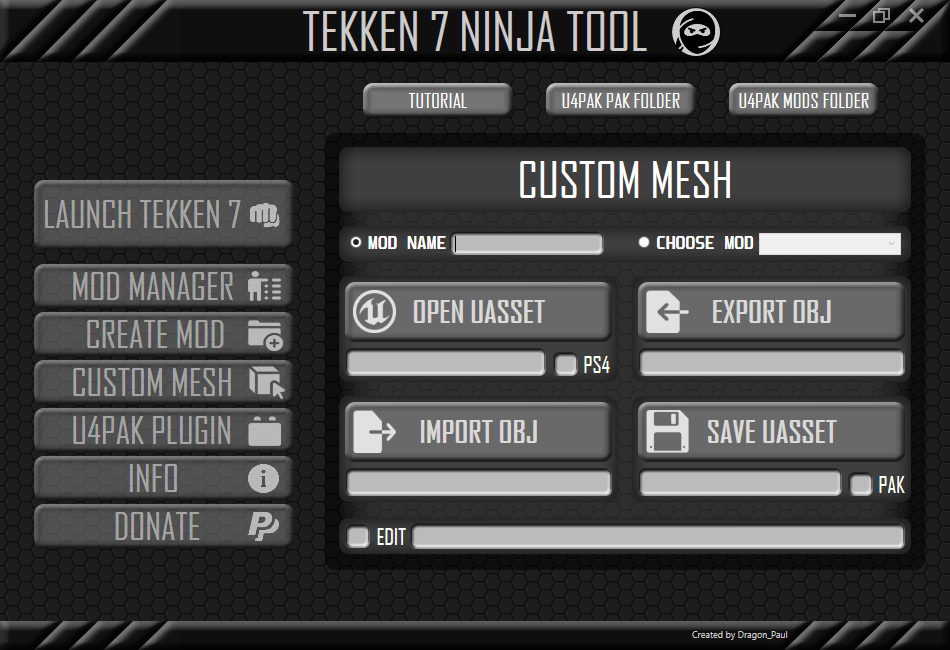
Click OPEN UASSET and navigate to the meshedit folder in your project folder. Choose one of the SK.
Now click EXPORT OBJ. Save the .obj in meshedit.
Do the same with other SK.
Before doing any mesh editing let’s take some screenshots of our model in game as reference.
Open Blender. Clean your scene.
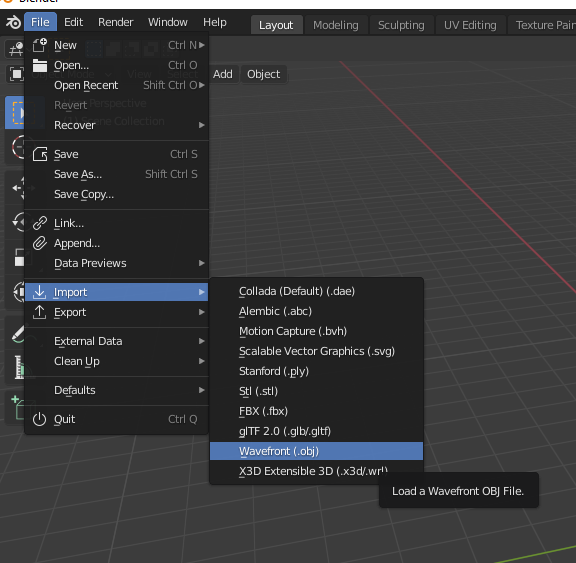
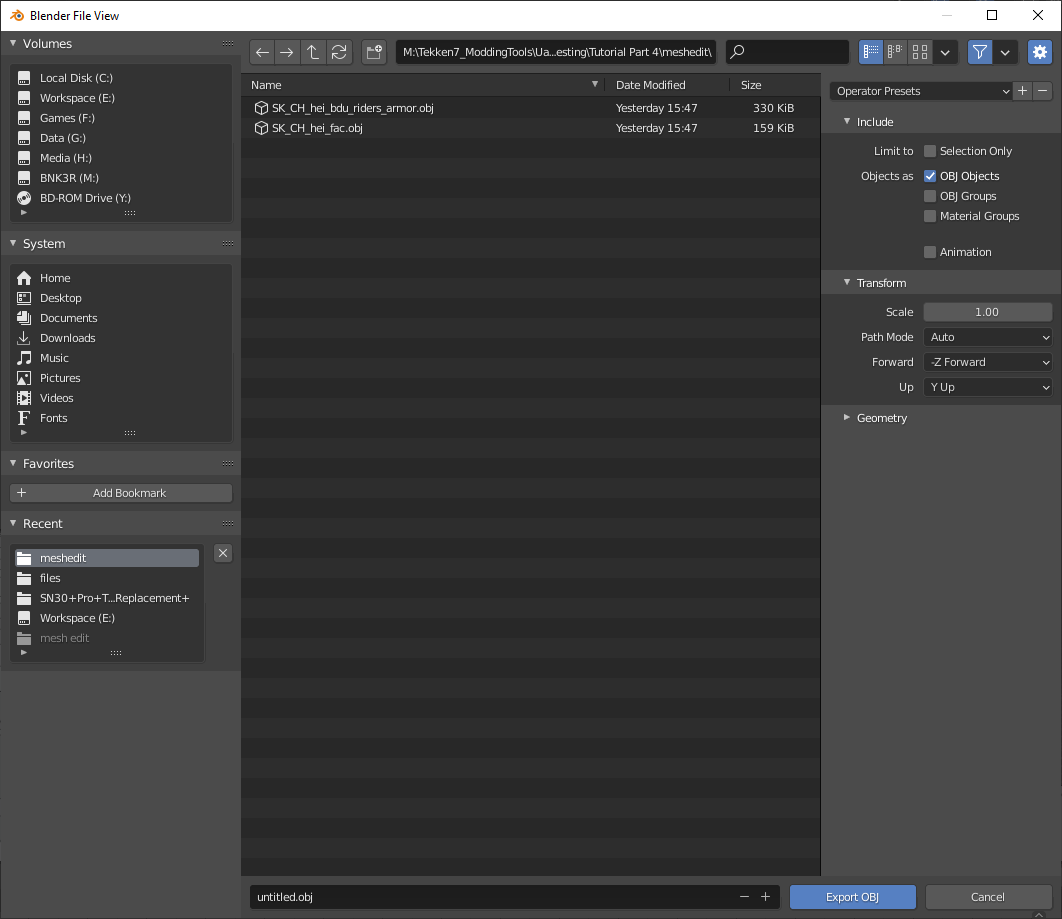
Import the .obj by going to File > Import > Wavefront (.obj).
Go to your project folder.
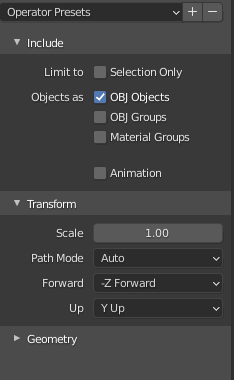
Before importing check on the right tab of the import window.
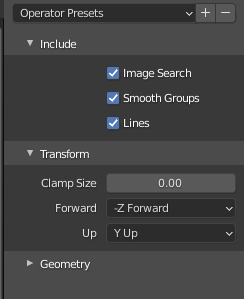
Click on Geometry.
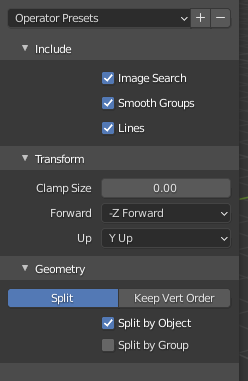
Click on Keep Vert Order.

This is the import setting. Remember to check and set this before importing. Continue importing both of our meshes.
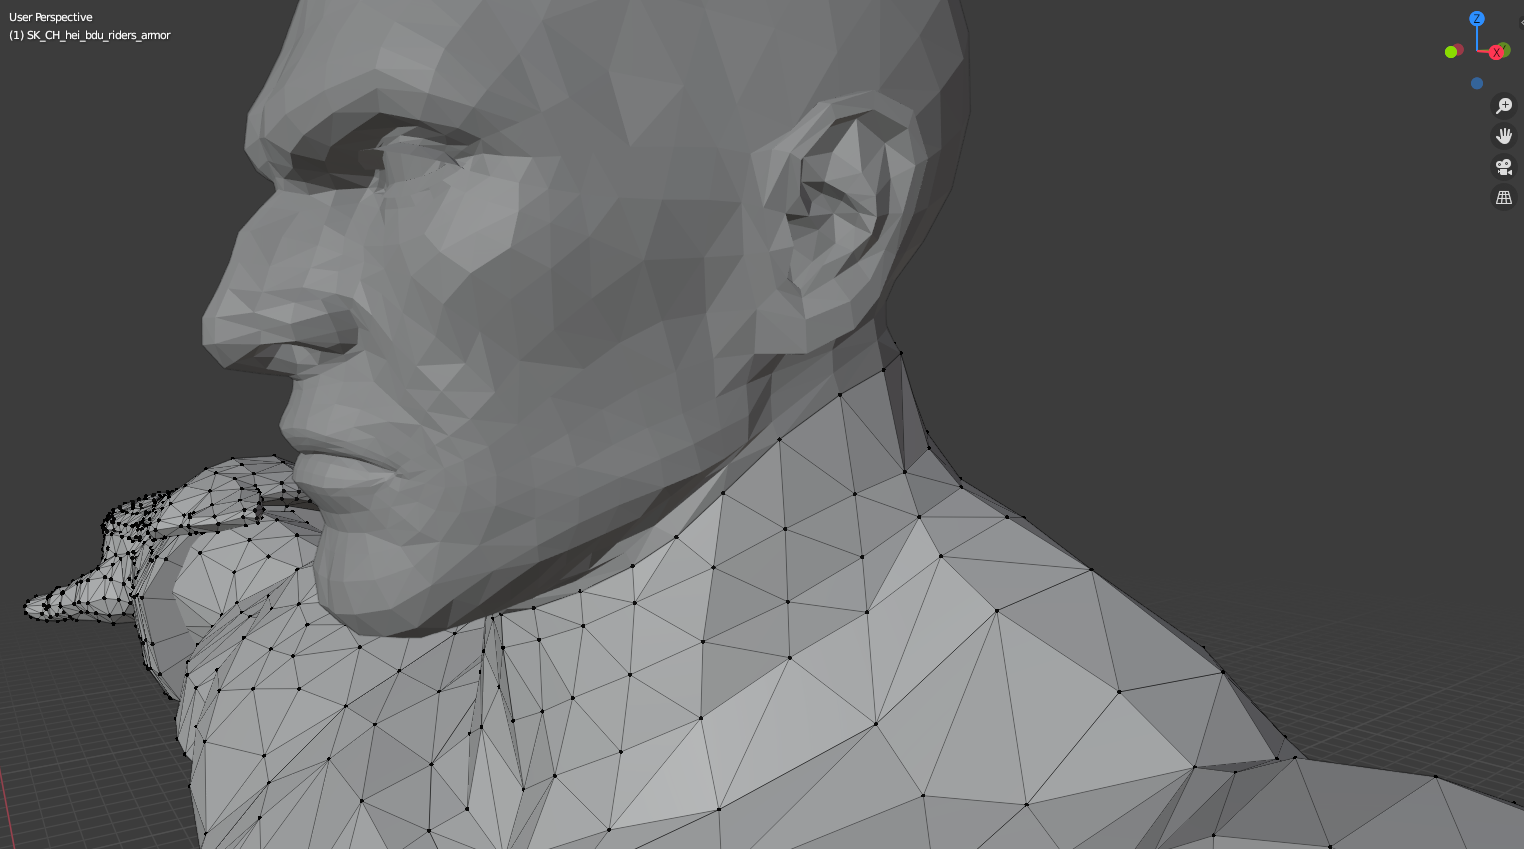
Sometimes you need to zoom out to see imported mesh.
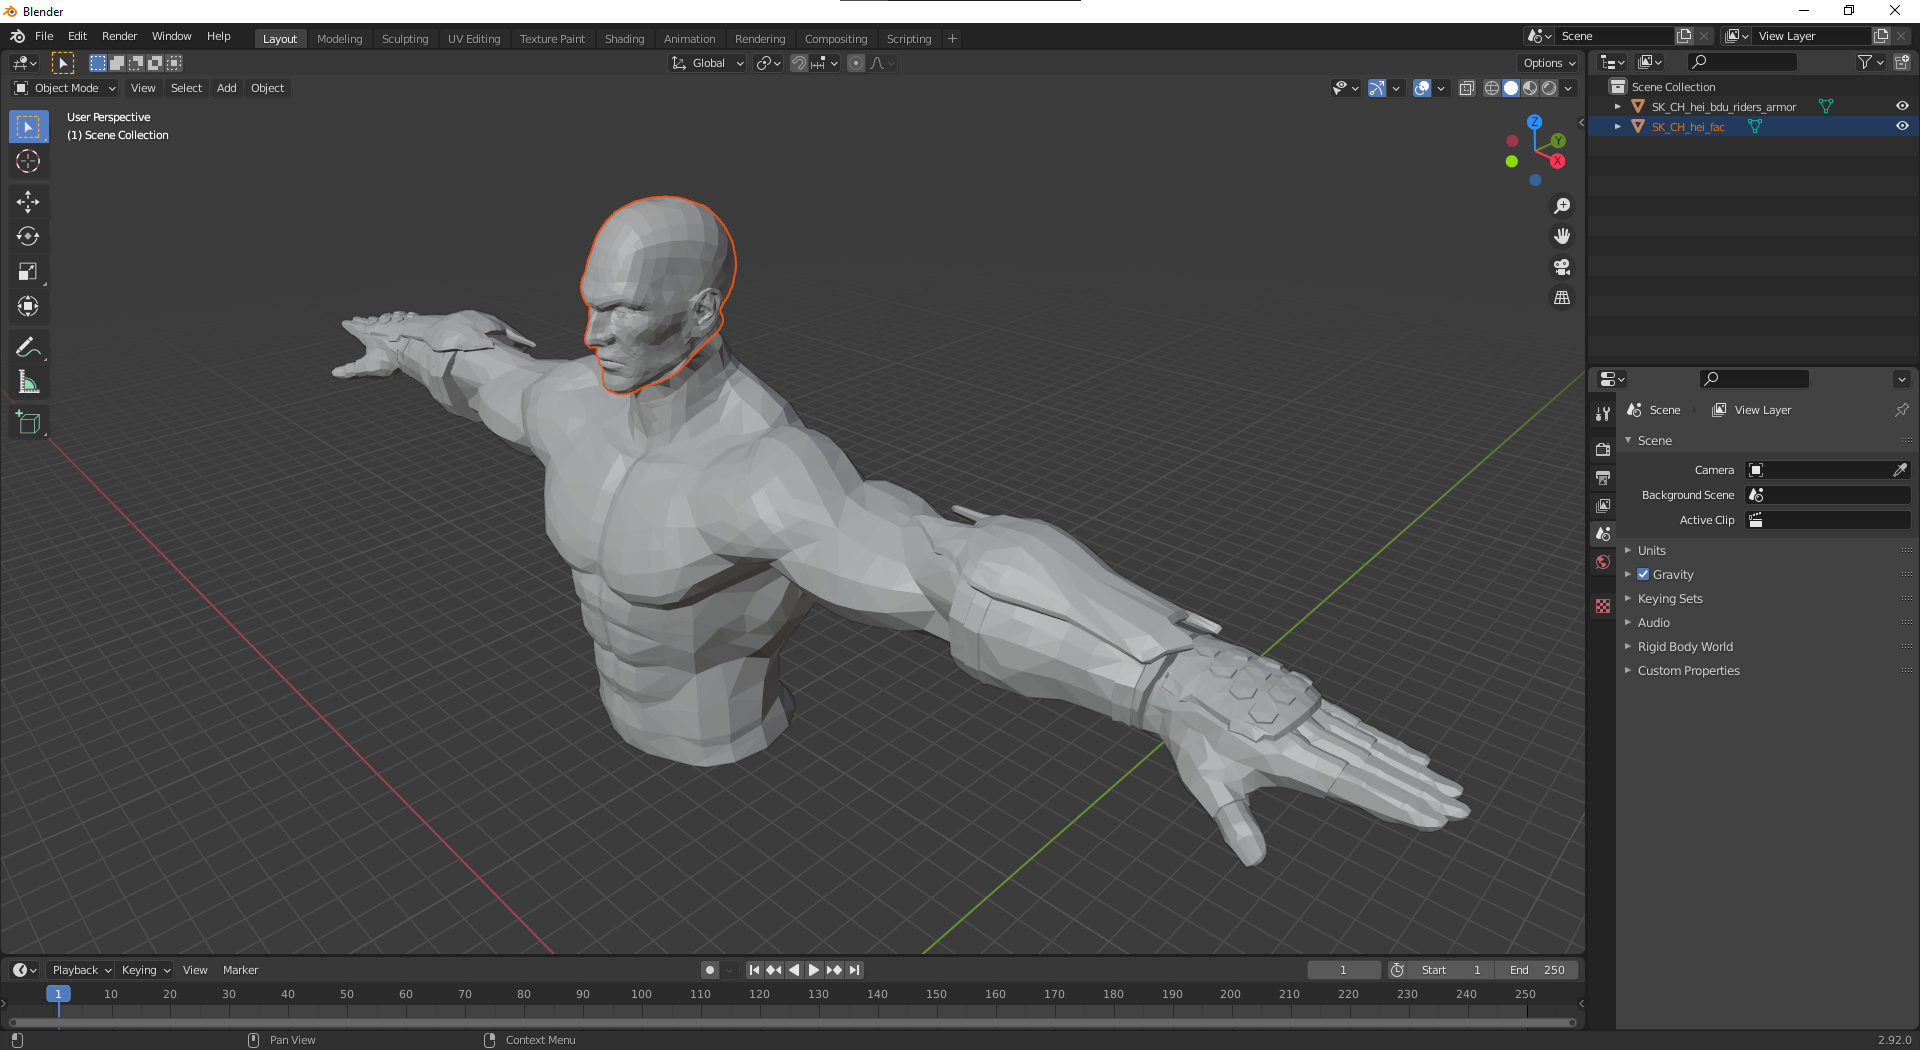
Move Hei face position using the in game screenshots as references.
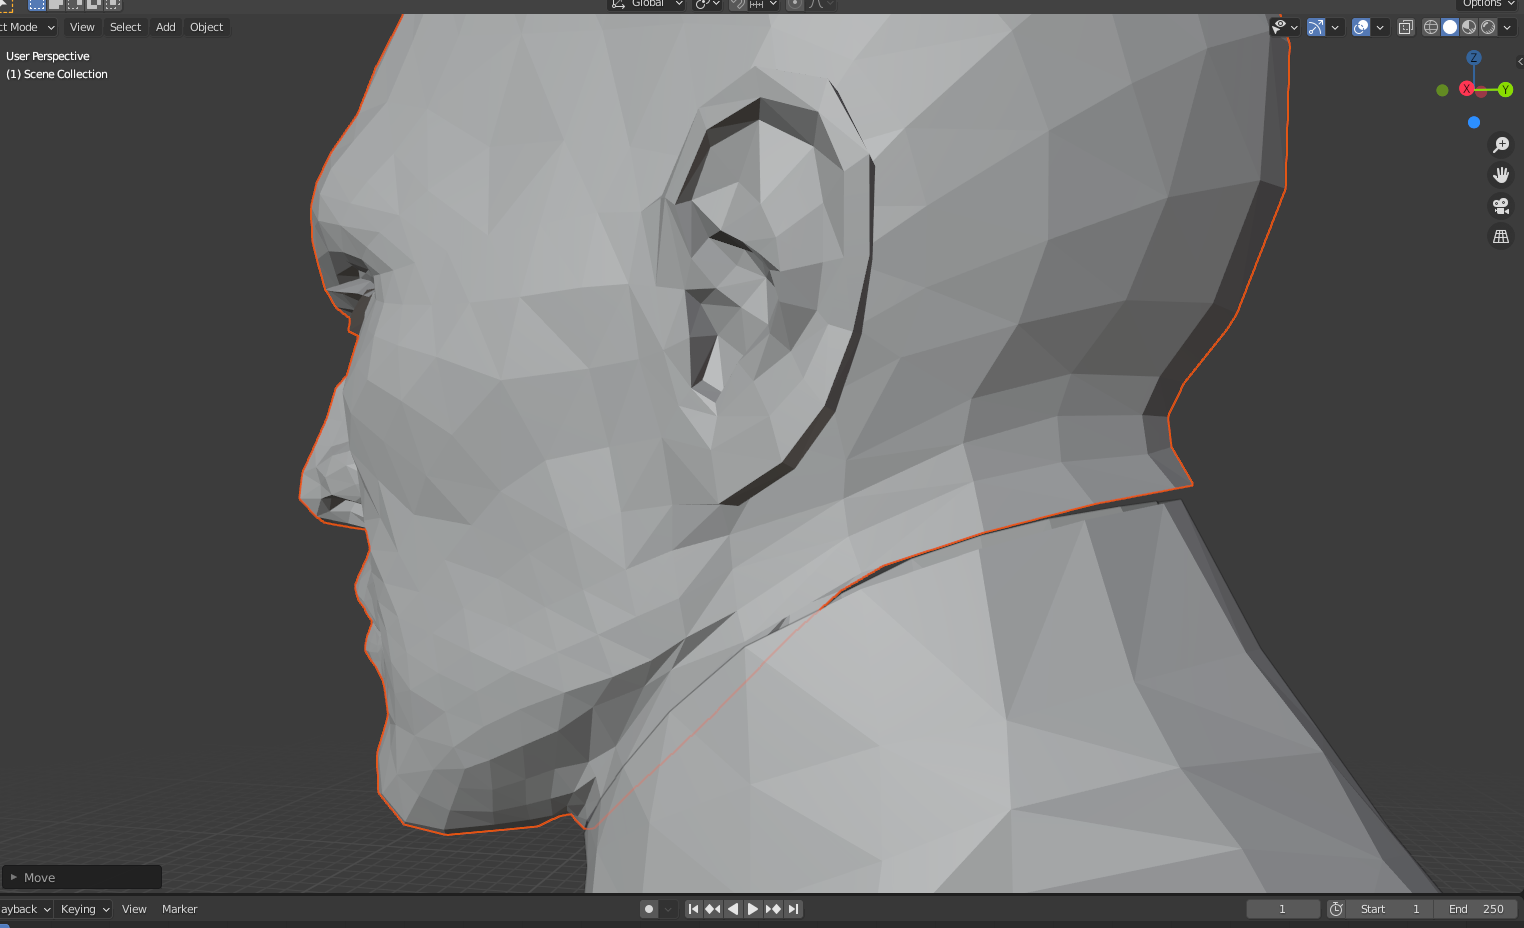
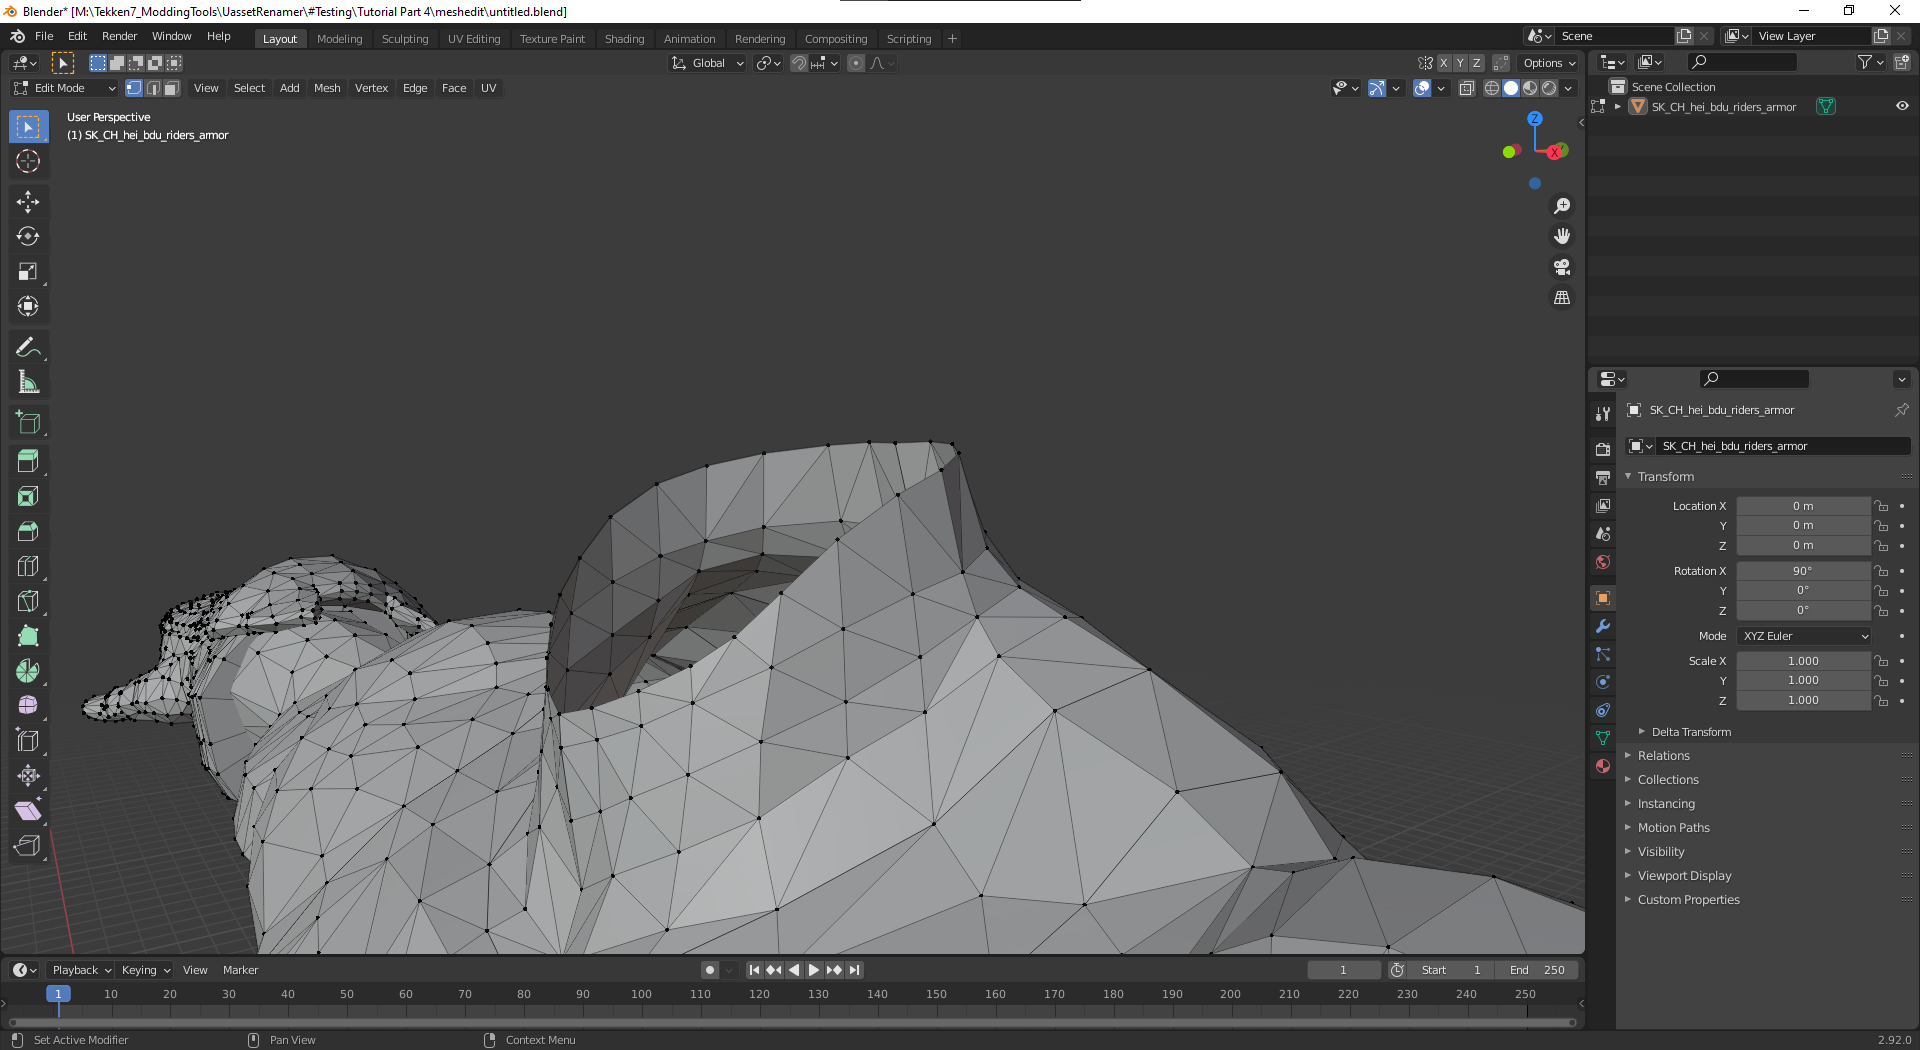
Choose the body mesh and go edit mode.
Unselect everything then select only the top neck’s vertices.
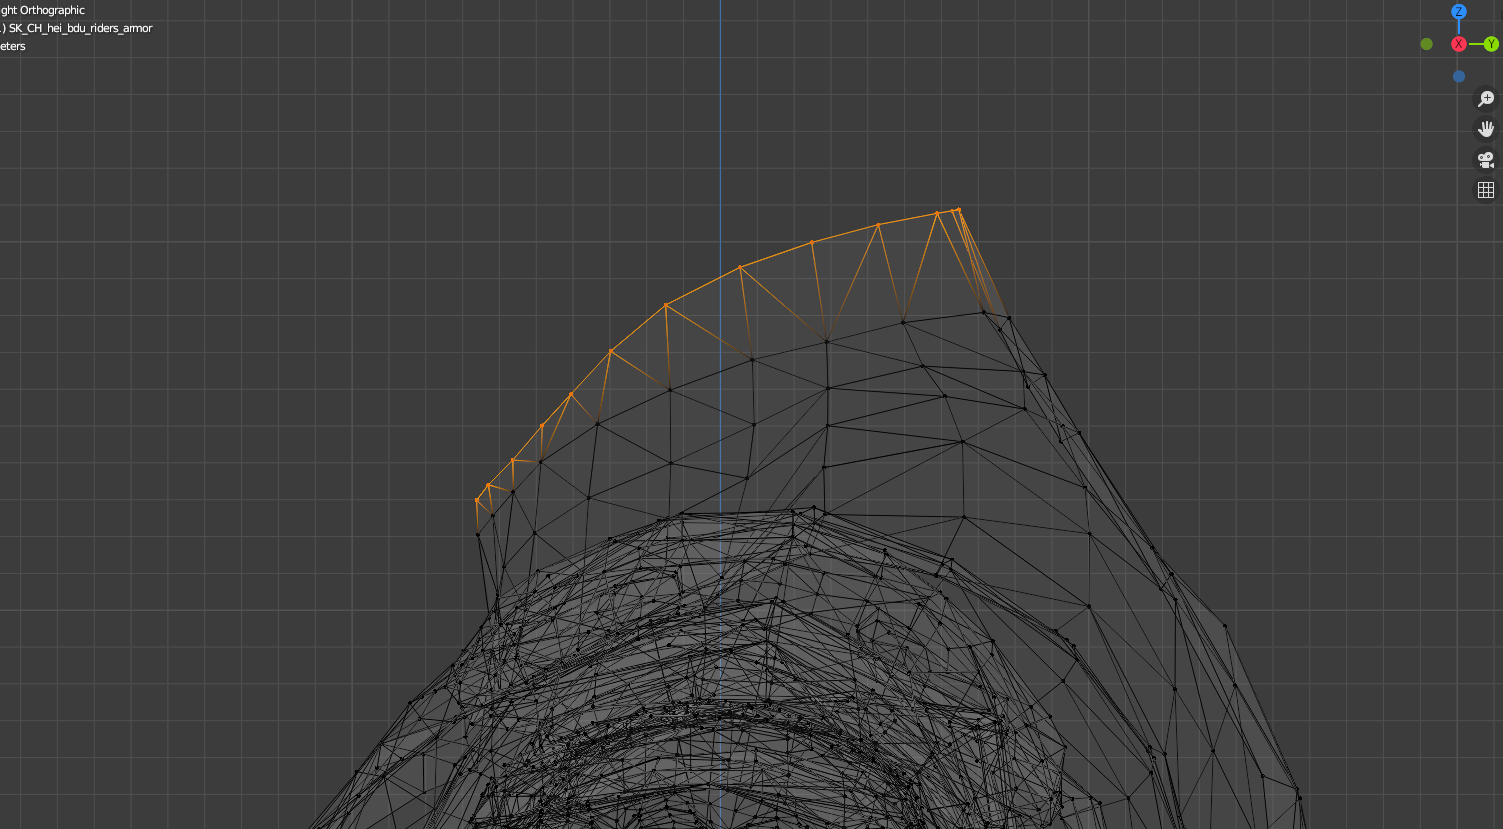
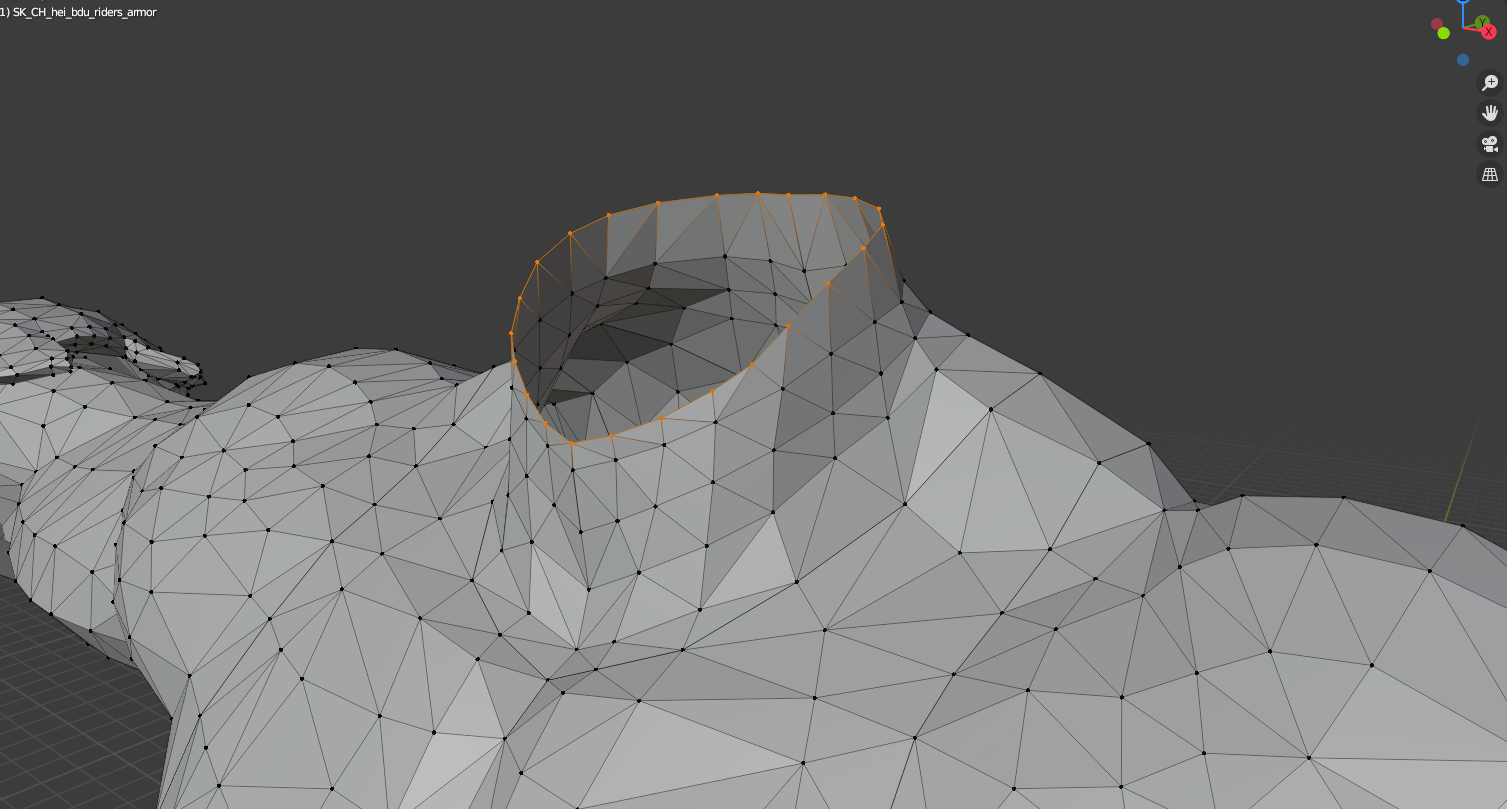
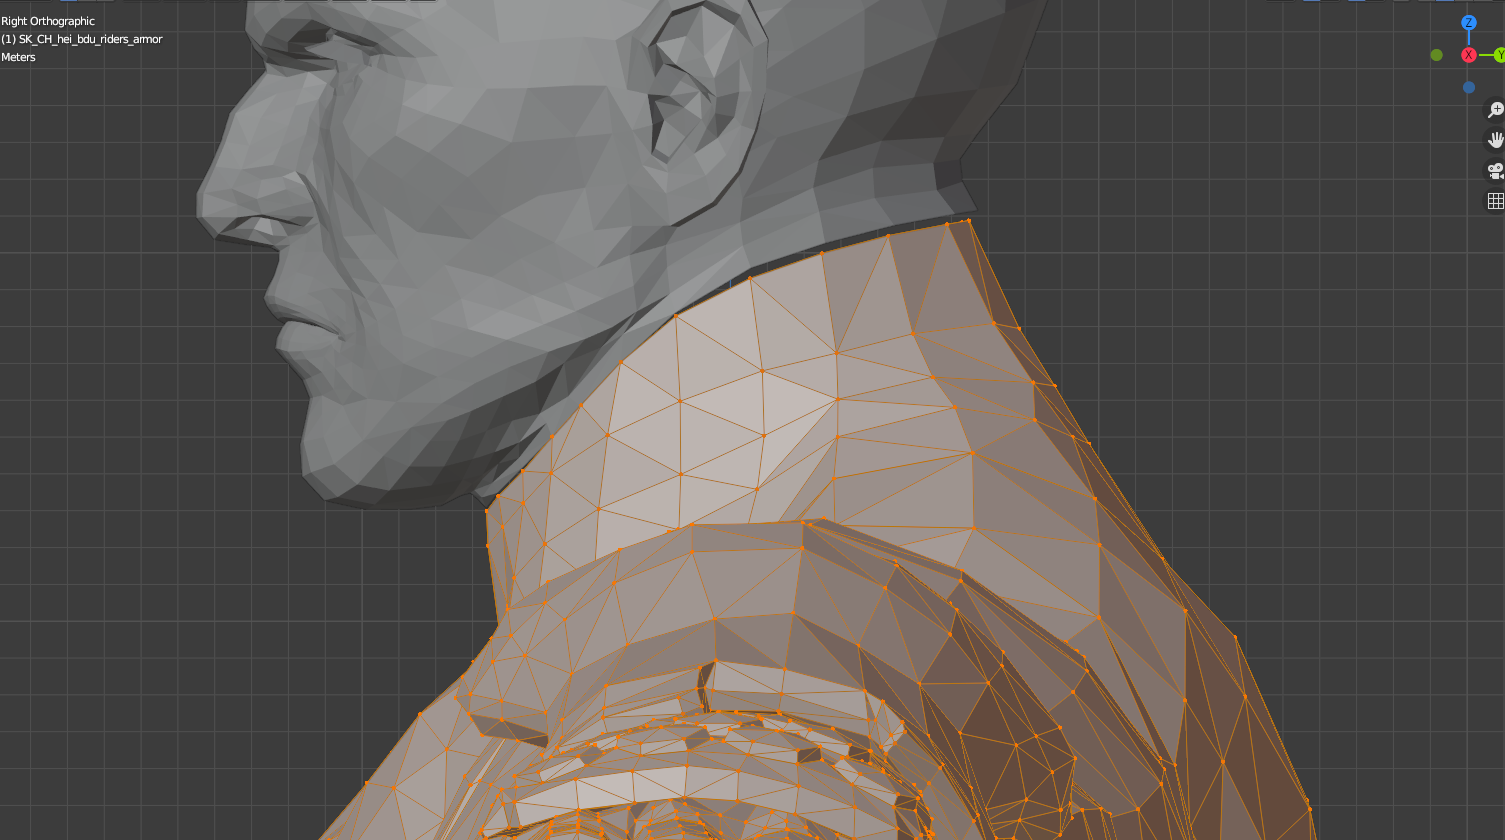
We just need to move and scale these selected parts by lining it up with the head part.
Once you are satisfied save your blender as a backup.

Delete the face mesh. Don’t worry you can redo this later.
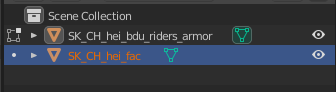
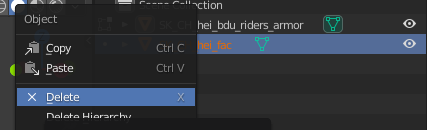
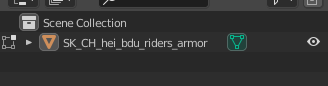
There should only be one mesh before exporting.
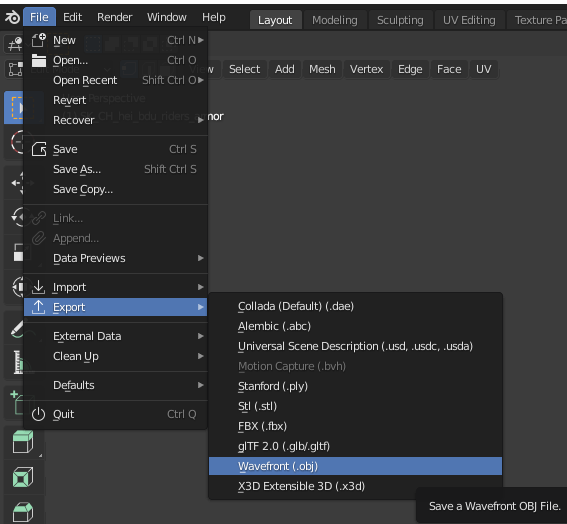
Let’s export our mesh. Go to File > Export > Wavefront (.obj).
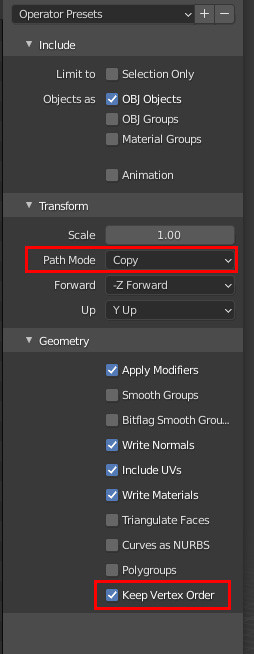
Look at the export setting on the right side.
Follow this export setting. Remember to check and set this before exporting.
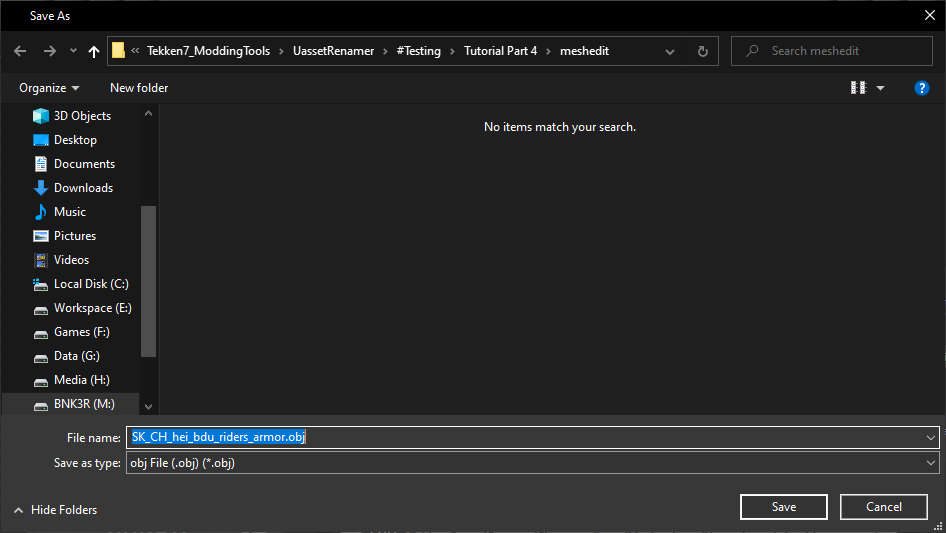
You can name your .obj anything.

To make it easier we’re going to name it similar to the original mesh. Click the original mesh.

Our .obj now has the same name.

Add a few letters.

Click Export.

Back to T7 Ninja Tool.

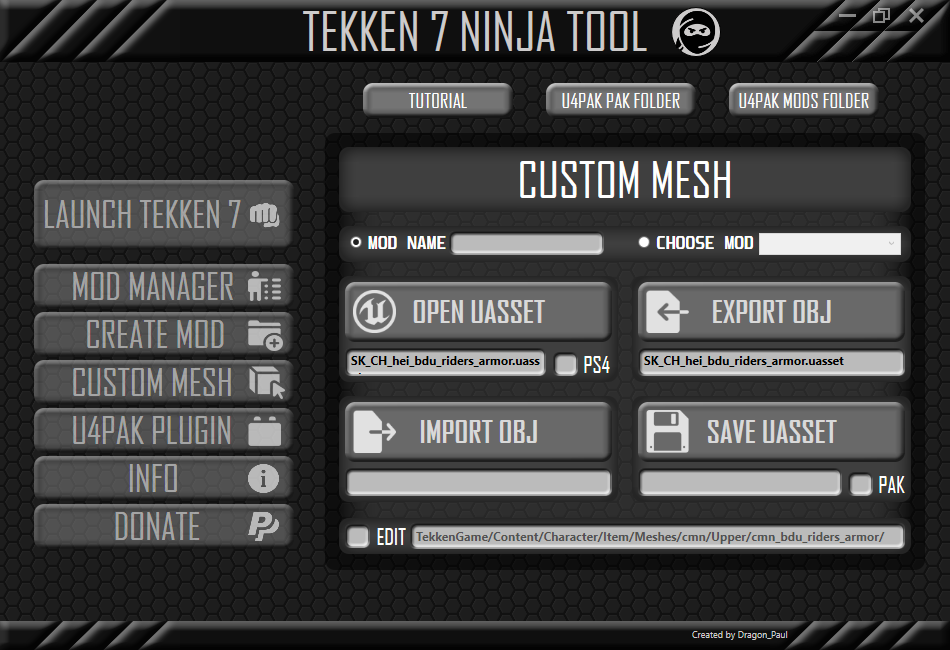
We need to match OPEN UASSET with our IMPORT OBJ. Open the upper body SK.

Click IMPORT OBJ. Choose the edited mesh.
![]()

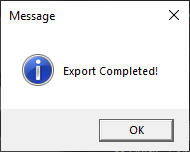
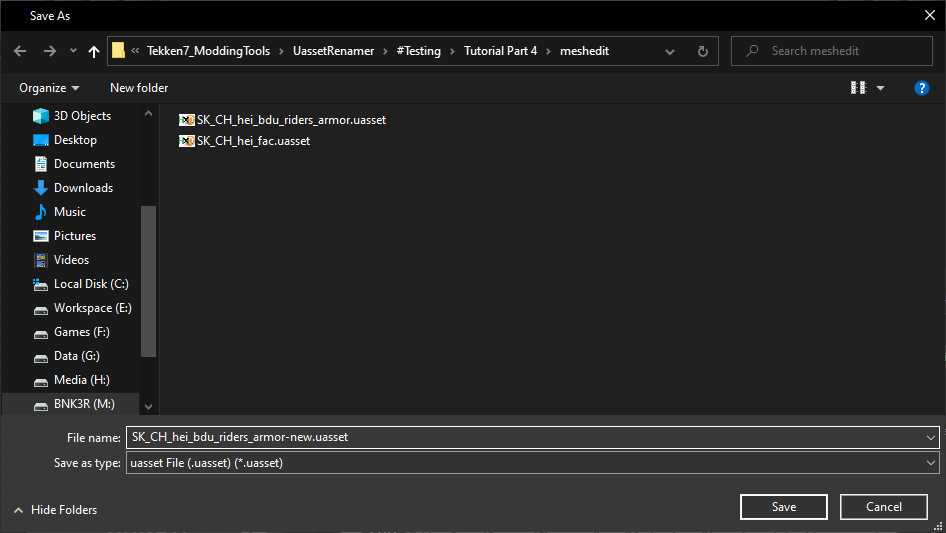
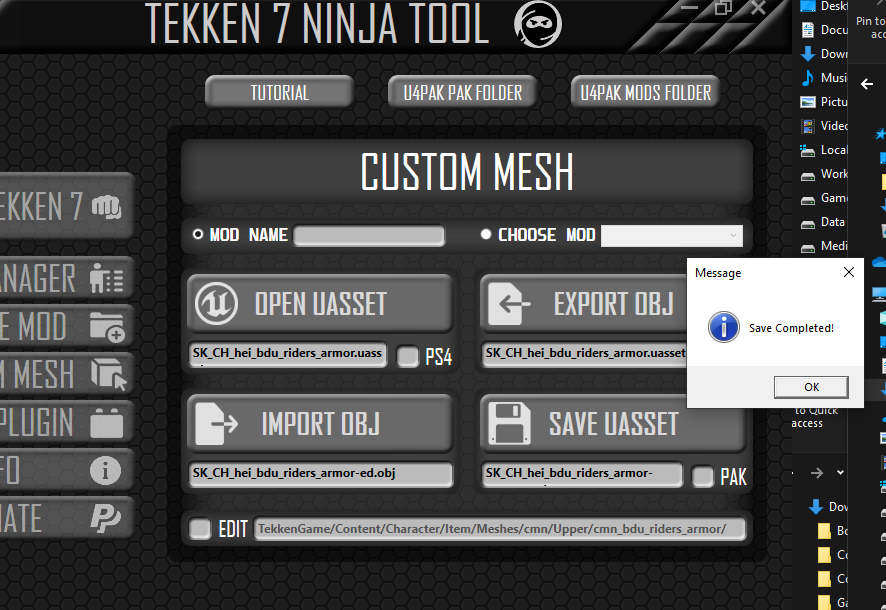
Click SAVE UASSET.
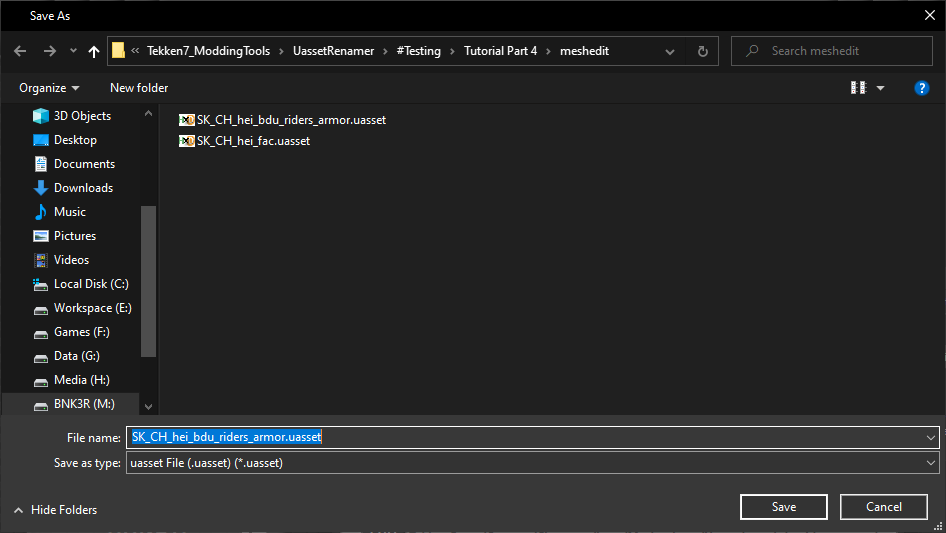
Name the mesh. Click Save.
You’ll get a confirmation.
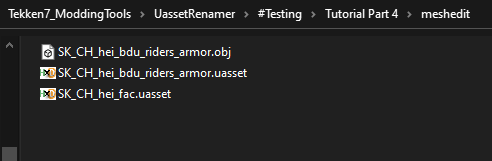
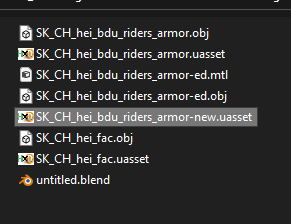
We need to place this new mesh to the packing folder just like the previous tutorial. Copy this mesh.
Navigate to the right mesh folder in the packing folder.
![]()
Rename the old mesh as a backup.


Paste the new mesh.

Rename it to the original mesh name.
Pack the mod and check it in game.
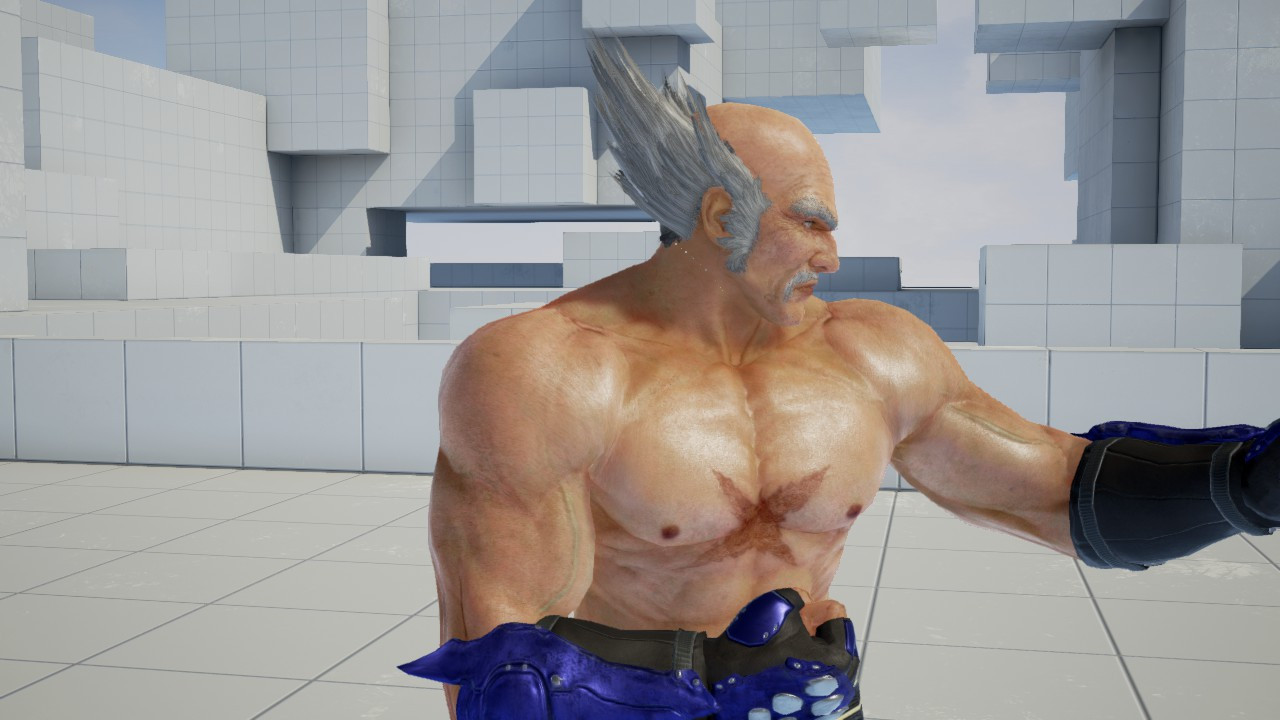
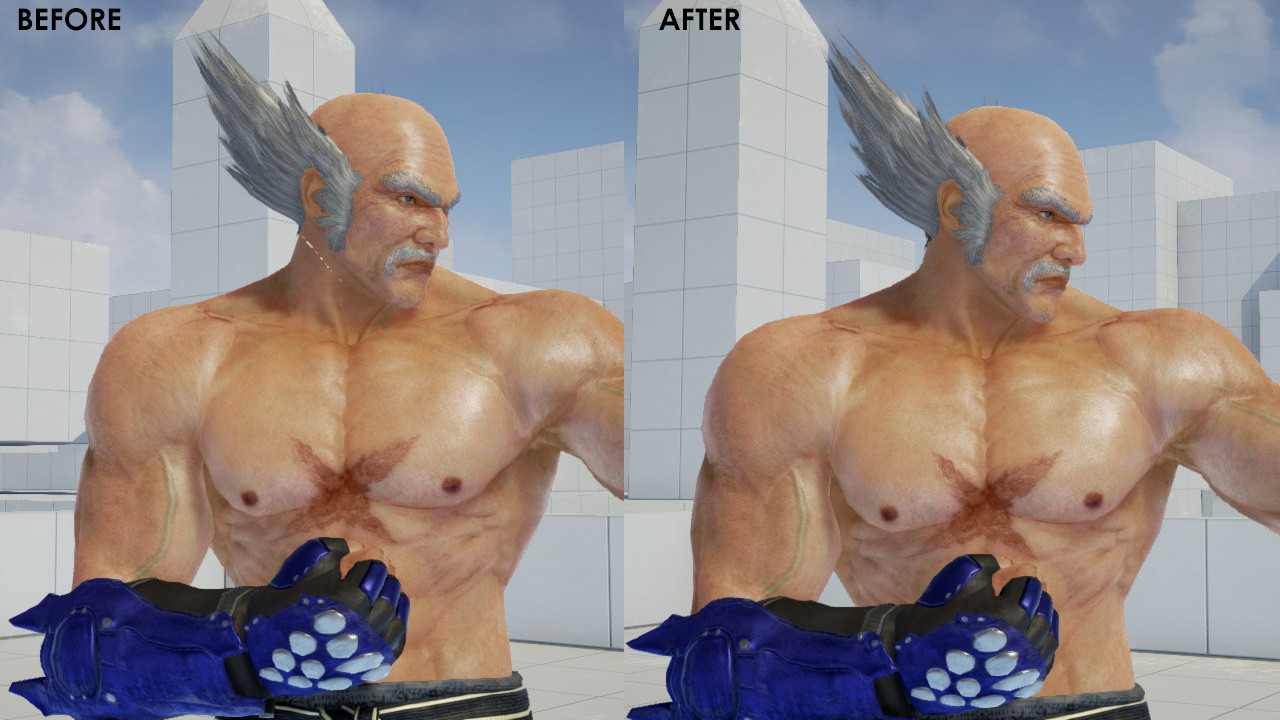
Looks better than before but it still needs further edit. Repeat the process through mesh edit and re-check it in game until you’re satisfied.

When you’re done with the mod it’s a good practice to remove unused files.
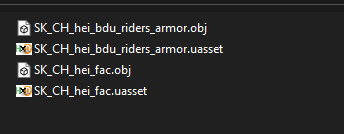
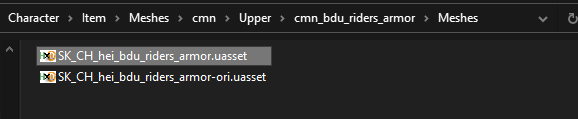
Back in the packing folder we have 2 meshes.

Delete the old mesh.

Repack the mod.
Although mesh editing using T7 Ninja Tool has some limitations you can do a lot more than fixing a neck. Try experimenting with it. If you find it insufficient then it’s time to learn Importing Custom Mesh.
This concludes the tutorial.