Disclaimer:
1- You NEED to set up Blender properly before following my guide Importing Custom Meshes to Tekken 7 using Blender
2-The guide is for already rigged models.
Tips
- Before and after editing your mesh in blender, select your custom mesh and hit Ctrl+A (Apply all transforms) so the scale and rotation don't get messed up when you mod it into the game.
- If your using Blender, It's best to Follow Saiki tutorial on
how to fix bone roll issue without 3ds max for rigging
- Be patient, this takes time.
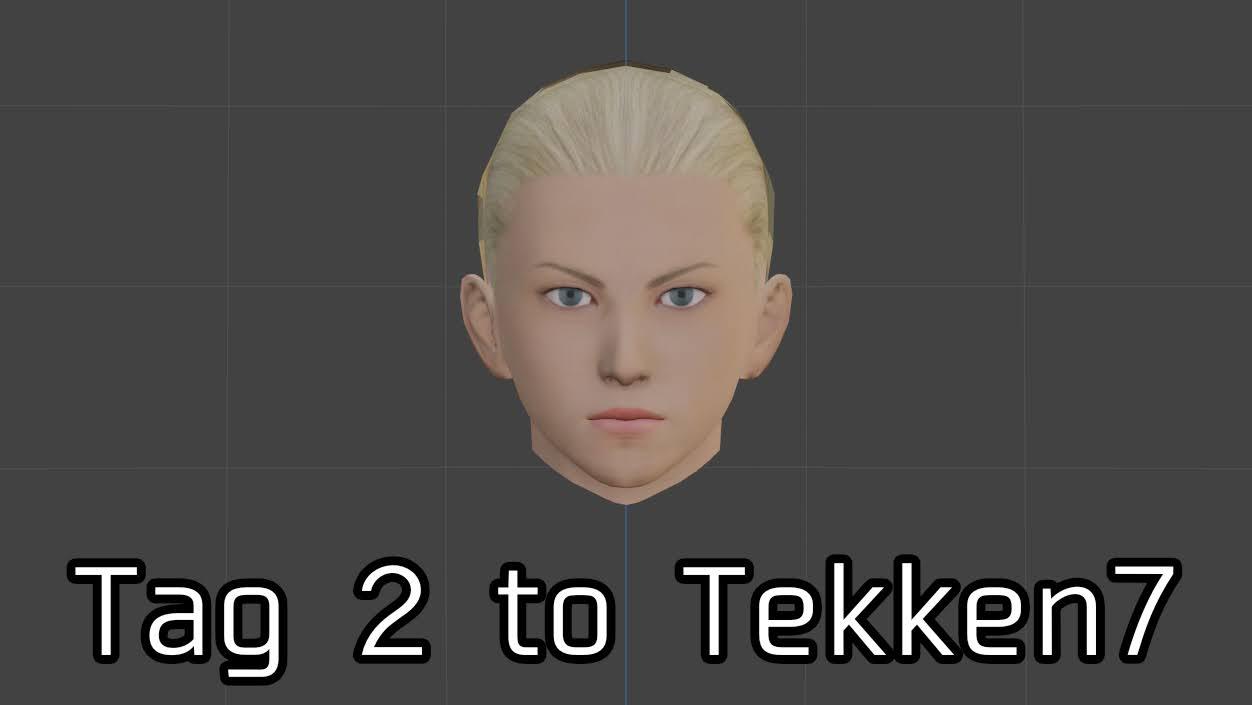
For this guide, I will import Leo's Tag2 head to Tekken7.
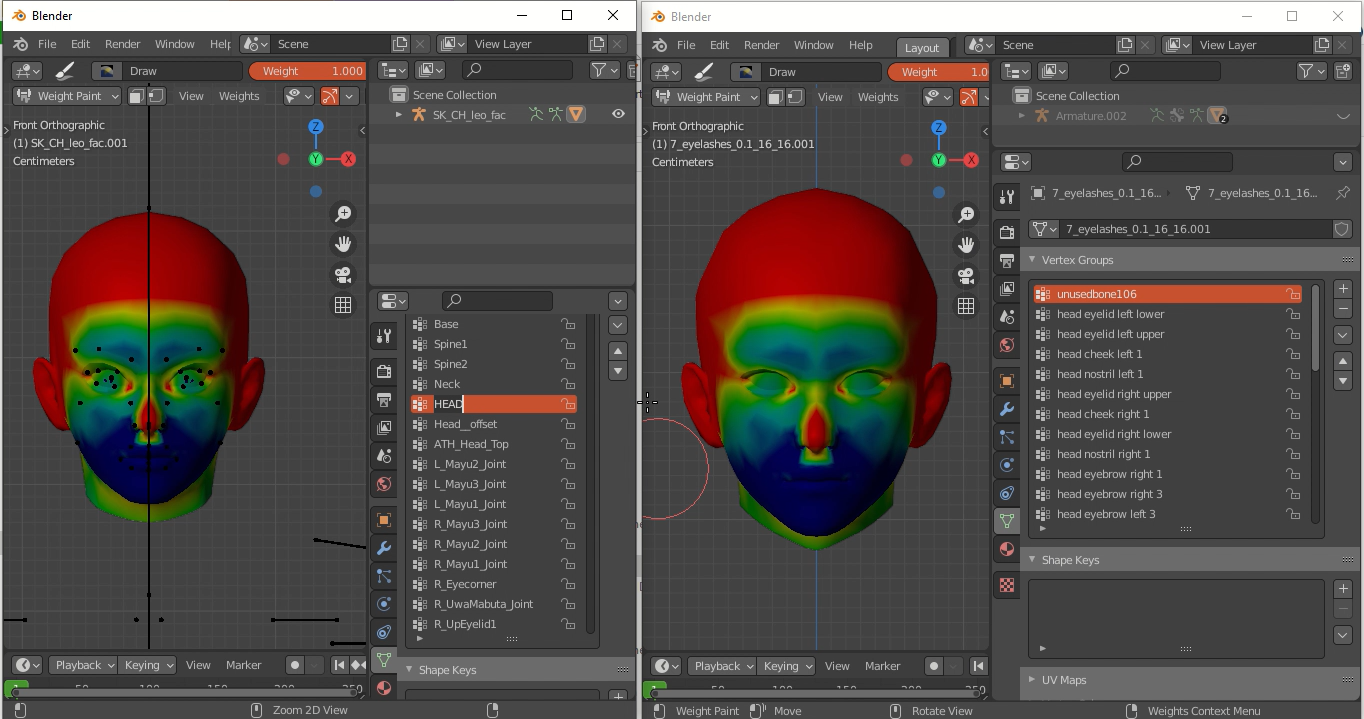
1- Open 2 Blender projects, 1 has the T7 mesh and the other has a non-Tekken7 mesh.
Since I'm modding the head only, I just need Leo's T7 head.
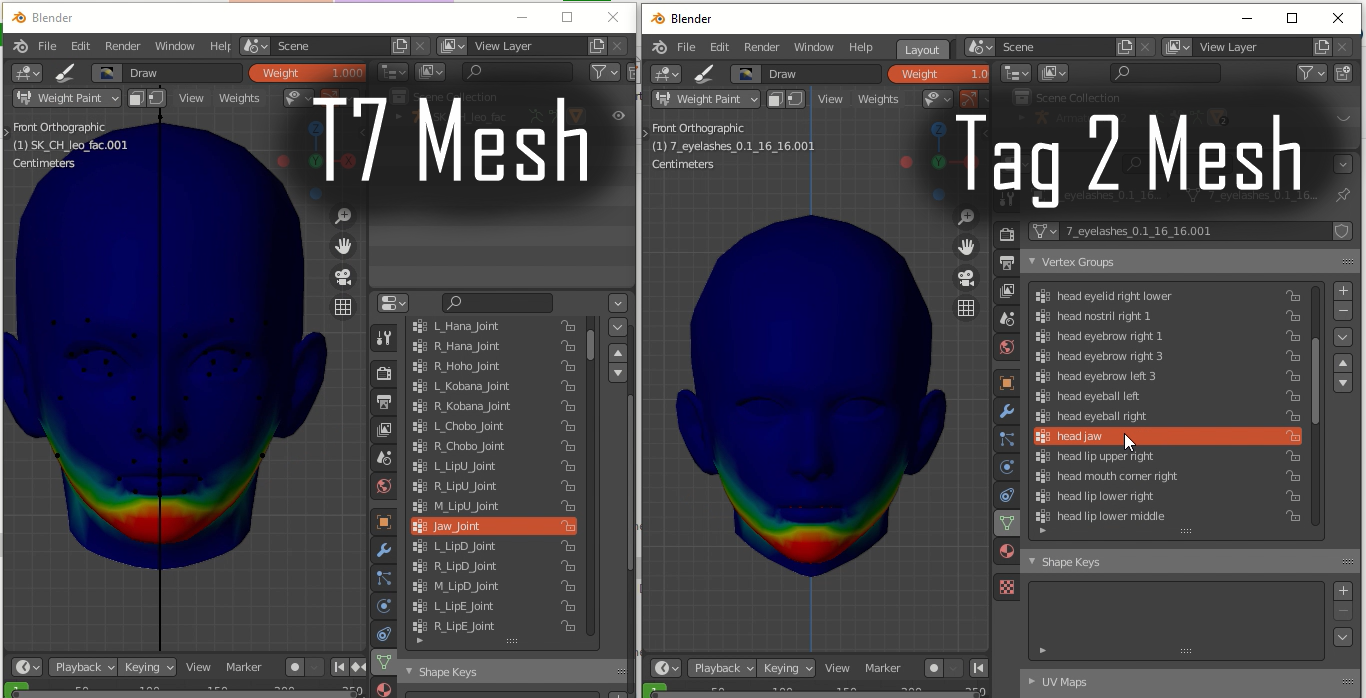
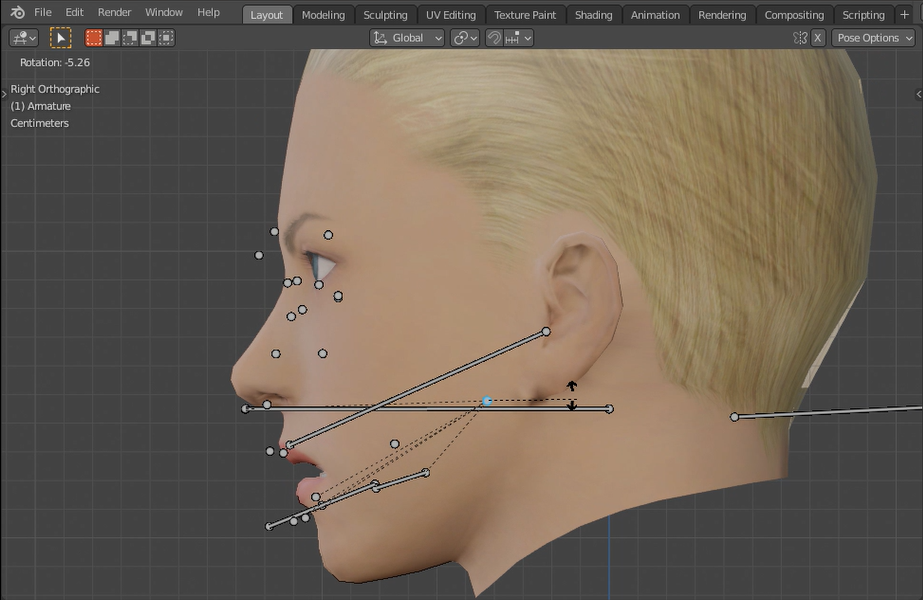
2- Enter weight Paint mode, rename all Vertex groups according to the T7 mesh Vertex groups.
3- get the T7 head mesh needed, try to make the head size match.
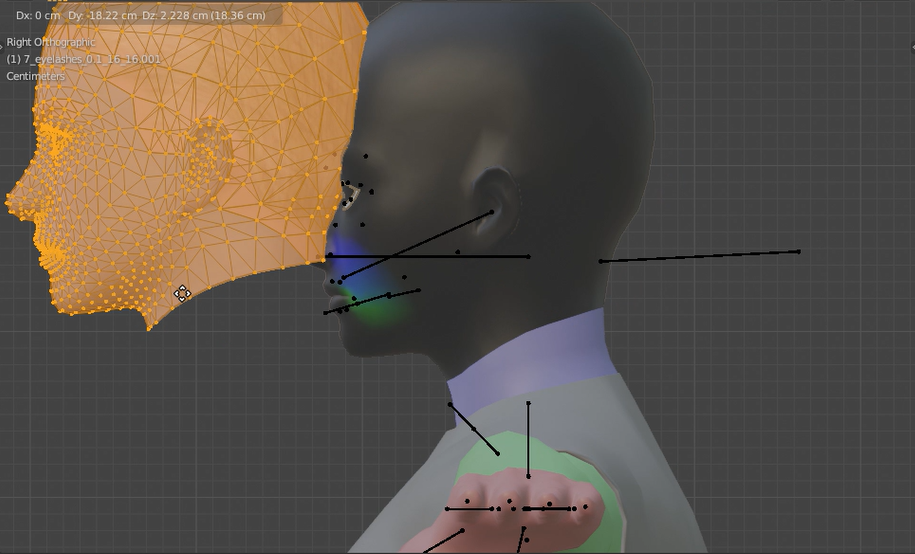
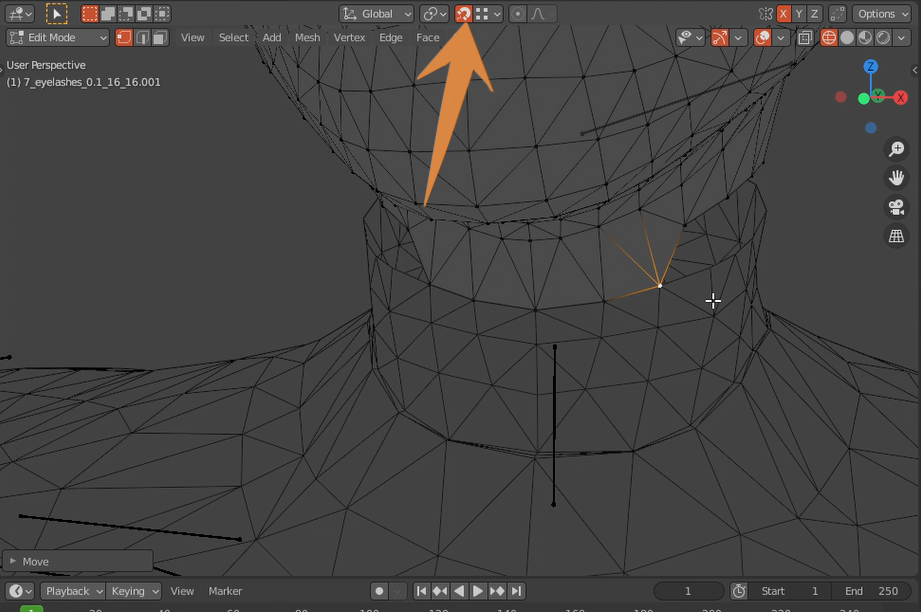
4- Get an upper body mesh, turn on snapping to vertex and connect the neck to the body.
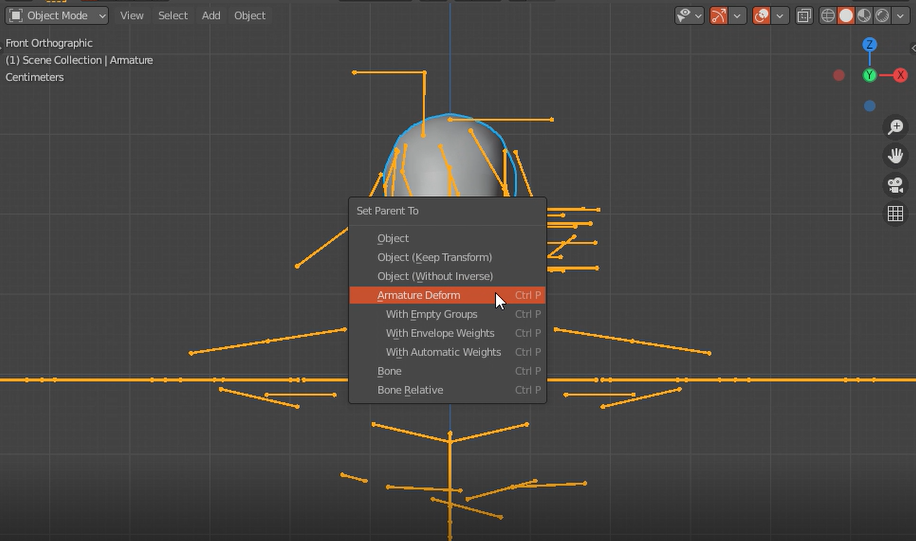
5- Select your mesh then the armature, hit Ctrl+p and select Armature deform. Go to pose mode and test.
...
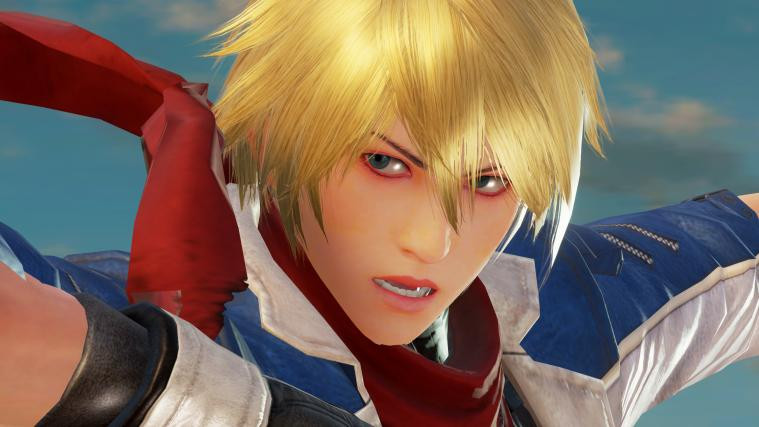
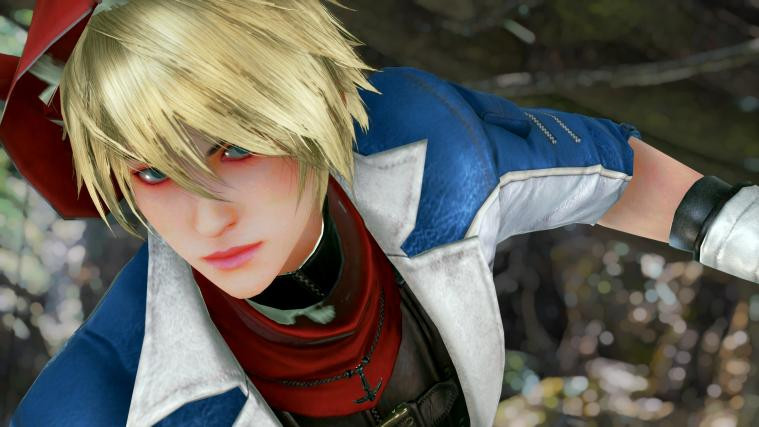
Results

Credits:
-Results Images are by my cameraman O.sa
Extras:
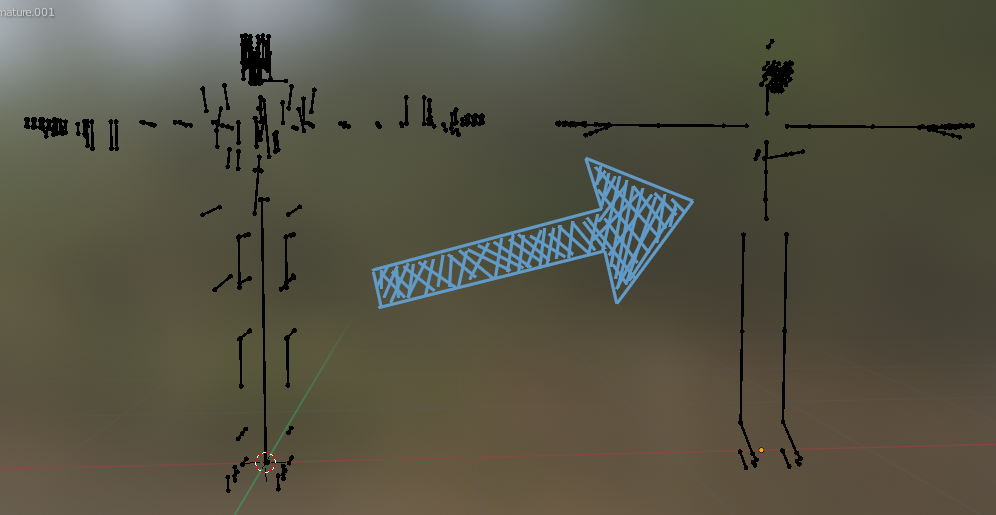
-Tekken7 armature script by Ludenous. This script can be used for when you import a custom full body model, it makes the Tekken7 aramature easier to work with.
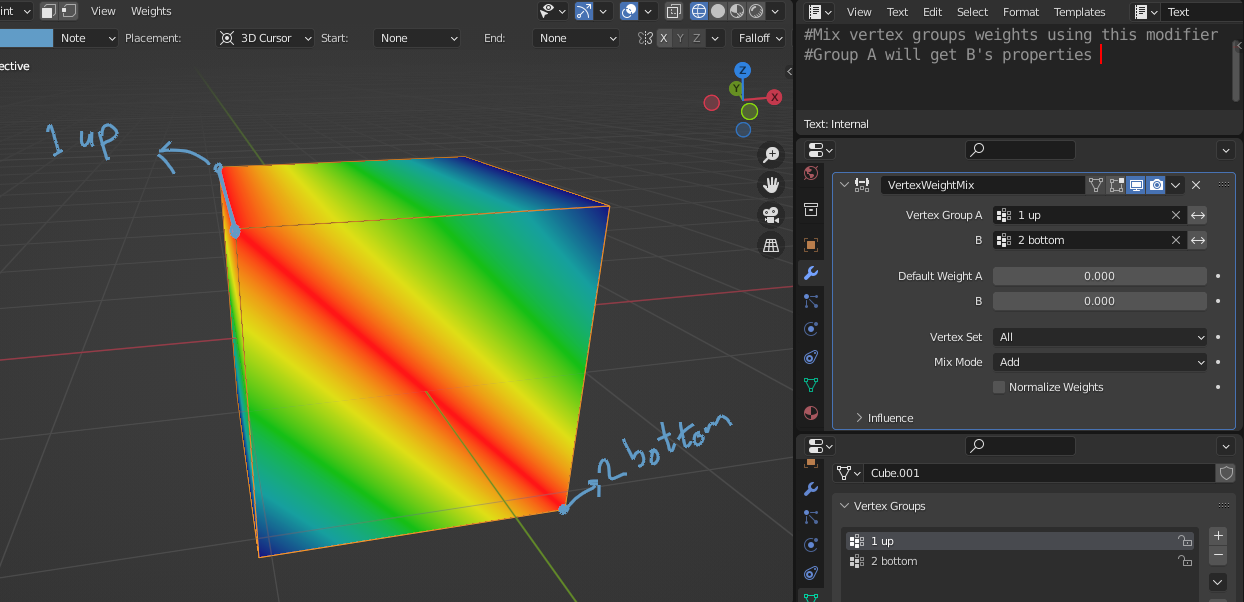
-Blender weight mix modifier, sometimes you'd want to merge vertex groups. Here's how:
-Delete unused vertex groups script.
-Weight transfer method, Its a different from the method used in this guide.
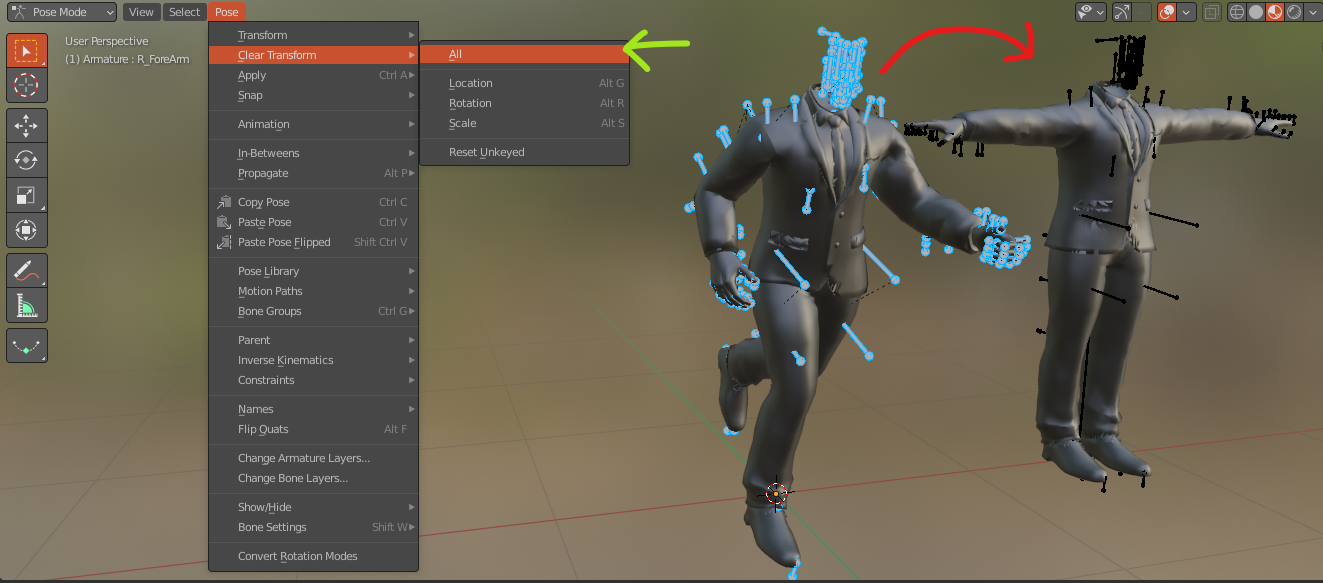
-Clear pose, select all bones in pose mode and clear the pose like in the image below (or right click E):