Importing Custom Meshes in TEKKEN 7 for Stage Modding
This tutorial will essentially teach you how to import custom 3d assets (from anywhere) to be used in the UE4 to build custom stages.

DISCLAIMER: This tutorial is for those who are at an intermediate level of modding TEKKEN 7. I assume that you are well familiar with modding TEKKEN 7 using the custom Unreal Engine 4, and that you're well versed in basic stage modding. Whether you're messing with stage umap files (stacking, editing, or swapping), texture editing assets, or referencing in-game meshes or particle effects. If you are here for an easy ride and you have no knowledge of modding stages or modding whatsoever, allow me gatekeep you with some information to get you started with stage modding in TEKKEN! I highly recommend reading these first before reading the rest of this guide:
Tekken 7 Stage Modding - Basic
Tekken Stage Modding Part 1
Tekken Stage Modding Part 2
Referencing Particle Effects
Referencing TEKKEN 7 Static Meshes For Stage Modding
Prerequites
Custom UE4 for TEKKEN 7 set up and working
The Pre-Release TEKKENGAME Project (OPTIONAL)
Blender 2.8 or above
"How to Read" Guide by DennisStanistan - For those who like to skip over sections of guides or just want to their hands held the entire process instead of learning.
Preparing my mesh
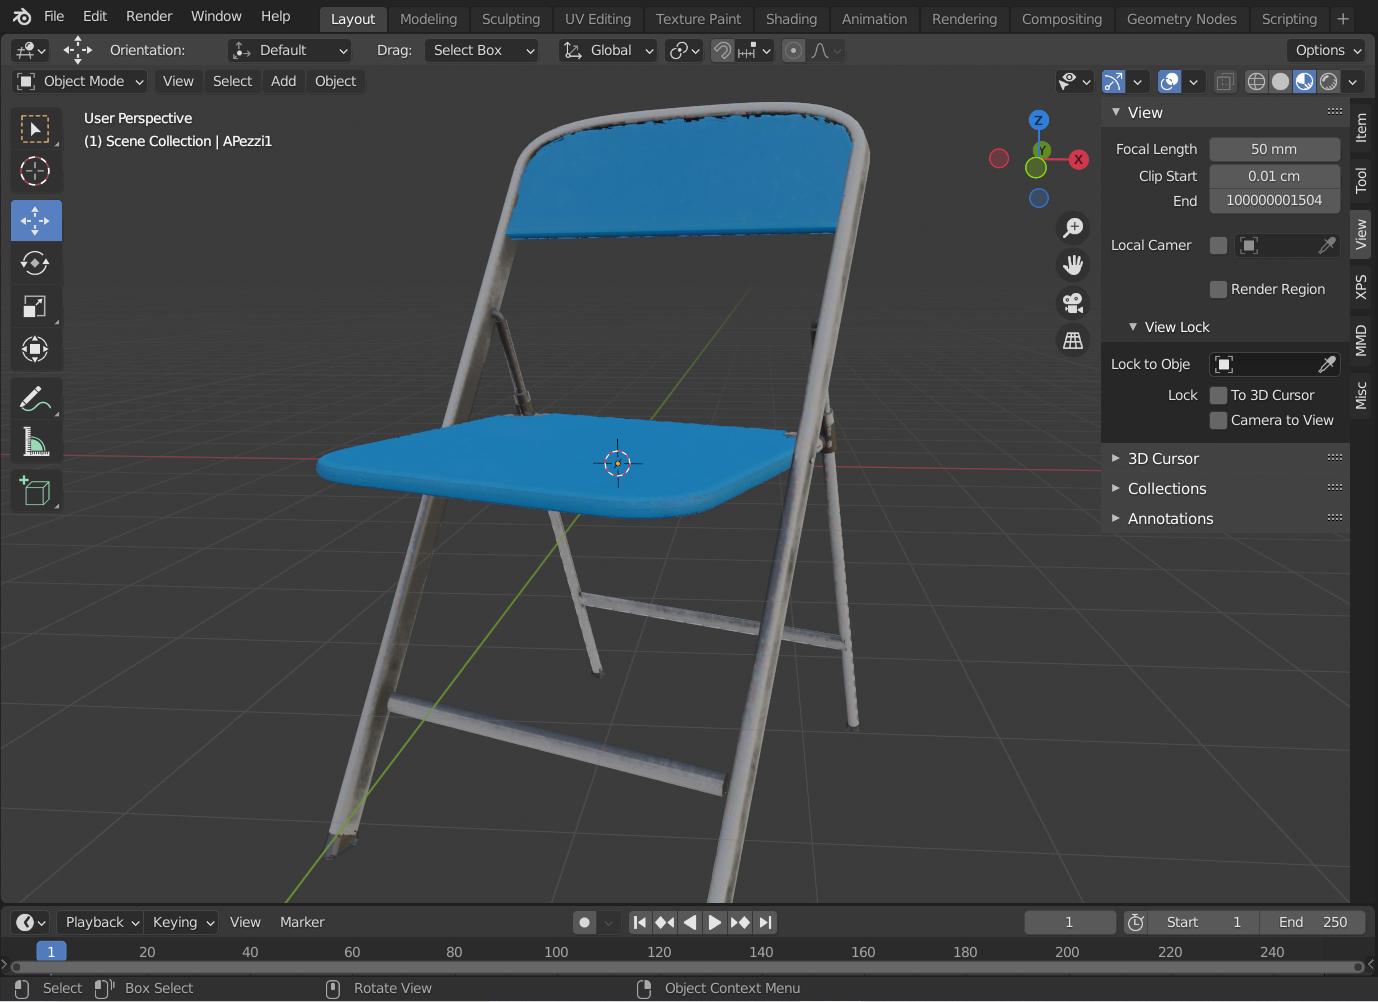
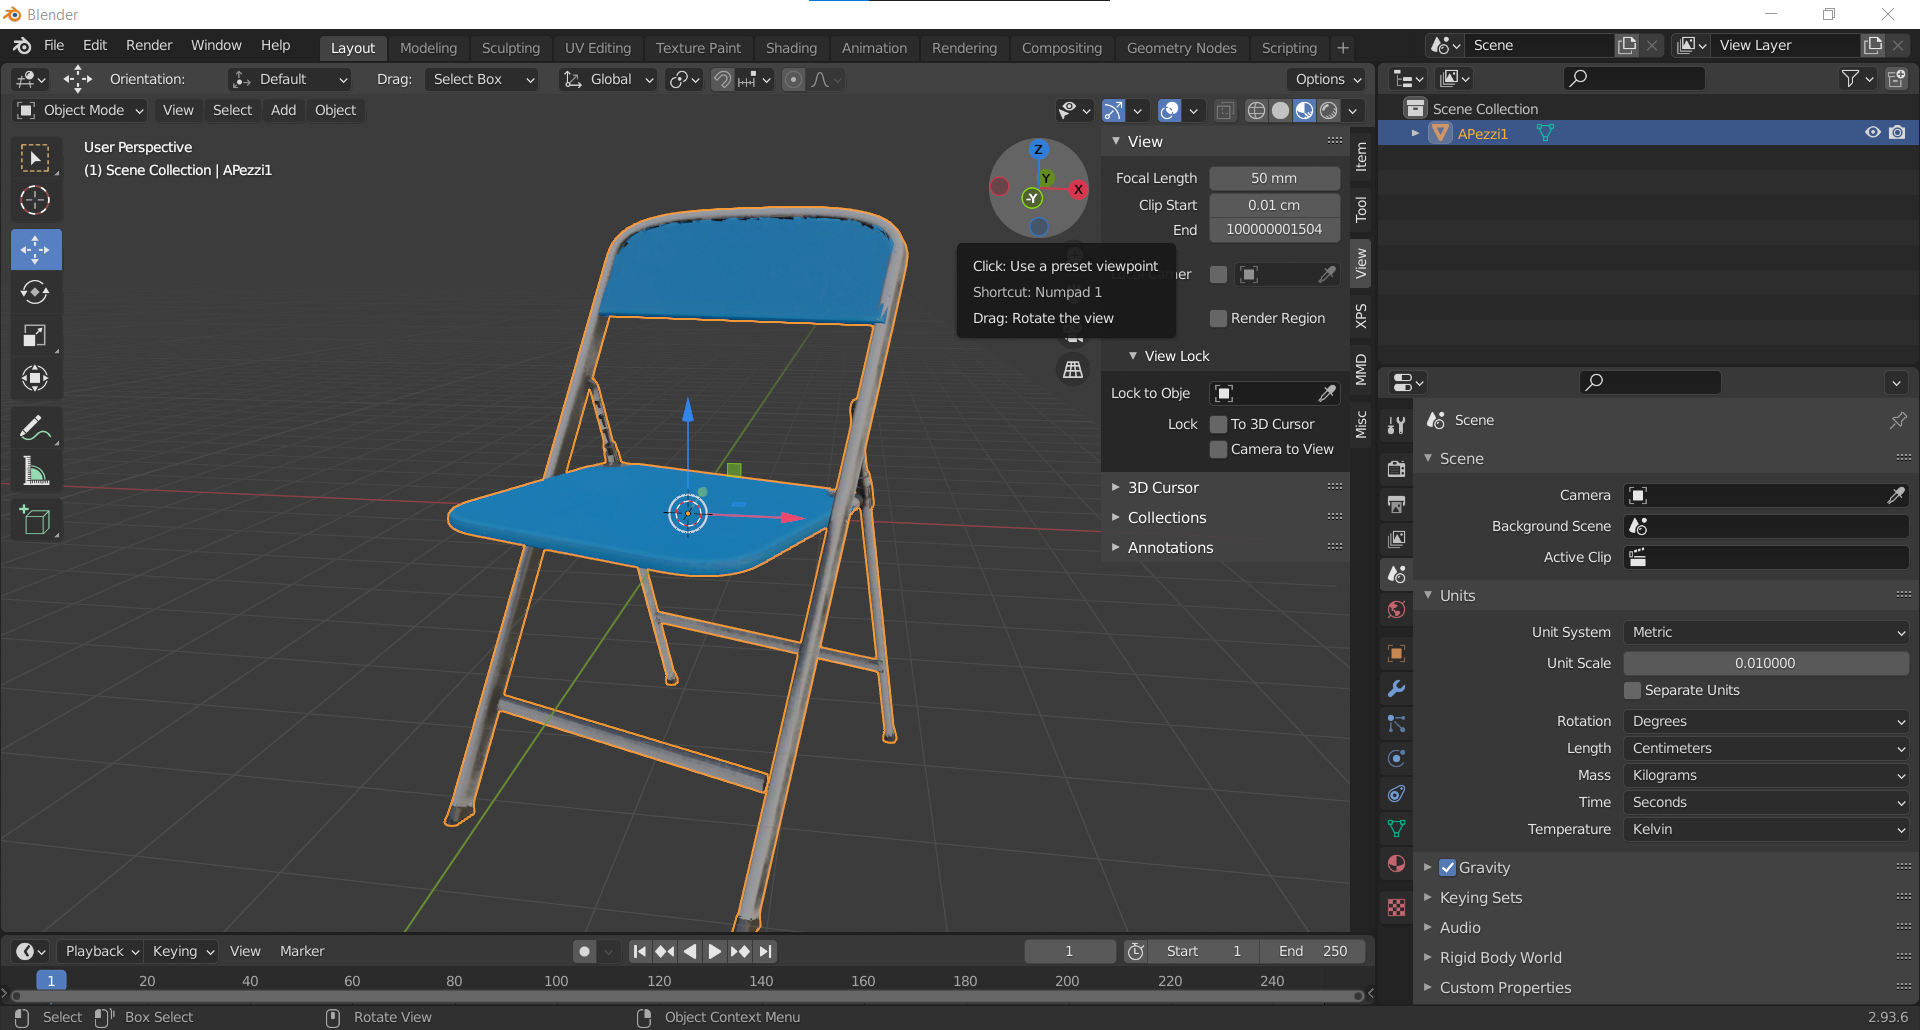
Let's begin by opening up Blender. Make sure your scene is clear so that other unnecessary things do not conflict with your mesh. Once that's taken care of, you can choose to import a mesh or create a new one from scratch.
For the sake for this guide, I'll be importing a mesh that I got from Sketchfab.
You can use the mesh I'm using for this guide if you would like to use it as a preference:
Chair by Francesco Coldesina
3D Model formats do not matter as long as you know how to work with it. At the end of the day, we'll be exporting the mesh as an FBX once we're done working with it.
 Now that my mesh is imported, at this point I could be done with it and move onto exporting. But for my personal preference, I would like to make sure that the textures for the materials are workable for me when I import it into the Unreal Engine.
As a personal preference of mine, I make sure the surface for the materials are set to "Principled BSDF", then I relocate the base color and adjust any other settings for the material if needed.
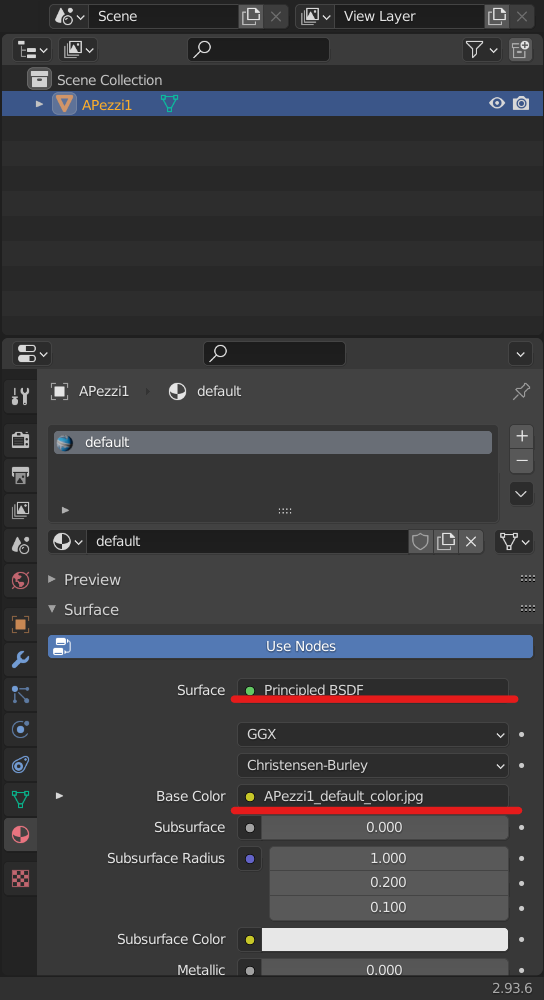
Again, you DO NOT need to follow my exact set up for meshes. Everyone has a different preference or approach to working with meshes. Follow the flow that you're already comfortable with or mix it up with mine is YOUR CHOICE.
Exporting my custom mesh
Now that we are done working with our mesh, it's time to export it. Navigate to "File" and hover your mouse to "Export". Be sure to select the "FBX (.fbx)" option. Once a new window pops-up, I assume your operator preset is set up for TEKKEN 7 and UE4.
If not, reference back to DennisStanistan's Importing Custom Meshes to Tekken 7 using Blender guide and make your way down to Exporting section.
Once your operator preset is selected, make your way to "Path Mode" and set it to "Copy". Next to that is a see-through cube, make sure you click that as well. You can create a new operator preset as well to make things easier in the future.
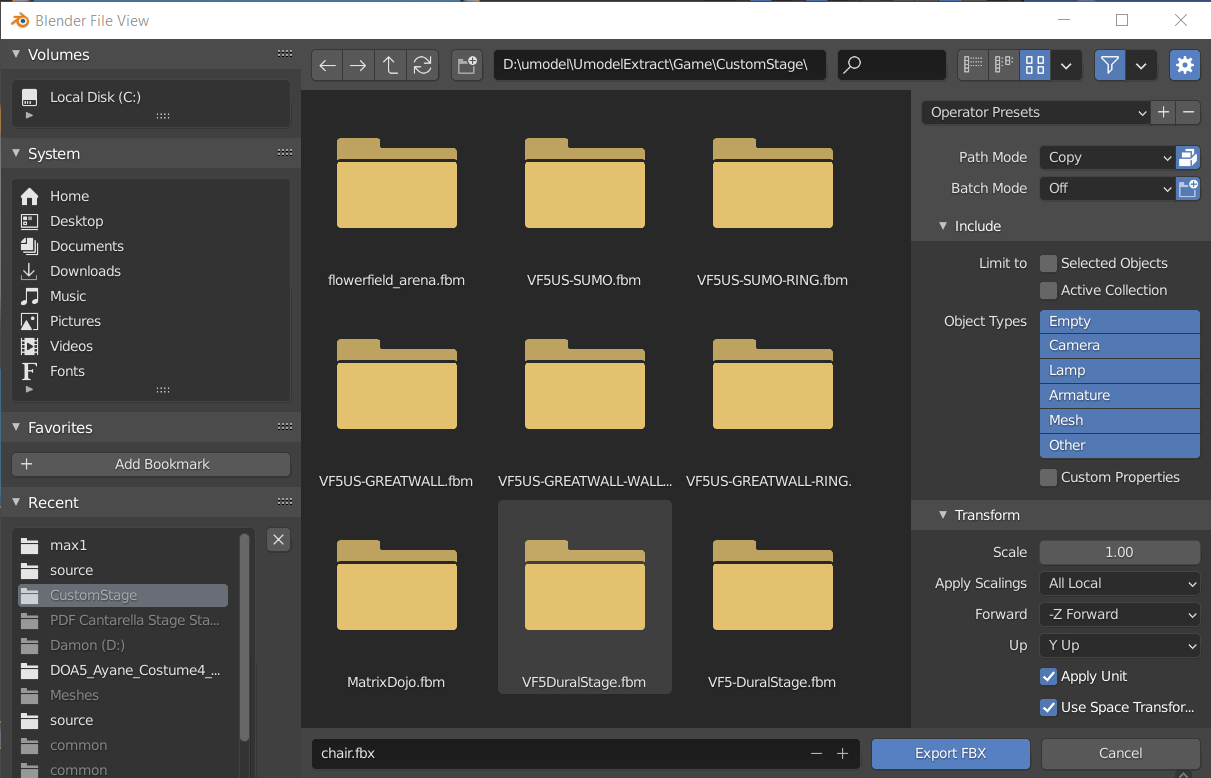
After that, choose an appropriate location to export your mesh. You'll need to locate it later for the Unreal Engine. At this point, we're done working in blender.
Preparing our folder structure
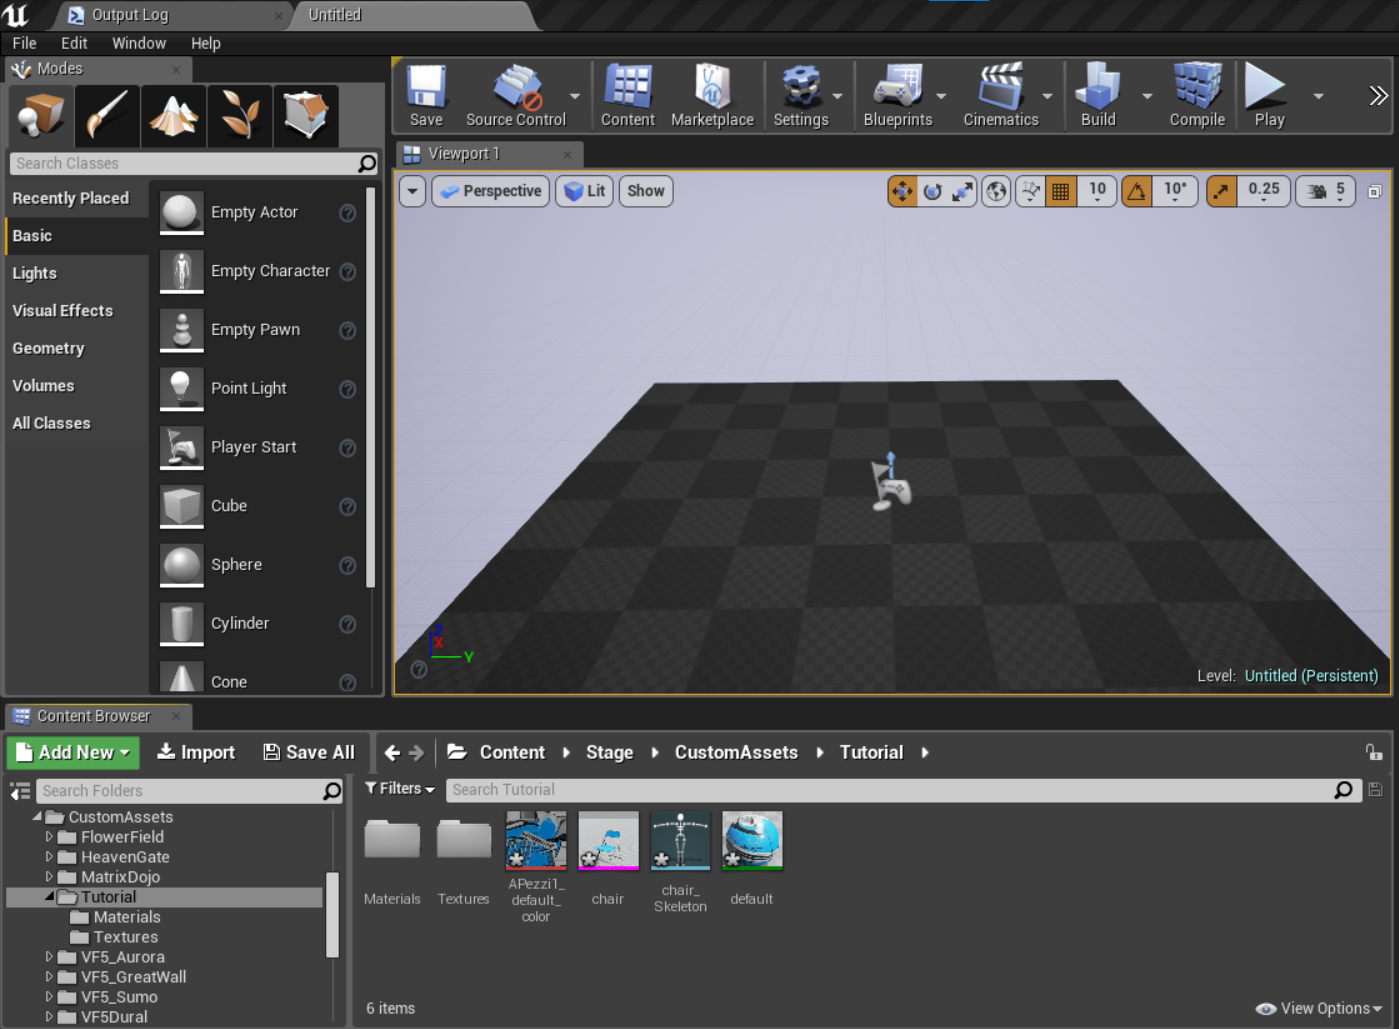
We are now transitioning to working in the Unreal Engine. Open the Unreal Engine and select the TekkenGame project. Before we import our mesh, we'll start by creating our own folder structure for our meshes, materials, and textures. This is one of the advantages of working with custom meshes.
For the sake of the guide, I'll build my folder structure like this: "/Content/Stage/CustomAssets/Tutorial/"
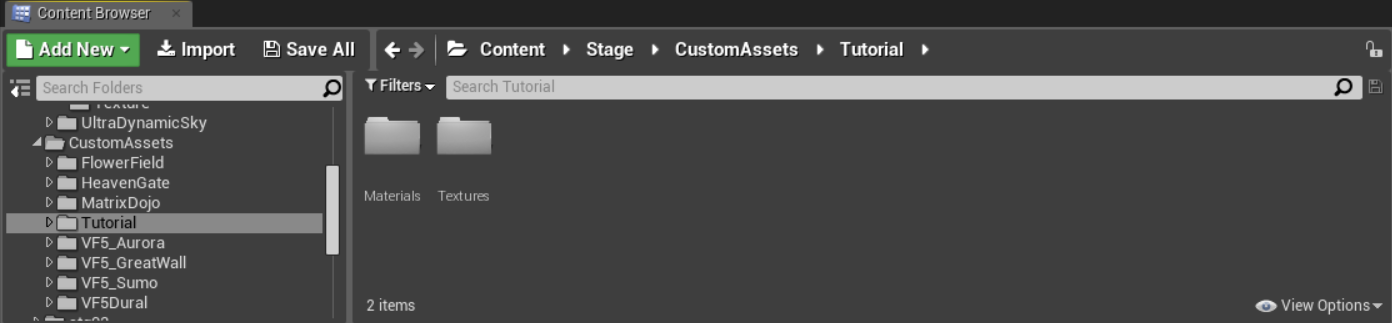
I'll also create two new folders called "Materials" and "Textures". This is a personal preference of mine whenever I create a custom stage. You can use mine or a structure that benefits you.
Setting up our Parent Material
We'll now move onto preparing our parent material for our stage. We'll want to do this so that whenever we import an object/mesh into the engine, it'll correspond/copy over the settings we established from that material to the new mesh. This makes your workflow less time-consuming.
Begin by making your way to this directory: "/Content/Stage/Common/MasterShader/Material/"
You should see a few materials in the middle of the content browser. For the sake of this guide, I'll work with the 'M_Basic' material (You can choose other materials if you have a personal preference).
Right-click the 'M_Basic' material and select the "Create Material Instance" option. I'll rename it 'MI_Tut'.
![]()
We are now going to move the 'MI_Tut' material to my "Materials" folder I initially created for my stage. You can do this by clicking and dragging the material to a destination of your choice. Once you let go of the mouse, an option should pop up. Make sure to select "Move here".
After that, let's make our way back to our Tutorial folder and locate the material we've moved. We're going to set up some parameters so initialize our parent material. To do this, double-click the material. A new window should appear where you should be able to preview the materials and observe the options. (Depending on the material you'll be using to parent, options will vary and look different)

Adjust these to your pleasing. Like I mentioned before, we set this up as our base for meshes we import. Consider this as a template perhaps.
Importing our mesh into UE4
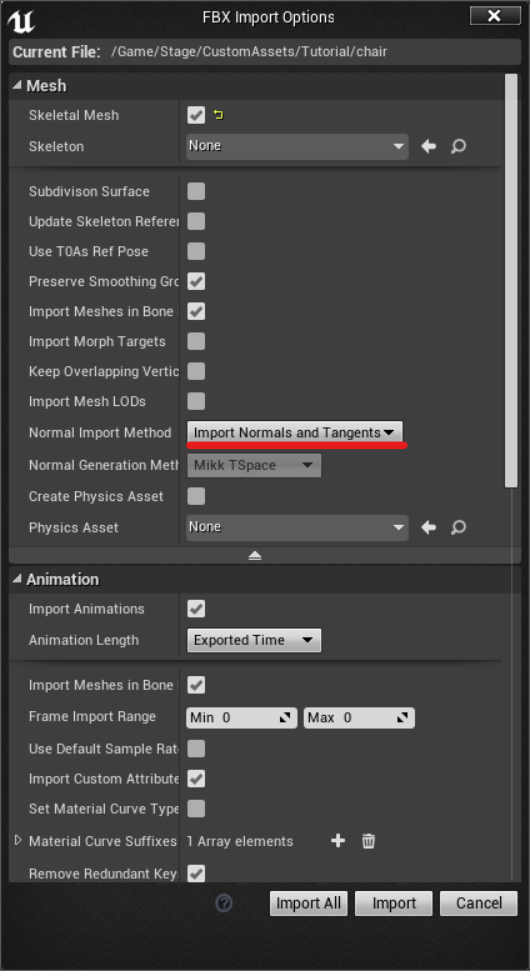
Let's now import our custom mesh. While in the content browser, click the "Import" button and locate the .fbx you've exported from Blender. A new window should appear called "FBX Import Options". Check the "Skeleton Mesh" option and set the Normal Import Method option to "Import Normals and Tangents".
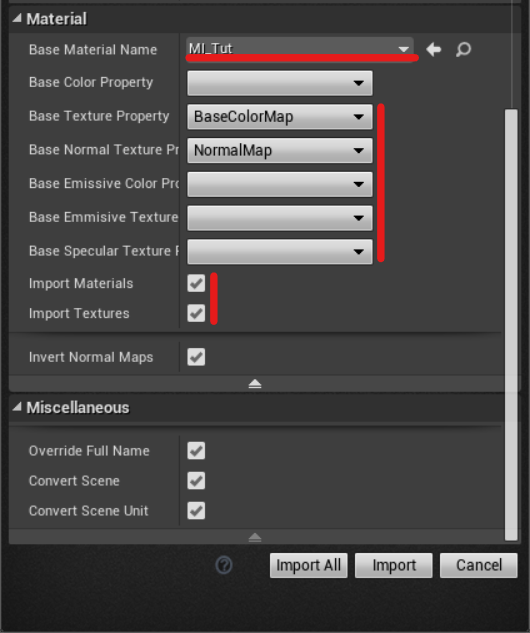
Make your way down to the "Material" section and set your "Base Material Name" to the material instance you've created. In this case, we'll set it to 'MI_Tut'. A few options should appear where you can adjust and select the base properties. You can set these to your choosing. For the sake of this guide, I adjusted the Texture and Normal Texture properties.
Be sure that the Import Materials and Textures options are checks as well.
A new window should appear. So far, there shouldn't be any major errors showing up.
Working with our custom mesh
You should see a couple of items in our custom stage directory. Let's clean things up by moving our materials and textures to their designated folders. In some common cases, some textures will be missing from our import, so feel free to drop and drag them into the engine. Feel free to delete the physics asset item, if any show up.
From this moment on, we can do anything to our meshes and materials. All of the tweaking and setups will be up to you to make.
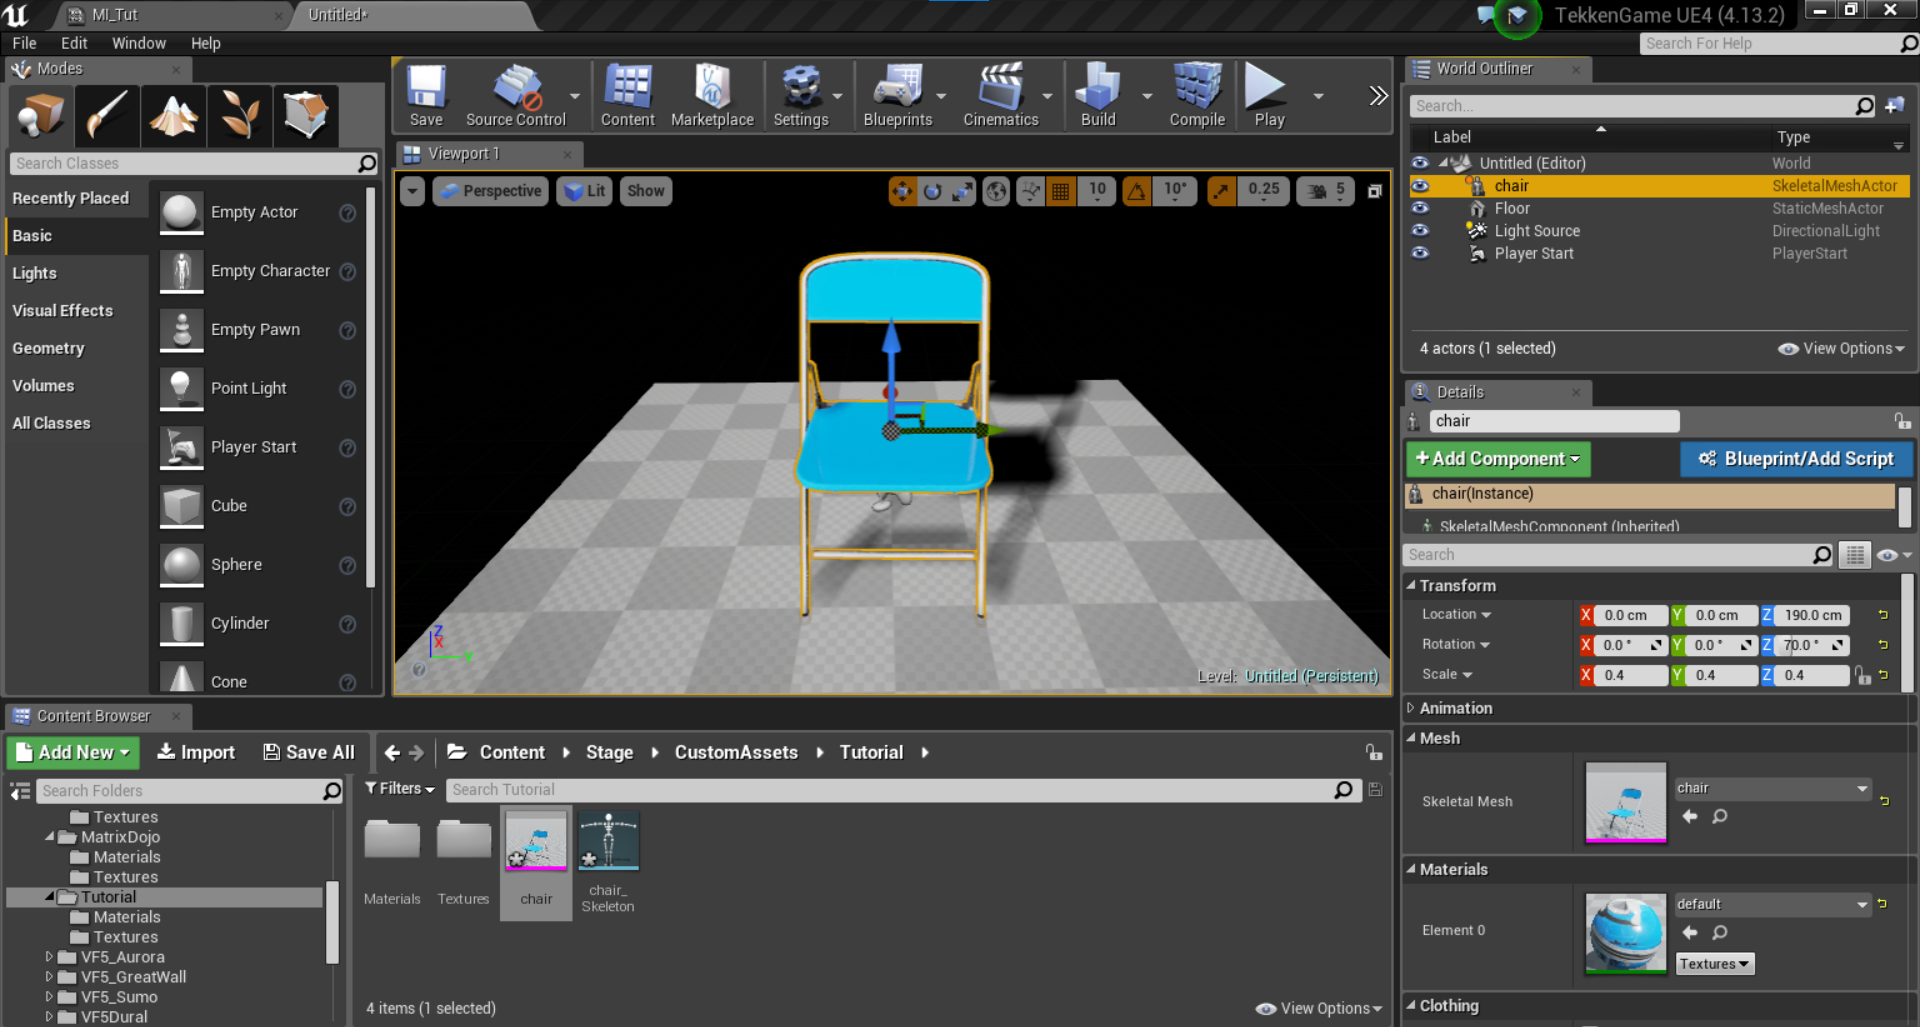
You can now drag our custom mesh into the world. You can place the mesh anywhere you would like, but I'll be placing the mesh at 0/0/0 and remove everything from the World Outliner, except for the Floor and light-source items (for my preference).
Saving and cooking the level
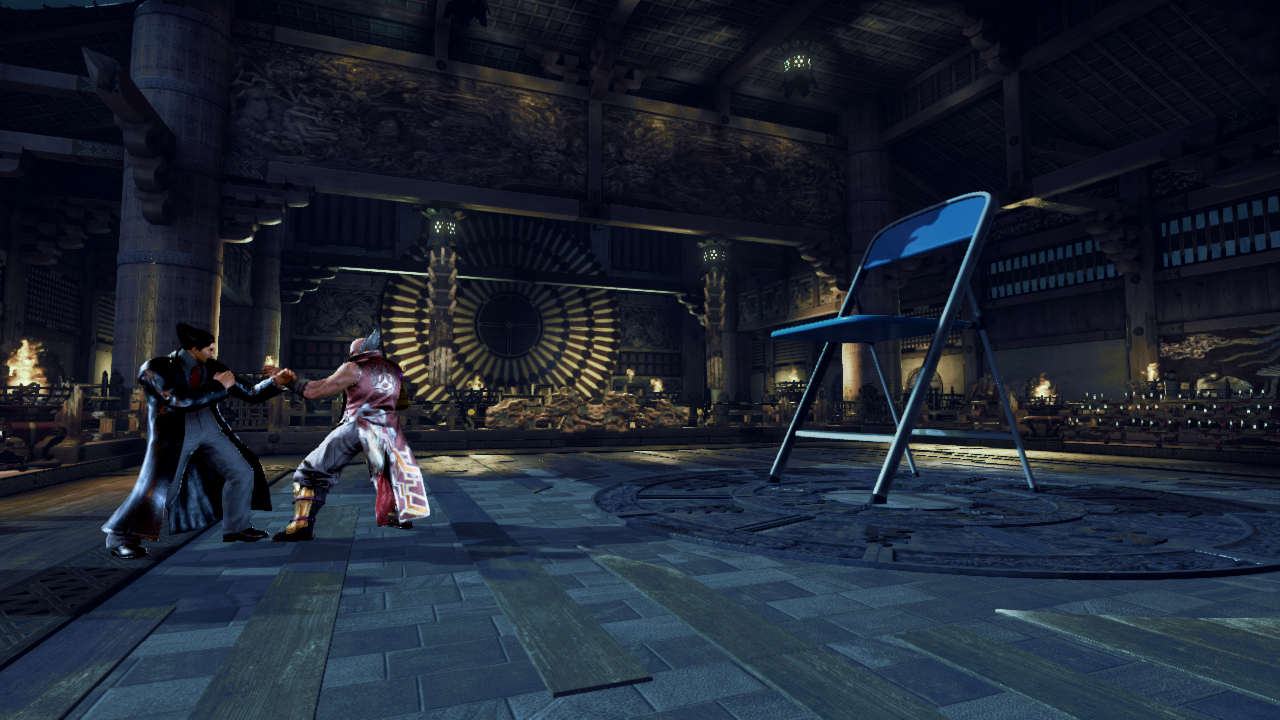
If you're finished with your work, you can now save the level as a UMAP which already exists in the game. I'll be saving the level for Mishima Dojo's stg00_edit in the "Maps" folder (you can name the file to anything you desire, BUT, once you have cooked your level, name it to a corresponding UMAP file for a stage).
After you saved the level, you can now cook the level by clicking on "Files" and select the "Cook Content for Windows" option. Cooking might take a while depending on how many things are in your project folder.
Testing & Conclusion
That's pretty much it! Pack up your project and see if your mesh (with its textures) show up in game!